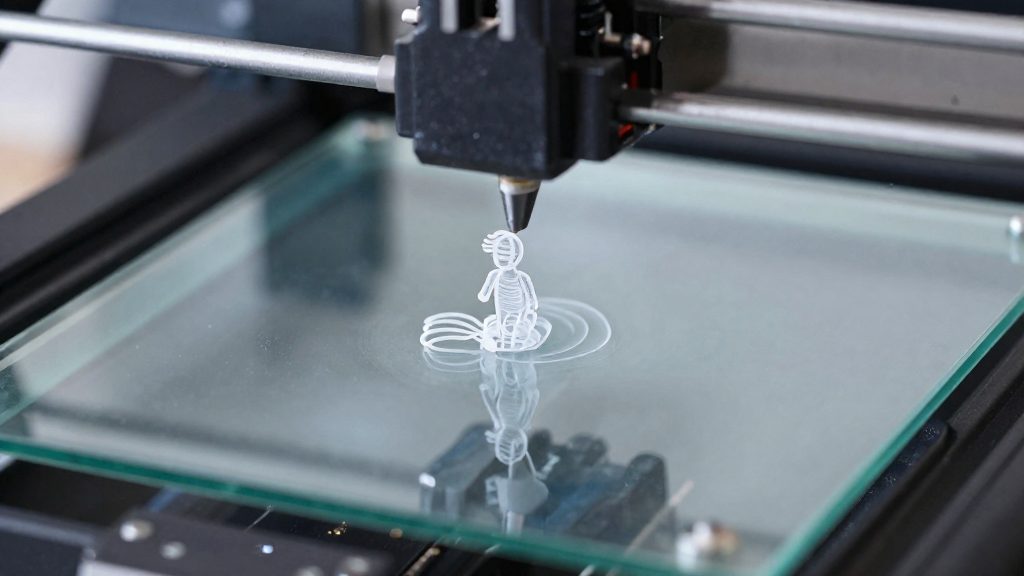
Layer height is the setting that most directly controls how fine a printed surface looks. Thinner layers reduce the visible steps on curved and angled faces and give the most detail, while thicker layers trade that finish for speed. On a standard 0.4 mm nozzle, the choice usually sits between a high-detail band and a faster everyday band.
What layer height gives the most detail?
Typical layer heights for a 0.4 mm nozzle by use
According to Snapmaker (2025), layer heights for a 0.4 mm nozzle fall into three broad bands:
| Use case | Layer height |
|---|---|
| High-detail models | about 0.10–0.15 mm |
| Everyday prints | about 0.20–0.25 mm |
| Fast prototypes | 0.30–0.40 mm |
Across FDM printing in general, San Diego State University’s Build IT makerspace (2026) gives a typical range of 0.1 to 0.5 mm.
Stair-stepping and ridges on curved surfaces
A slicer builds every model as a stack of flat layers, so a sphere or rounded edge appears as a series of small steps. Thicker layers make those steps taller, and they show up as ridges across curved faces. The effect is most visible on gently sloped or rounded surfaces, where the edge of every layer is exposed.
Surface smoothness gained from thinner layers
Smoothness improves as layer height drops, because each step between layers becomes shallower. The trade-off is that a finer layer needs more layers to cover the same height, which lengthens the print. Thicker layers print faster but leave visible ridges, so the right choice depends on whether the part is a display model or a functional prototype.
Layer height and nozzle size
The nozzle diameter sets the window in which a layer height can be printed reliably. Layer height is set as an absolute value in the slicer, but its usable range is expressed as a percentage of the nozzle diameter, so the limits move whenever the nozzle changes. Snapmaker (2025-11-27) recommends keeping layer height between 25% and 80% of the nozzle diameter. 3DPrinterly (2023-11-13) describes a narrower common rule of 25% to 75%. The table below applies both to a 0.4 mm nozzle.
| Limit | Share of nozzle diameter | Value on a 0.4 mm nozzle | Source |
|---|---|---|---|
| Lower limit | 25% | 0.10 mm | Snapmaker (2025-11-27) |
| Upper limit | 75% | 0.30 mm | 3DPrinterly (2023-11-13) |
| Upper limit | 80% | 0.32 mm | Snapmaker (2025-11-27) |
| Starting point | 50% | 0.20 mm | 3DPrinterly (2023-11-13) |
Why layers that are too thin cause problems
Going below the lower limit is where the clogging risk begins. Snapmaker (2025-11-27) states that thinner layers are slower to print and may clog. The practical rule to follow is to stay above 25% of the nozzle diameter. Because the limit is relative, a 0.6 mm nozzle would have a higher minimum layer height than a 0.4 mm nozzle, and the lower bound must be recalculated for each nozzle you install.
Choosing a starting point
For a first setting, use a starting point of half the nozzle diameter. On a 0.4 mm nozzle, that is 0.20 mm. 3DPrinterly (2023-11-13) notes that a 50% starting point is the usual rule before adjusting. From there, move within the range rather than to its edges: values near 25% sit close to the clogging zone, and values near 75% to 80% leave the least margin for error at the top end.
Is 0.1 mm always better than 0.2 mm?
No. Thinner layers help with some geometry, but they are not a universal upgrade. Smaller layers handle overhangs better, which matters for sloped undersides and angled edges printed in mid-air. The trade-off is time and reliability, so a finer layer height is only worth using when the model needs it.
Why 0.2 mm is the default
For a 0.4 mm nozzle, 0.2 mm is 50% of the nozzle diameter. According to 3DPrinterly (2023), 0.2 mm is the typical default for a 0.4 mm nozzle. Snapmaker (2025) places everyday prints at about 0.20–0.25 mm, so 0.2 mm covers most general-purpose parts without special tuning.
Where finer layers help
Detailed models may call for a finer setting, but the sources disagree on how fine it needs to be. Snapmaker (2025) lists about 0.10–0.15 mm for high-detail models on a 0.4 mm nozzle. San Diego State University’s Build IT makerspace (2026) reports that parts with fine surface detail do better near 0.2 mm. The two sources differ.
A practical approach:
- Start at 0.2 mm for general parts and functional prints.
- Test an overhang at 0.2 mm, then within 0.10–0.15 mm, and compare the underside quality.
- Move to the finer range only when the overhang or high-detail improvement justifies the longer print time.
| Model type (0.4 mm nozzle) | Layer height cited | Source |
|---|---|---|
| High-detail models | About 0.10–0.15 mm | Snapmaker (2025) |
| Everyday prints | About 0.20–0.25 mm | Snapmaker (2025) |
| Fine surface detail | Near 0.2 mm | San Diego State University (2026) |
How much longer do fine layers take?
Layer height sets how many horizontal passes the printer must make to build a part, and that layer count is the main driver of print time. Thinner layers mean more passes. A common rule of thumb is the halving rule: cutting the layer height in half roughly doubles print time, as 3DPrinterly (2023) reports from a Benchy test.
The same Benchy model, printed at three layer heights, shows how the time scales:
| Layer height | Benchy print time | Minutes | Relative to 0.3 mm |
|---|---|---|---|
| 0.3 mm | 1h07m | 67 | 1.00× |
| 0.2 mm | 1h35m | 95 | 1.42× |
| 0.1 mm | 2h56m | 176 | 2.63× |
Going from 0.3 mm to 0.2 mm adds 28 minutes. Going from 0.2 mm to 0.1 mm adds 81 minutes, nearly 1.85 times the 0.2 mm duration. The increase is not perfectly linear, because travel moves, retractions and the time spent on each layer do not scale exactly with layer count, so the halving rule should be read as an estimate rather than a precise formula.
San Diego State University’s makerspace, Build IT (2026), gives a similar relationship: a 0.4 mm print takes about half as long as a 0.2 mm print.
Because the relationship is roughly proportional, you can estimate a fine-layer job before committing to it:
- Slice the model at 0.2 mm and note the estimated time shown by your slicer.
- Multiply that time by about 2 to estimate the 0.1 mm duration.
- Compare the result with how much detail the part actually needs.
Adaptive layer height for mixed models
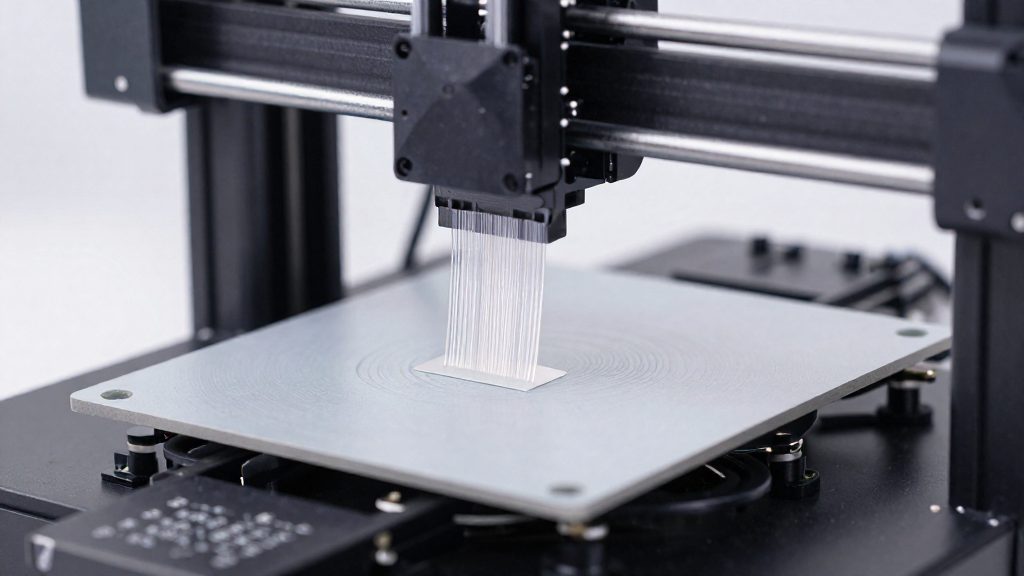
Adaptive layer height lets one model print with different layer thicknesses in different regions, so fine layers are used only where surface detail is visible. On a 0.4 mm nozzle, Snapmaker (2025) gives reference ranges of about 0.10–0.15 mm for high-detail models, 0.20–0.25 mm for everyday prints, and 0.30–0.40 mm for fast prototypes. A mixed model can draw on all three within the same part.
Fine layers on detailed surfaces only
Apply the finer setting to areas where stair-stepping would show:
- Identify the visible detail, such as lettering, fine texture or rounded edges.
- Set a layer-height modifier on those regions only, in the 0.10–0.15 mm range for a 0.4 mm nozzle.
- Keep the rest of the model at the everyday value.
Thicker layers on hidden or plain areas
Faces that are not seen after assembly, such as a flat base or internal support structure, do not benefit from fine layers. Printing these at about 0.30 mm uses the fast-prototype range and removes layers from the job without affecting the visible surface. Keep in mind that 0.30 mm is the 75% limit and 0.32 mm the 80% limit on a 0.4 mm nozzle, so going up to 0.40 mm exceeds the ranges both sources recommend.
| Region type | Layer height (0.4 mm nozzle) | Trade-off |
|---|---|---|
| Lettering, fine texture, curved edges | 0.10–0.15 mm | Smoothest finish, most layers |
| Visible general faces | 0.20–0.25 mm | Balance of speed and finish |
| Hidden base, internal or plain areas | 0.30 mm and up | Fastest, visible ridges |
Balancing time against surface quality per region
Every region printed finer adds layers across that region’s height, so the time cost depends on how much of the model’s height uses the finer setting. Limit fine zones to the faces a viewer actually sees, and keep the remaining volume thicker. Test a sliced preview to compare the layer count before printing.
Resin printers: how thin can you go?
Resin printers have no nozzle, so the FDM rule that ties layer height to nozzle diameter does not transfer. That rule applies to FDM extrusion, where filament is pushed through a nozzle of a fixed diameter. A resin printer instead cures each layer of liquid resin with light projected through a screen, so its minimum layer thickness is governed by the Z-axis movement and the resin’s curing behaviour, not by a nozzle opening.
Vertical resolution versus XY pixel size
Resin detail depends on two independent resolutions:
- Vertical resolution (Z) is set by the layer thickness in the slicer. It controls the stair-stepping on curved and sloped surfaces.
- XY resolution is set by the size of the pixels on the LCD or projection screen, which divides each layer into a grid. The same pixel count spread over a larger build area produces coarser features in X and Y.
Changing the layer thickness therefore improves only the vertical axis. Fine horizontal detail depends on the screen and the build area you choose.
Layer thickness trade-offs for detail
Thinner layers raise detail on sloped and curved surfaces but increase print time. The FDM benchmark published by 3DPrinterly (2023) illustrates the scale of this trade-off: a Benchy printed at 0.3 mm took 1h07m, at 0.2 mm took 1h35m, and at 0.1 mm took 2h56m. These are FDM timings, so they show the direction of the trade-off rather than resin print times.
Test prints to find your printer’s sweet spot
A layer height test series compares the same model printed at several heights, so you can see the trade-off between surface quality and print time on your own machine.
| Nozzle share | Layer height (0.4 mm nozzle) | Role in the test |
|---|---|---|
| 25% | 0.10 mm | Lower limit of the Snapmaker range |
| 50% | 0.20 mm | Starting point recommended by 3DPrinterly |
| 75% | 0.30 mm | Upper limit of the 3DPrinterly range |
| 80% | 0.32 mm | Upper limit of the Snapmaker range |
Printing the test series
Print the same test part at three to five heights between the limits in the table, such as 0.10, 0.15, 0.20, 0.25 and 0.30 mm. Keep every other slicer setting identical, including speed, temperature, wall count and orientation, so that layer height is the only variable. Label each part with its height before removing it from the build plate.
Inspecting ridges and overhangs
Look at curved surfaces under a light held at a low angle. Check the overhangs on the same part as well. Note the lowest height at which the curves look clean and the overhangs hold.
Choosing the setting
Pick the thickest height that still gives an acceptable surface on your curves and overhangs. Thinner layers need more layers, so every step down adds print time, and this trade-off is the reason to stop at the first height that meets your visual target. Use the same value for similar models and reserve the finest test heights for parts where surface detail matters most.
Frequently asked questions
What layer height range works for a 0.4 mm nozzle?
Snapmaker (2025) sets the usable window at 25% to 80% of nozzle diameter, which is roughly 0.10 to 0.32 mm on a 0.4 mm nozzle. 3DPrinterly (2023) uses a tighter 25–75% range, about 0.10 to 0.30 mm, so a 0.40 mm layer falls outside both. Layers below the lower bound are slower to print and can clog the nozzle.
How much longer does a finer layer height make a print?
3DPrinterly (2023) reports that halving the layer height roughly doubles print time. In its Benchy test, a 0.3 mm layer took 1h07m, 0.2 mm took 1h35m, and 0.1 mm took 2h56m. Finer layers only add time over the height of the region where they are applied.
Is 0.2 mm a good starting point for detailed parts?
3DPrinterly (2023) describes 0.2 mm as the typical default for a 0.4 mm nozzle, and San Diego State University’s Build IT makerspace (2026) says parts with fine surface detail do well near that value. 3DPrinterly also notes that smaller layers handle overhangs better, which helps on angled features.