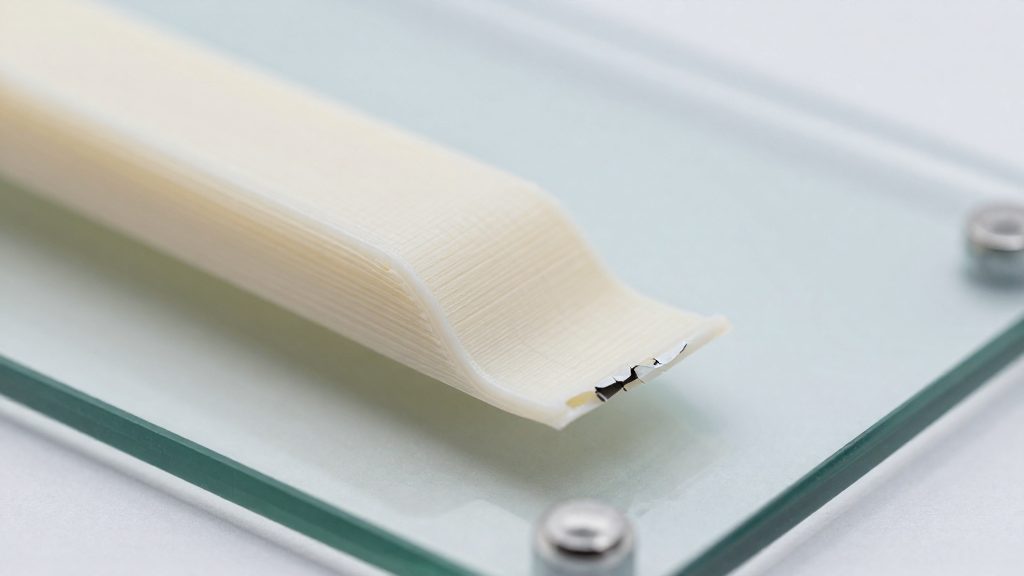
Corners lift because plastic contracts as it cools. According to Snapmaker (2026), when lower layers contract while upper layers are still warm, internal stress builds and can lift the corners. How much a part contracts depends on the filament type, so the same model can curl in one material and stay flat in another. The sections below follow the mechanism from a single cooling layer to the corner itself, then cover the settings, materials and design changes that limit it.
Why do 3D prints warp at corners?
How thermal contraction builds stress
Each layer of extruded plastic starts hot and soft, then shrinks as its temperature drops. When the lower layers contract while the upper layers are still warm, internal stress builds between them. The size of that contraction is set by the filament type, which is why the same geometry can behave differently from one material to another.
Why upper layers stay warm
Lower layers are printed first and have had more time to cool, while the most recent layers are still warm. The glass transition is the temperature at which a plastic softens and can deform, and it differs by material. The values for PLA and ABS are listed in the bed temperature section below. The difference in contraction between these two zones is what produces the internal stress.
Why sharp corners concentrate stress
Sharp corners are where the stress pulls the print up. A sharp corner concentrates contraction forces on a small area, whereas a rounded edge spreads them more evenly. This is why warping is most visible on parts with angular outlines, even when the flat sections of the same part remain attached.
How cooling shrinkage lifts the edges
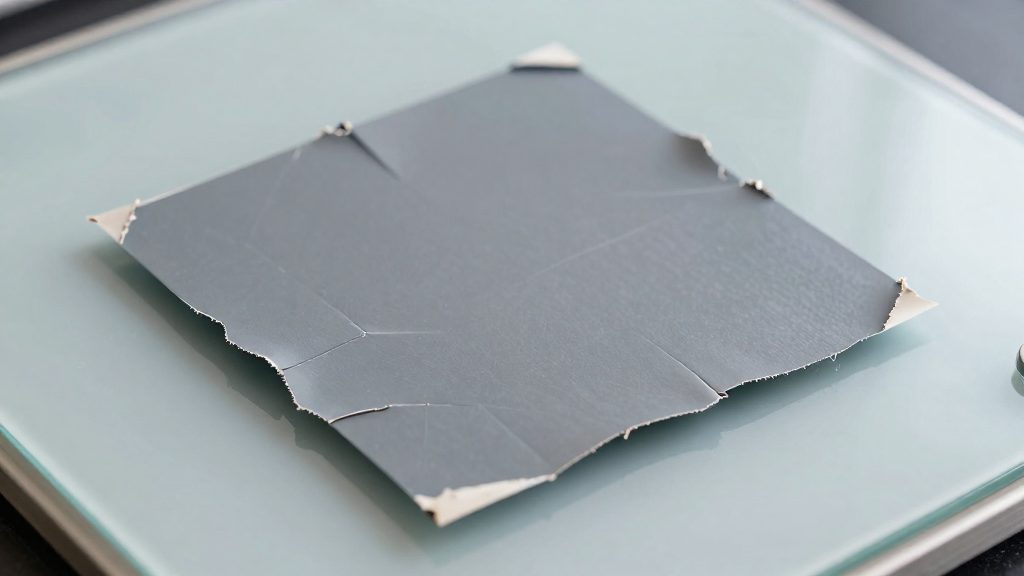
According to The Virtual Foundry (2026), parts with square external corners curl first. Because each new layer adds material and heat, the contraction of the lower layers keeps pulling the edge upward. A corner that starts to lift can therefore keep lifting as the part grows taller.
First-layer settings that limit it
The first layer is where the part holds to the bed, so its settings have the most influence on whether corners stay down. The Virtual Foundry (2026) recommends the following measures.
| First-layer or setup measure | Recommended setting |
|---|---|
| Print speed for the first layer | 15–25 mm/s |
| Part-cooling fan | Little or none |
| Printer location | Away from drafts |
| Enclosure door | Kept closed during the first 10 layers |
Opening the door during that window lets cool air reach the part while the bottom layers are still forming.
Which filaments warp the most?
Of the two materials with published shrinkage figures, ABS warps more than PLA. According to The Virtual Foundry (2026), ABS shrinks about 0.8–1.2% as it cools, while PLA shrinks about 0.3–0.5%. From these ranges, ABS shrinks roughly 1.6–4 times as much as PLA. This comparison covers only ABS and PLA.
Shrinkage sets the amount of stress, but geometry decides where it shows. A sharp-cornered ABS part is the highest-risk case in this comparison. A PLA part with the same geometry is less likely to lift under the same conditions, though it is not ruled out.
Bed temperature and surface fixes
Bed temperature sets how the bottom layers behave while they cool, and the bed holds those layers in place during that process. Snapmaker (2026) gives the following values.
| Filament | Glass transition | Recommended bed range |
|---|---|---|
| PLA | about 60°C | 25–60°C |
| ABS | about 101°C | 80–100°C |
The PLA bed range tops out at about its glass transition of 60°C, and the ABS range of 80–100°C sits just under its glass transition of about 101°C. ABS therefore calls for a warmer bed than PLA. ABS therefore needs a warmer bed than PLA.
Choosing the build surface
Snapmaker (2026) recommends textured PEI for PLA, ABS and PETG, and advises against smooth PEI for PETG and TPU. The build surface should match the filament rather than stay fixed across materials. Check the filament manufacturer’s datasheet for the recommended PETG bed temperature.
Glass beds and adhesion aids
Glass beds usually need an adhesion aid before printing. Snapmaker (2026) names PVA glue stick and hairspray as options. Apply a thin, even coat over the area where the part will sit, and keep the bed surface clean between prints so the first layer bonds consistently.
Do brims help corners stay down?
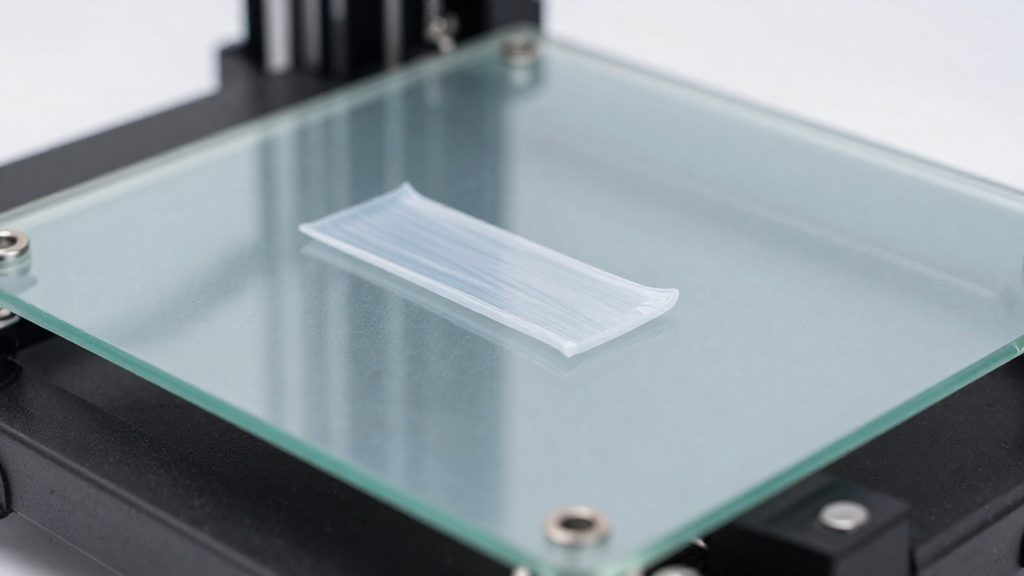
A brim is a thin flange of plastic printed around the base of a part and connected to the model. According to Snapmaker (2026), a brim increases the part’s contact area with the bed, which helps hold corners down on parts with a large flat base. Parts with small footprints or little flat contact gain less, because there is less base to anchor. Snapmaker describes brims as fairly easy to remove afterward.
When do you need an enclosure?
An enclosure is highly recommended for ABS, because it traps heat, stabilizes ambient temperature and blocks drafts. These three effects address the conditions that matter most for a material with the higher shrinkage described above.
Keeping the chamber closed
Each door opening lets room air in and drops the chamber temperature around the part. Before an ABS print, close the enclosure door before the first layer and leave it closed until the early layers are complete. The Virtual Foundry advises not opening the enclosure during the first 10 layers; keeping the chamber stable beyond that is a reasonable precaution but is not specified in the sources.
Design tweaks that keep corners flat
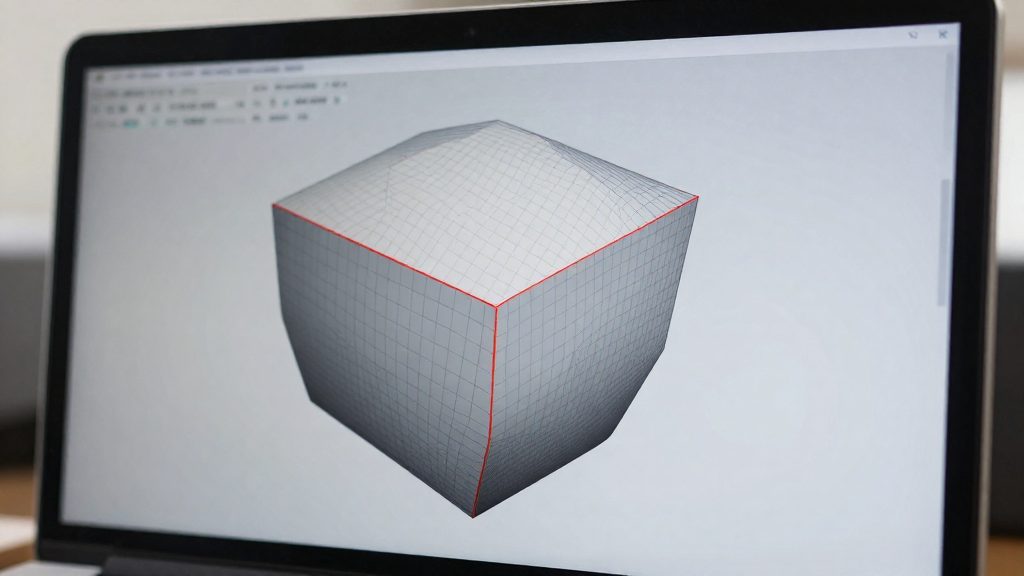
Changing the model before it reaches the slicer gives direct control over corner stress. According to The Virtual Foundry (2026), adding fillets to external corners replaces the sharp 90° edge with a rounded transition, so the stress has no single point to act on.
How to add corner fillets
- Open the model in your CAD tool and select the vertical edges of the external corners.
- Apply a fillet of 2–3 mm, the radius The Virtual Foundry suggests for external corners.
- Check the rounded edges in the slicer preview to confirm the fillet is present in the geometry that will print.
The guidance covers external corners only. Internal corners in pockets or cutouts are not addressed by this change.
Limits of geometry-only fixes
A fillet reduces stress concentration at the corner but does not remove the contraction itself. Because shrinkage depends on filament type, a rounded corner on ABS can still lift in cold or drafty conditions. Combine the fillet with the bed, surface and enclosure measures above for the most reliable result.
Conclusion
Corners lift when contraction in the lower layers outpaces the bond to the bed. Address it at each stage: control the first layer, match the bed and surface to the filament, use a brim on large flat bases, and round the external corners in the model.
Frequently asked questions
Does an enclosure help ABS prints keep their corners down?
Yes. According to Snapmaker (2026), an enclosure is highly recommended for ABS because it traps heat, keeps the ambient temperature stable and blocks drafts.
Which build plate surface should I use to keep corners attached?
According to Snapmaker (2026), textured PEI is recommended for PLA, ABS and PETG, and smooth PEI is advised against for PETG and TPU. Glass beds usually need an adhesion aid such as PVA glue stick or hairspray.
When is a brim worth adding to a print?
A brim increases the part’s contact area with the bed, which helps hold corners down on parts with a large flat base. According to Snapmaker (2026), brims are fairly easy to remove afterward.