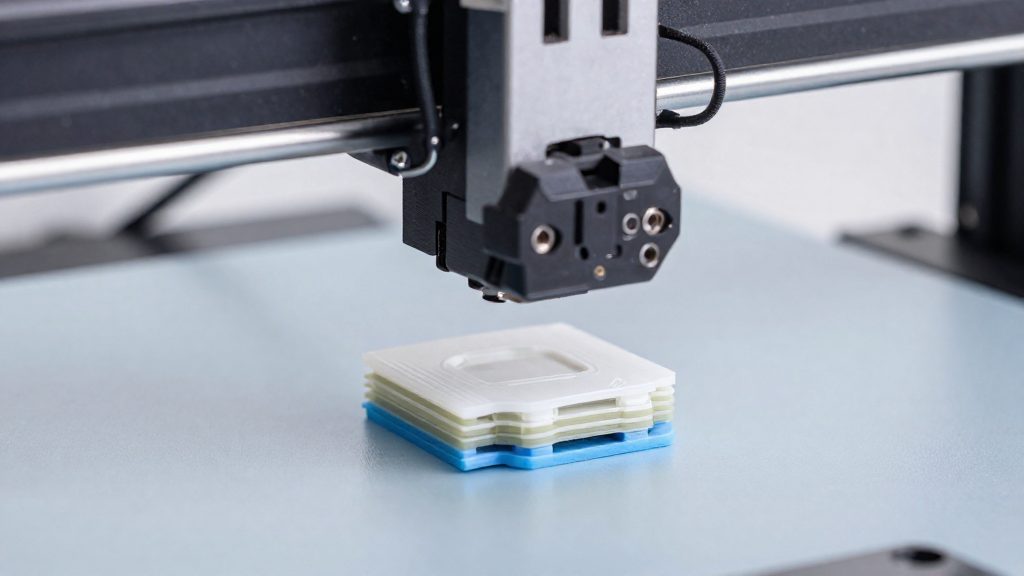
Layer shifting is a defect in which the printed part moves sideways out of alignment during a print, so each new layer lands offset from the one beneath it. It is recognisable by a stepped or offset edge running up the outside of the part instead of a straight vertical wall. Knowing this signature lets you separate a positional fault from surface-finish problems before you change any settings.
What is layer shifting on an FDM printer?
On an FDM printer, layer shifting is a horizontal misalignment: one layer sits displaced sideways relative to the layer directly below it. Each layer is deposited on top of the previous one, so the offset carries upward and the part is built from progressively displaced sections rather than one aligned column.
The visible signature on the outer walls
The outer walls show the defect most clearly. At the height where a shift begins, the vertical wall breaks into a sideways step or offset, and the wall above continues from that new position. Because the error persists from layer to layer, the offset stays visible and can grow as the print gets taller.
Why does my printer shift layers?
The nozzle lands a little off from where the previous layer ended, so the walls of the print drift sideways. On many consumer machines the root cause is how the stepper motors are controlled. Most printers run open-loop control, meaning they send step commands and do not confirm that the movement actually happened. According to Snapmaker (2025), this means lost motor steps go uncorrected.
How lost steps add up
Each lost step leaves the printer’s position out of sync with the physical toolhead, and nothing in an open-loop system detects or fixes the gap. Snapmaker (2025) notes that the error builds up with each layer, so a small miss early in a print can become a clear offset near the top.
Layer shifting or delamination?
The two defects look similar in a finished part but have different causes, and the fix depends on which one you have.
| Defect | Direction of error | Stated cause |
|---|---|---|
| Layer shifting | Horizontal misalignment | Lost motor steps (open-loop control), belt or alignment problems |
| Delamination (layer separation) | Vertical gap between layers | Temperature, extrusion or cooling issues |
How do I tell which axis is shifting?
Identify the axis before changing any hardware. BCN3D Support (2026) advises establishing whether the shifts run along the X or Y axis, since knowing the axis is the first step in narrowing down the cause. A wall that shows a sideways offset suggests a positional or motion fault rather than a thermal or extrusion one, although nozzle collisions can look similar.
The printed part is the only evidence of which axis lost position, so reading its surfaces is the practical way to find it.
The method relies on wall orientation. The axis can be narrowed down by comparing the direction of the offset with the part’s orientation on the bed. Use the table below to map each face to its axis.
| Face inspected | Step appears when | Axis to check |
|---|---|---|
| Left and right sides (parallel to the Y axis) | Offset visible on these faces, to be confirmed by checking the printer’s axes | Likely X, confirm by checking each axis |
| Front and back faces (parallel to the X axis) | Layers slide toward or away from you | Y |
Next, compare the shift direction with the part’s orientation on the bed. A model rotated 90 degrees in the slicer swaps which faces reveal the shift, so a step that appears on the front of one part may appear on the side of another. Note the orientation in the slicer before judging the result. If the same step shows on faces that are parallel to each other, this suggests the offset is along one axis. If steps appear on both pairs of faces, the printer may be losing position on both axes, and each axis should be checked separately.
Check belts, pulleys and mechanics
Mechanical faults are a common route to layer shifting. If the drive path is loose or a rod is bent, the toolhead does not land where the firmware commands, and the error can build up as the print continues. Because the printer cannot confirm that motion happened, these checks have to be done by hand, with the printer switched off.
Belt tension
The target is belt tension that is taut but not strained. Pinch each belt at mid-span and compare its resistance with the other belt on the same axis. 3D Insider (2022) describes this comparison as a way to check belt tension. Both belts should feel equally firm. If one is noticeably looser, tighten it until it matches the other.
Pulley set screws
A loose motor-pulley grub screw can stop motion from transferring accurately, so the motor turns while the pulley does not follow. Tighten the pulley set screws, ideally with one screw seated against the flat of the motor shaft. Then turn each pulley by hand and confirm it has no play before powering the printer on.
Rod straightness
Check rod straightness by moving the toolhead by hand along each rod with the printer off. Binding or rough movement can point to a bent rod, which should be corrected before further printing. Smooth travel is a good sign, but it does not rule out other mechanical faults. Repeat the check on every rod the axis uses.
| Component | Check | Correct result |
|---|---|---|
| Belts | Pinch mid-span, compare resistance | Taut, not strained |
| Pulley set screws | Inspect screw position on motor shaft | One screw seated on shaft flat |
| Rods | Move toolhead by hand, printer off | Even travel, no bends |
Slow down speed, acceleration and travel moves
Lowering motion settings is a diagnostic step. If the layer shift stops at slower speeds, the toolhead was moving faster than the printer could control.
Values to test on a custom profile
Apply these reductions to a copy of your profile so the default settings stay available for comparison.
| Parameter | Test change |
|---|---|
| Print speed | Lower by about 20–50%, and keep below 60 mm/s |
| Travel speed | Lower by about 20–50% (Snapmaker); BCN3D suggests 150 mm/s, or 100 mm/s |
| Jerk | Lower by about 20–50% |
| X/Y acceleration | Lower by about 20–50% |
The 20–50% range and the 60 mm/s and 150 mm/s limits come from Snapmaker (2025) and BCN3D Support (2026) guidance for custom or non-default profiles.
Interpreting the result
Print the same model at the reduced values and compare where the shift occurs. If the shift disappears, the motion settings were the cause. Slower movement has a cost: cutting the slicer’s movement speed by 50% limits toolhead overshoot, but it lengthens print times (3D Insider, 2022).
Confirm the defect type before you change anything.
Stepper current (VREF) and what the sources say about heat and vibration
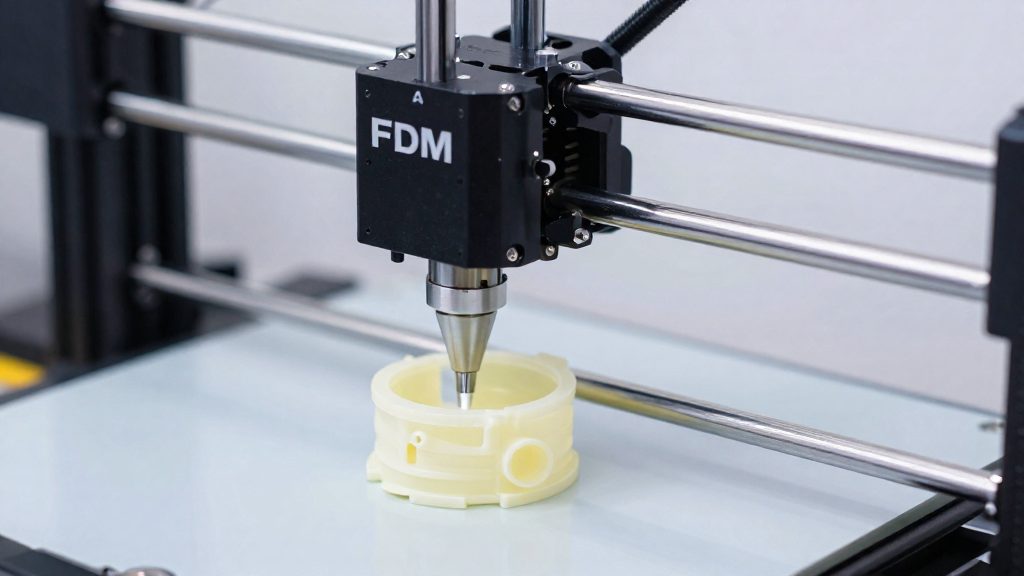
Electronics can cause layer shifts when a stepper motor loses steps without the printer noticing. Motor current is the setting that governs this, but it should be the last thing you change.
VREF stepper current: last resort only
VREF sets the reference voltage that controls how much current the stepper driver sends to the motor. Snapmaker (2025) advises adjusting it only as a last resort and with official support guidance, because incorrect settings can damage components. Mechanical and speed causes should be ruled out first, since they are lower-risk adjustments than changing motor current.
Before touching VREF, locate your model’s support documentation and follow its measurement and adjustment procedure. Do not copy values from forums or other printers. Note the original setting before you change anything, so you can return to it if the print does not improve.
Heat and vibration
Heat is better linked to a different defect: layer separation, according to Snapmaker (2025).
To tell the defects apart, check the direction of the fault. A horizontal offset that continues from one layer to the next points to layer shifting, while a split between layers points to temperature, extrusion or cooling.
Stop nozzle collisions with Z-hop and retraction
A nozzle that strikes a warped part or a loose blob during a travel move can knock the print out of position, which looks like layer shifting. Three slicer settings reduce this risk: Z-hop, retraction, and disabling combing on large models. Keeping the build plate locked in place removes a related cause.
Set Z-hop to 0.5–1 mm
According to Snapmaker (2025), raising Z-hop to 0.5–1 mm lets the nozzle clear warped parts or blobs as it moves between points. Z-hop is usually found in the slicer’s travel or retraction settings. Set it for the whole print rather than per model, so every travel move gets the same clearance.
Increase retraction for PLA and ABS
BCN3D Support (2026) recommends increasing retraction and enabling Z-hop for less viscous filaments such as PLA or ABS. Retraction pulls molten filament back from the nozzle during travel, which limits the oozing that forms blobs. The consulted guidance gives no retraction distance, so raise the value in small steps and check the result on a test print.
Disable combing on large models
Combing keeps travel moves over areas that are already printed. BCN3D Support (2026) recommends disabling it on large models, probably because the nozzle would otherwise cross surfaces that may have warped. BCN3D Support (2026) recommends disabling combing on large models, and the travel path then runs directly between points.
Secure the removable build plate
Snapmaker’s guidance also advises securing the removable build plate. A plate that moves on its base can meet the nozzle during a travel move, even when the slicer settings are correct. Check that the plate is fully seated and fixed before each long print.
Telling a horizontal offset from a vertical gap
Layer shifting and delamination can both be seen across the layers of a printed part, so it helps to compare them by the direction of the error. The difference is direction. Delamination is a vertical gap between layers, caused by temperature, extrusion or cooling issues. Snapmaker (2025) classes these as different defects, so the diagnosis starts with the direction of the error.
| Symptom | Defect | Typical cause | First check |
|---|---|---|---|
| Walls step sideways along X or Y | Layer shifting | Incorrect belt tension or alignment | Belt tension and rod condition |
| Visible separation between layers | Delamination | Temperature, extrusion or cooling issues | Nozzle and bed temperature, extrusion settings, part cooling |
Diagnosing a horizontal offset
Start by identifying the axis of the error. Then check the belts: pinch each one mid-span and compare its resistance with the other. Next, with the printer off, move the toolhead by hand. Binding or rough movement suggests a bent rod, a point 3D Insider (2022) also lists. Finally, check that the motor-pulley grub screws are tight, since a loose one stops motion from transferring accurately.
Diagnosing gaps between layers
A delamination is a vertical problem, so a mechanical check will not explain it. If the layers line up correctly but separate, belt tension is unlikely to be the cause. Focus on the three factors named by Snapmaker (2025): the temperature settings in your slicer profile, the extrusion settings, and the cooling applied to the part. Change one parameter at a time and reprint the same model, so you can tell which change fixed the gap.
Frequently asked questions
Does lowering print speed fix layer shifting?
Slowing the print can reduce shifting caused by toolhead overshoot, but it is not a guaranteed fix. Snapmaker (2025) suggests testing a 20–50% reduction in print speed, travel speed, jerk and X/Y acceleration on custom profiles. 3D Insider (2022) notes that halving the movement speed limits overshoot, but print times get longer.
Which direction is the shift running, and why does it matter?
Check whether the offset runs along the X axis (left to right) or the Y axis (front to back). BCN3D Support (2026) recommends this check when the belts are already tight and shifting continues, because the axis narrows down which belt or pulley is at fault.
Should I change the stepper motor current myself?
Only as a last resort, and ideally with guidance from the manufacturer’s support team. Snapmaker (2025) warns that incorrect VREF (motor reference voltage) settings can damage components, so back up your current configuration before changing anything.