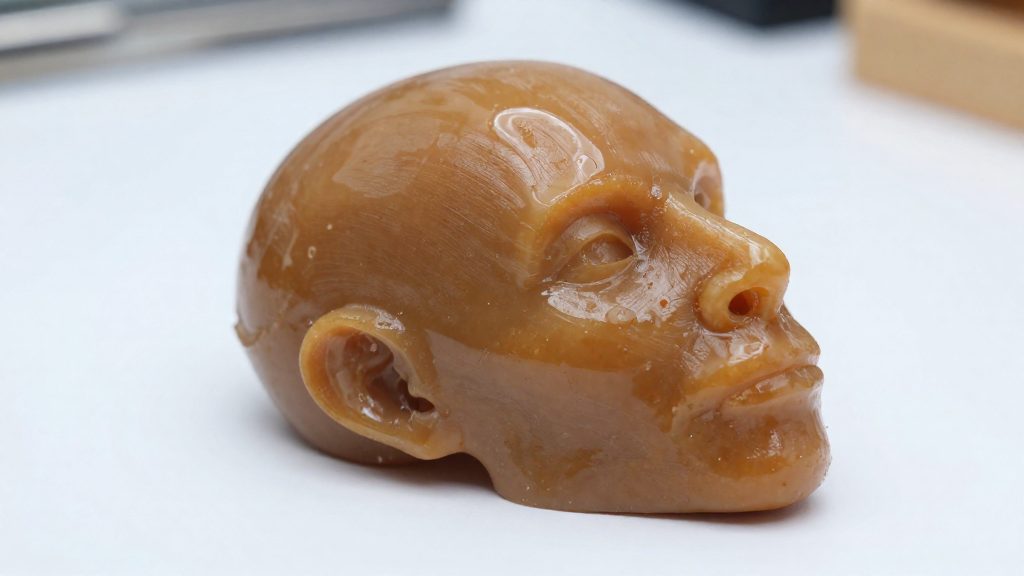
Stickiness after curing usually comes from one of three sources: residue left by washing, moisture that was never dried off, or a surface that did not fully cure, most often because of oxygen inhibition. Before changing your settings, decide whether the tackiness is a real fault or the normal feel of a cured resin surface. A properly cured, dry part with no cloudy film should feel dry. The sources give no numeric threshold, so compare the part with a correctly cured print of the same resin.
Why is my resin print sticky after curing?
Start by noting when and where the stickiness appears. Tackiness that shows up right after washing points to cleaning, while tackiness that appears only after air post-curing points to oxygen. The table below maps each symptom to a cause and to the section that covers it.
| Symptom | Likely cause | Covered in |
|---|---|---|
| Residue that stays tacky after washing | Inadequate cleaning | Leftover uncured resin from poor washing |
| Cloudy or sticky-looking wash solvent | Dirty or cloudy IPA | Does dirty IPA make prints tacky? |
| Damp surface before post-curing | Incomplete drying | Moisture and drying section |
| Sticky layers throughout the part | Under-exposure | Curing time and exposure section |
| Soft outer skin on the part | Over-exposure | Curing time and exposure section |
| Tacky surface only after air post-curing | Oxygen inhibition | Oxygen inhibition section |
Titancraft lists four causes of sticky or wet-looking prints: inadequate cleaning, prints not fully dry before post-curing, a post-cure that is too short, and dirty or cloudy IPA.
Two points help you separate causes. First, if the part still looks wet or damp, it is not ready for UV curing. Second, if the tackiness is spread through the layers rather than only on the surface, check exposure.
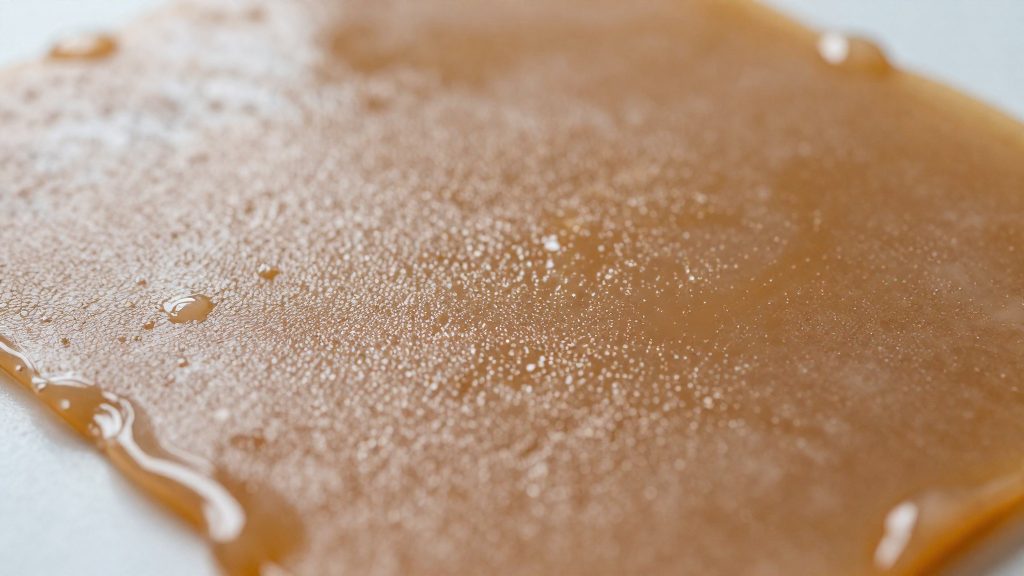
Leftover uncured resin from poor washing
Uncured resin left on a resin print after washing is a common cause of a tacky surface once the part is cured. The cleaning solvent, usually isopropyl alcohol (IPA) or ethanol, has to remove resin from every surface, including the gaps between supports and the undersides of overhangs. If the solvent cannot reach those areas, or if it is already loaded with resin, a thin film of uncured resin stays behind and hardens unevenly under the UV lamp.
Two-bin wash workflow
Liqcreate recommends washing in two baths. Use the first bin for bulk rinsing and the second for the final clean, as follows:
| Bin | Solvent state | Duration (Liqcreate) | Role |
|---|---|---|---|
| First | Used solvent | About 2 minutes | Bulk rinsing |
| Second | Fresh solvent | About 3 minutes | Final clean |
When you refresh the bins, the solvent in the second bin becomes the new first wash, and the second bin receives clean solvent. Keeping the first bin for rinsing means the final bin stays cleaner for longer.
Agitation and hard-to-reach areas
Agitation helps solvent replace the resin in contact with the part. Move the parts while they soak so that solvent flows through hollow sections and between closely spaced supports. Recesses and dense support clusters need the most attention, because resin trapped there is slower to wash out. Rotate the part during the wash so that no area stays in a dead pocket of solvent.
Over-soaking and alcohol absorption
Over-soaking is the opposite error. Hackaday notes that leaving a print in IPA for too long can make it absorb alcohol and swell, which degrades surface finish and fine detail. Stick to the wash times in the two-bin workflow rather than leaving parts in solvent until they look clean.
Does dirty IPA make prints tacky?
Yes, contaminated wash alcohol can leave parts sticky after curing. Parts can feel tacky once the wash IPA reaches roughly 5% to 10% dissolved resin, according to Formlabs guidance as cited by Hackaday (2020-06-04). This figure comes through a secondary citation, so treat it as a working guide rather than a tested limit.
Once the bath passes that range, uncured resin stays on the surface of the part, and the residue cures unevenly.
Choosing a wash solvent
Isopropyl alcohol (IPA) and ethanol are both accepted wash solvents. The guidance for both is a concentration preferably above 85%. The choice comes down to what is available and how often you can replace the bath.
Rescuing a part that is already tacky
If a part feels sticky after washing, re-wash it in clean IPA straight away, before ambient light cures the residue on the surface. Let it dry completely, then scrub the tacky areas with a soft brush.
Dry the print before post-curing
Any residual alcohol or surface moisture left on a part when it enters the UV chamber gets cured into the surface. Wash solvent and water are not part of the resin, so they keep the finish from setting cleanly. Liqcreate, a resin manufacturer, says parts should be fully dry before UV post-curing (Liqcreate, 2026).
Drying is cheaper than repairing. Liqcreate states that stickiness from unclean or wet parts is hard to fix once post-curing is complete. In one Hackaday test, extra UV curing did not reliably remove the stickiness (Hackaday, 2020).
Liqcreate names three drying approaches:
| Method | Detail in the sources |
|---|---|
| Air-drying on a bench | About 30 minutes (Liqcreate, 2026) |
| Gentle heating | Named as an option, no settings given |
| Compressed air | Named as an option, no settings given |
Move the part to UV only when the surface is dry and shows no wet sheen. Check edges, recesses and the underside of supports, because alcohol collects in these areas and dries more slowly.
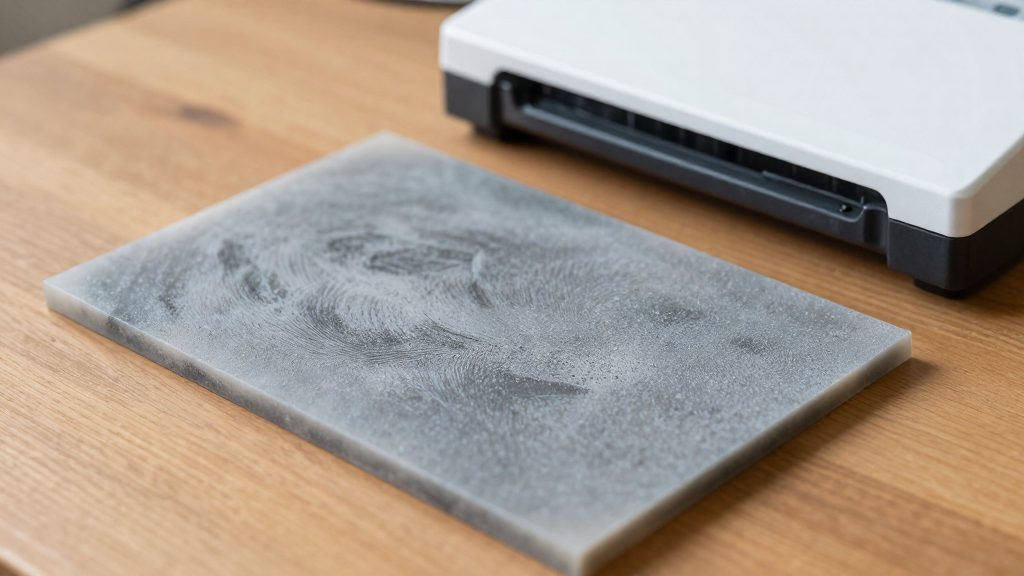
Oxygen inhibition and under-curing
A tacky finish after air post-curing is often a surface problem rather than a problem with the whole part. Liqcreate, a resin manufacturer, names oxygen inhibition during air post-curing as the main cause of surface stickiness in resin-printed parts (Liqcreate, 2026). Oxygen in the surrounding air reaches the outer layer while the part is under UV light and interferes with curing there, so the outermost film can stay tacky even when the interior has hardened.
Under-curing is the second cause to check. Liqcreate states that under-exposure leaves layers sticky, while over-exposure can leave a soft outer surface. Titancraft lists a post-cure that is too short among the causes of sticky or wet-looking prints and advises following the resin manufacturer’s cure times.
For difficult resins, Liqcreate suggests submerging the part in water or glycerol in a transparent jar during the first minutes of post-curing, which excludes oxygen. This is a deliberate immersion method, different from leftover moisture or alcohol on the surface, which still causes stickiness. A nitrogen chamber is the alternative.
Initial triage of tacky surfaces
Match the symptom to a likely cause before changing settings:
| Observation | Likely cause according to the sources |
|---|---|
| Tacky outer film, interior hard | Oxygen inhibition during air post-curing |
| Layers sticky | Under-exposure during post-curing |
| Soft outer surface | Over-exposure during post-curing |
| Wet-looking print, short cure | Post-cure too short |
| Sticky after washing | Unclean or wet part |
Wash solvent is another suspect: see the dirty IPA section for the dissolved-resin guide.
The consulted sources do not define a numeric threshold between normal surface feel and a tacky one, so the classification rests on comparing the part with a correctly cured print of the same resin.
How do I fix a sticky resin print?
The fastest rescue for a tacky part is to re-wash it before the residue cures further. According to Hackaday (2020-06-04), the part should go back into clean IPA right away, before ambient light hardens the residue on its surface. Once that residue is cured, it is much harder to remove, so the rescue should start as soon as the stickiness is noticed.
Step 1: Re-wash in clean IPA
Use fresh isopropyl alcohol rather than the bath that produced the tacky surface. Do not leave the part soaking longer than needed.
Step 2: Dry the part completely
The part must be fully dry before any further UV exposure. Wet or partly dry parts are a known cause of sticky results, so check every recess and support contact point before moving on.
Step 3: Scrub tacky areas with a soft brush
Once the part is dry, use a soft brush on the areas that still feel tacky. Work gently so the surface is not damaged. Then re-wash and dry again if the stickiness remains.
Why extra UV curing does not reliably fix it
Adding more UV exposure is the instinctive fix, but it does not work consistently. The author of the Hackaday article found that extra UV curing did not reliably fix the stickiness. Curing a part with residue still on it locks that residue into the surface, which is why the cleaning and drying steps come first.
Prevention checklist for tack-free prints
Run these steps in order before any UV exposure. These steps remove the cleaning and moisture causes of tackiness, which Liqcreate says are hard to fix after post-curing. If the surface is still tacky after air post-curing, check for oxygen inhibition and consider the water, glycerol or nitrogen options for difficult resins.
-
Wash in a two-bin sequence. Use the first bin for bulk rinsing and the second for a final clean. When you refresh the solvent, move the second bin’s IPA into the first position and add fresh IPA to the second. Agitate the parts, and give recesses and dense supports extra time, since residue collects there.
-
Check the solvent. Replace the bath when it looks milky.
-
Dry completely. Parts must be fully dry before UV post-curing. Any moisture left on the surface will cure into a tacky film.
-
Inspect under good light. Look for a wet-looking sheen, a cloudy film, or pooled liquid, especially in recesses, around drain holes, and on dense support areas. Any damp or cloudy area goes back to clean IPA before it enters the curing unit.
-
Post-cure for the full manufacturer time. Neither a short nor an extended cycle is a safe shortcut.