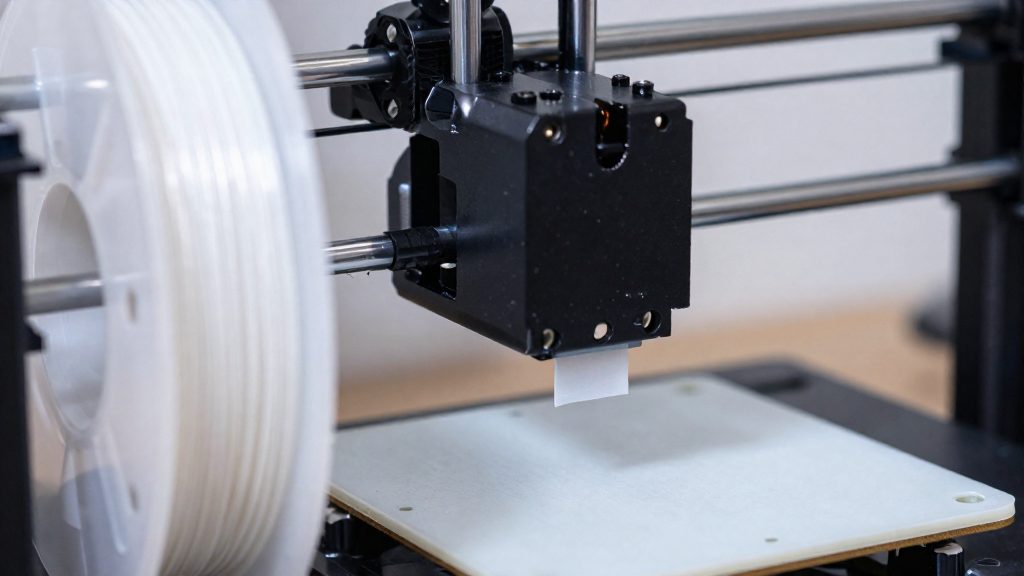
Why print speed matters for PLA on the Ender 3 V2
Print speed on a stock Ender 3 V2 controls three things at once: how long a part takes to finish, how cleanly its walls and surfaces form, and how close the printer runs to the limits of its motion system and hotend. Raising speed shortens the job, but each gain is usually paid for in surface finish or layer bonding. Understanding these trade-offs explains why one PLA profile can produce a clean print on one model and a flawed one on another.
Print time versus surface quality
Speed is the main lever for print time, and the cost of pushing it appears on the part itself. 3DSourced says large functional parts tolerate higher speeds.
Mechanical limits of the motion system and hotend
The stock machine has practical ceilings that sit well below the figures printed in its specifications. The table below summarises the values reported for the Ender 3 V2 and its stock components.
| Reference | Speed (mm/s) | What the source reports | Source |
|---|---|---|---|
| Practical ceiling of a stock Ender 3 | about 80 | Upper practical limit for printing | Wevolver (2026) |
| Owner reports | up to 120 | — | 3DSourced (2026) |
| Creality’s listed maximum | 180 | — | 3DSourced (2026) |
The 180 mm/s figure governs empty travel moves between features, not extrusion. A printer that moves quickly without printing quickly is the main source of confusion when reading spec sheets, so the printing speed is always set well below the travel value.
Speed and extrusion flow
The extrusion flow must keep pace with the toolpath. When the hotend cannot melt and push enough filament to match the speed, the result is under-extrusion, which 3DSourced lists alongside layer shifting and stringing as the problems to watch for when raising speed. Wevolver credits good cooling and a quality hotend with allowing higher speeds, which means the stock hardware sets the ceiling as much as the slicer value does.
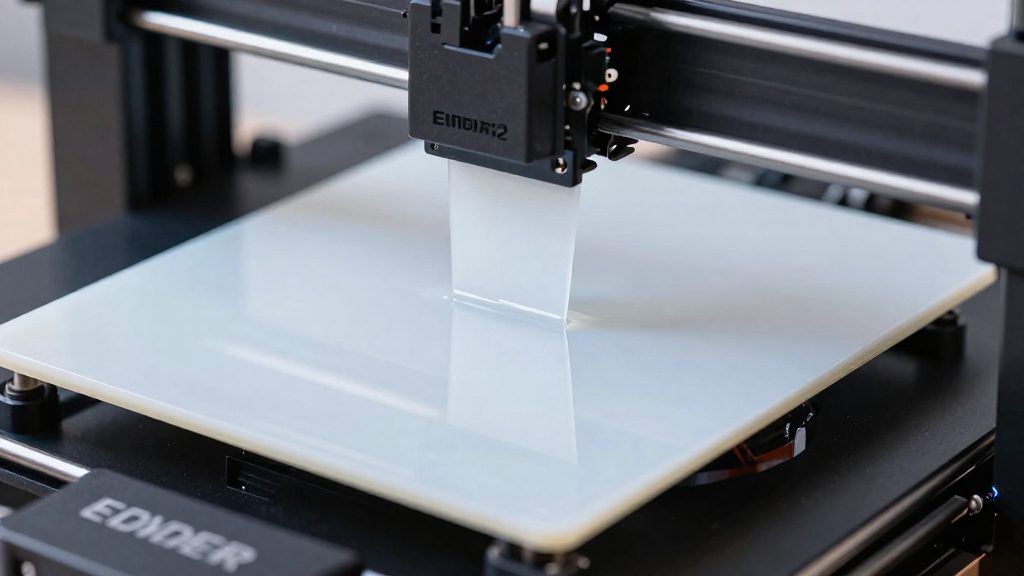
What is the best PLA print speed on a stock Ender 3 V2?
The headline PLA speed for a stock Ender 3 V2 is 60 mm/s, within a sweet spot of 45–65 mm/s. Creality’s official forum describes 60 mm/s as the widely recommended value for PLA on the Ender 3 family, which includes the V2. Set this as the starting speed in your slicer profile, then adjust from there. It is a practical default for most PLA prints, not a fixed limit.
The range sits around that headline because the printer’s limits are on both sides. Stock hardware can handle more than 60 mm/s, but quality drops as speed climbs.
| Source (year) | PLA speed guidance for Ender 3 V2 | Notes |
|---|---|---|
| Creality official forum (2026) | 45–65 mm/s sweet spot | 60 mm/s is the widely recommended value |
| 3DSourced (2026) | 50–80 mm/s for most prints | — |
| 3DPrinterly (2026) | 40–60 mm/s | Usual best PLA speed on an Ender 3 |
| Wevolver (2026) | Practical ceiling of about 80 mm/s | — |
Where the guides agree
The three guides that give ranges overlap between 50 and 60 mm/s, and Wevolver adds a practical ceiling. Creality’s 60 mm/s headline falls at the top of the 3DPrinterly range and inside the 3DSourced range. Only 3DSourced and Wevolver go above 65 mm/s. 3DSourced recommends 50–80 mm/s for most PLA prints, keeps detailed or decorative models at or below 60 mm/s, and says large functional parts can reach 80 mm/s or more. Wevolver presents about 80 mm/s as the practical ceiling of a stock machine.
Recommended speeds by feature
On a stock Ender 3 V2 printing PLA, walls, infill and supports do not need the same speed. Creality’s guidance (2026) gives a separate range for each feature, and 3DPrinterly (2026) gives a lower value for miniatures.
| Feature | Suggested speed (mm/s) |
|---|---|
| Walls | 35–40 (raised from the 30 mm/s default) |
| Infill | 40–60 |
| Supports | 30–40 |
| Detailed prints | about 40 |
| Miniatures | about 30 |
Walls run slower than infill because they form the visible surface of the part. Supports use a similar or slightly lower range. Too much speed is linked to ringing, stringing and blobs, which are the defects that most affect outer surfaces.
Infill tolerates the highest speeds because it sits inside the part. Its 40–60 mm/s range is the widest in the table, so it is the best place to add speed without changing the surface quality.
Supports at 30–40 mm/s are printed at a moderate pace, per Creality’s guidance.
Detailed prints sit at about 40 mm/s, while miniatures drop to about 30 mm/s, the lowest value in the table.
To apply these values, set each feature speed separately in the slicer, print a test part, and then raise speeds in small steps.
First layer and travel speed settings
The first layer speed and the travel speed do different jobs on an Ender 3 V2. The first layer speed controls how well the initial layer bonds to the bed, while travel speed controls how fast the nozzle moves when it is not extruding. For PLA, 3DPrinterly (2026) recommends a first layer of about 20–30 mm/s. That is well below the 40–60 mm/s it gives as the usual PLA speed for the rest of the print. A slower first layer gives each extruded line more time to bond with the bed, which is why it is printed more slowly than the walls and infill.
Travel speed works on a different principle. Raising it shortens the time the nozzle spends moving between islands, perimeters and other features without depositing filament. The value only affects these non-printing moves, so it does not set how fast the model itself is printed.
To apply both settings in your slicer:
- Set the first layer speed to 20–30 mm/s in the first layer section of the profile.
- Set the travel speed to 180 mm/s in the speed or movement settings.
- Set wall, infill and support speeds separately. The first layer and travel values do not change them.
| Move type | Recommended value |
|---|---|
| First layer (PLA) | 20–30 mm/s |
| Non-printing travel | 180 mm/s |
How fast can the Ender 3 V2 really go?
The Ender 3 V2’s listed maximum and its usable print speed are different numbers. According to 3DSourced (2026), the listed maximum is a travel-speed cap, not a print speed. The practical ceiling for printing is much lower and is set by what the stock hardware can keep up with.
Wevolver (2026) puts the practical ceiling of a stock Ender 3 at about 80 mm/s. Its sources also note that stock hotends and extruders struggle near 100 mm/s, so the hardware becomes the limiting factor well before the frame’s motion range does.
| Speed | Source | Context |
|---|---|---|
| 50–80 mm/s | 3DSourced (2026) | Recommended range for most PLA prints |
| 60 mm/s or lower | 3DSourced (2026) | Detailed or decorative models |
| About 80 mm/s | Wevolver (2026) | Practical ceiling of a stock Ender 3 |
| About 100 mm/s | Wevolver (2026) | Stock hotend and extruder begin to struggle |
| Up to 120 mm/s | 3DSourced (2026) | Reported by some owners, with visible ghosting |
The 120 mm/s figure is an owner report, not a recommended setting. 3DSourced links it to visible ghosting, which makes it unsuitable for parts where surface finish matters.
For practical settings, start at 60 mm/s and treat 50–80 mm/s as the range to explore, with about 80 mm/s as the practical ceiling of a stock machine. Keep detailed or decorative models at 60 mm/s or below. Only test speeds above 80 mm/s on large functional parts, and check each print for ghosting before increasing speed further.
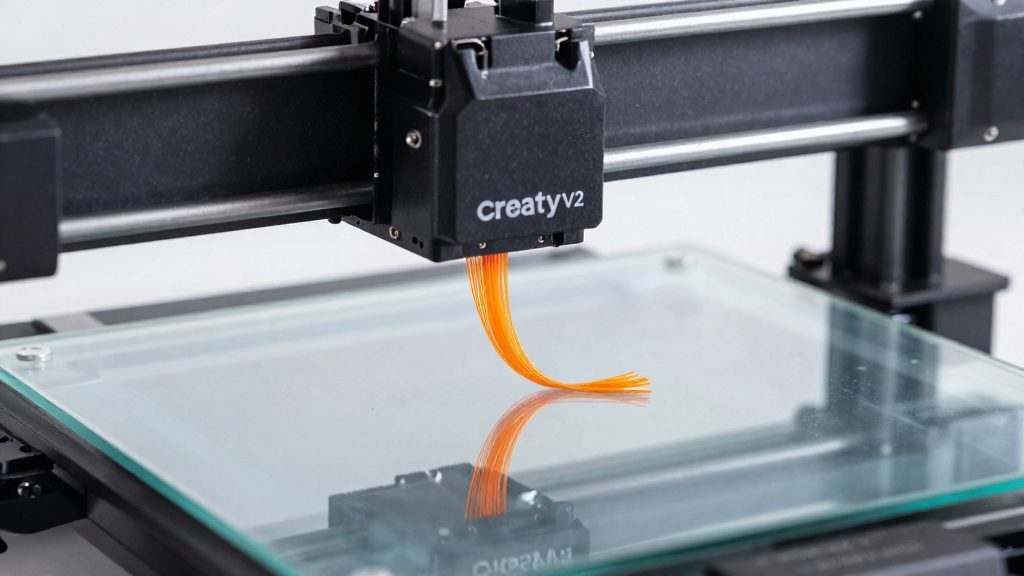
Which upgrades allow faster PLA printing?
The main software lever on a stock Ender 3 V2 is acceleration, the rate at which the toolhead changes speed. According to Wevolver (2026), the default is 500 mm/s², and raising it to 2,000 mm/s² or more helps the printer reach higher speeds. Higher acceleration shortens the time spent speeding up and slowing down at corners and short segments, which are the moves where a low setting holds the print back. Increase the value in steps and check each print for ringing and layer problems before going further.
Hardware sets the upper limit on how fast the printer can print. The same source states that a quality hotend and good cooling allow higher speeds. The reason is flow capacity: the hotend must melt enough PLA per second to match the speed of the moves. Upgrading the hotend and extruder raises that flow, and a stronger part-cooling setup helps the freshly extruded plastic set quickly enough to hold its shape at higher speeds.
Firmware is the other route. Wevolver suggests Klipper for going faster, specifically its input shaping and Linear Advance features. Input shaping reduces the vibration that causes ringing at high speed, and Linear Advance improves pressure control during changes in extrusion rate.
How do you find your own speed limit?
A stepped test is the most direct way to find the fastest PLA speed your Ender 3 V2 holds reliably. Print the same model several times, each copy at a higher speed, and inspect each one before moving to the next. Keep nozzle temperature, retraction and cooling fixed so that speed is the only variable. Keep the first layer at the 20–30 mm/s that 3DPrinterly recommends so the base stays consistent across copies.
Start at the lower end of the published range. Creality’s figure of about 40 mm/s for detailed prints is a sensible first step. Then raise the speed one step at a time. Small increments let you find the exact point where quality drops, instead of overshooting it.
| Test zone | Speed range from sources | What to look for |
|---|---|---|
| Starting point | About 40 mm/s | Clean baseline surface and stable layers |
| Common PLA range | 45–65 mm/s | Layer consistency and detail sharpness |
| Upper test zone | 65–80 mm/s | Layer shifting, under-extrusion, stringing |
Inspect each copy for the three symptoms 3DSourced lists as warning signs: layer shifting, under-extrusion and stringing. Once a copy shows any of them, the value to keep is the step below it, not the failing one. Record that value as the working speed for this printer and filament.
Stop the stepped test at the first visible failure. Treat about 80 mm/s as the practical ceiling of a stock machine, and test beyond it only on large functional parts.
Fixing defects caused by too much speed
Speed-related defects on an Ender 3 V2 share one root cause: the motion, the extruder or the hotend cannot keep up with the commanded speed. According to Wevolver (2026), printing too fast can cause poor layer adhesion, ringing, nozzle jams, stringing and blobs. The table below links each symptom to the adjustment that usually addresses it.
| Symptom | Speed-related cause | Adjustment |
|---|---|---|
| Layer shifting | The head loses position between layers at high speed | Lower the print speed, then raise it step by step |
| Under-extrusion | Filament is fed faster than the hotend can melt it | Reduce the print speed and check for a partial nozzle jam |
| Stringing | Oozing during fast travel moves, with retraction that is too weak | Keep retraction at the starting point and reduce speed |
| Ringing | Vibration from fast direction changes | Reduce speed, or enable input shaping in Klipper |
Layer shifting at excessive speed
Layer shifting appears as a horizontal displacement of the upper layers. When shifting appears, return to the last speed that printed cleanly rather than cutting speed drastically. Check that the belts are tensioned and the print is stable on the bed, because a loose part can shift at speeds that a secure part handles.
Under-extrusion and stringing
Under-extrusion shows as thin walls, gaps and weak infill, and it often starts when the hotend cannot melt filament fast enough. Reducing speed is the first corrective step. Stringing is usually a retraction problem that speed makes worse. The starting point from 3DSourced (2026) is 6 mm of retraction at 25 mm/s. Adjust retraction first, and lower the travel speed from 180 mm/s only if stringing persists.
Frequently asked questions
What speed should the first layer use on an Ender 3 V2 with PLA?
3DPrinterly (2026) recommends a first layer printed at about 20–30 mm/s, which is well below the 40–60 mm/s it gives for the rest of a PLA print. Setting the first layer separately from the main speed is the simplest way to apply this recommendation.
Does raising acceleration let me print faster?
Wevolver (2026) lists the stock acceleration as 500 mm/s² and says that raising it to 2,000 mm/s² or more helps the printer reach higher speeds. The same source notes that stock hotends and extruders struggle near 100 mm/s, so acceleration cannot fully remove that limit.
What defects appear when PLA speed is too high, apart from layer shifting?
Wevolver (2026) lists poor layer adhesion, ringing, nozzle jams and blobs as problems caused by printing too fast. Ringing shows as wavy ripples on the surface near sharp corners, and it is the defect most often confused with a mechanical fault.