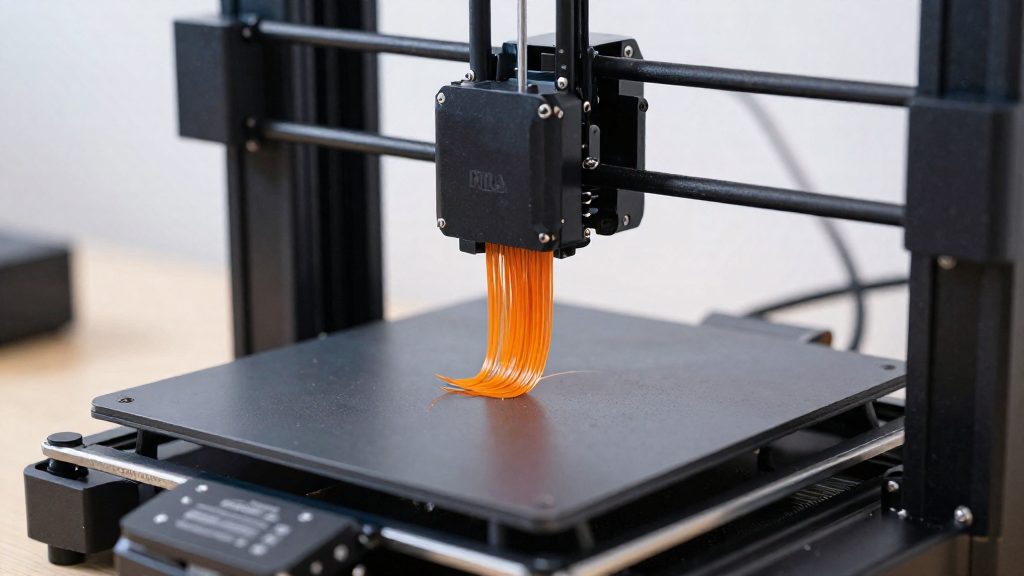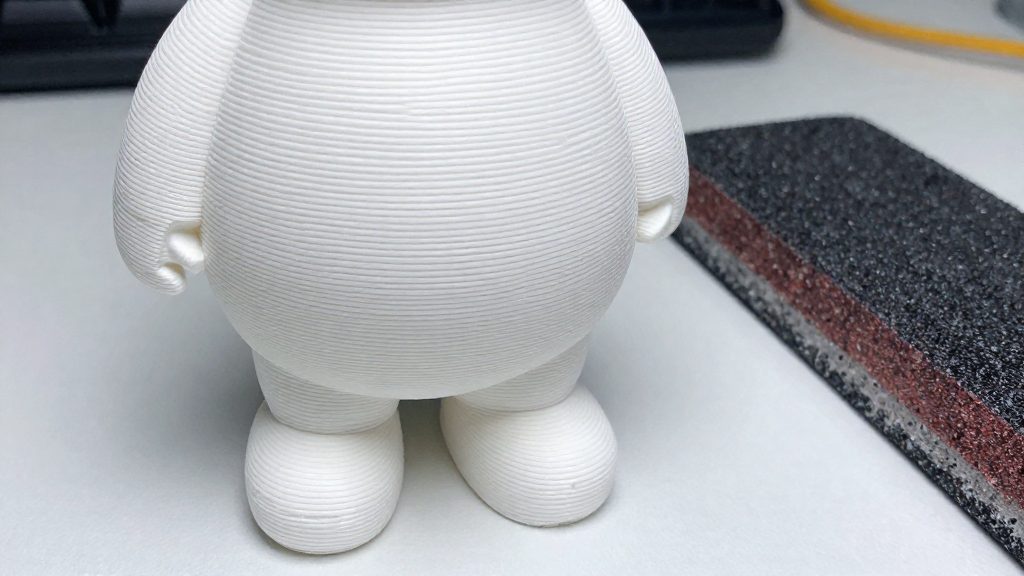
PLA prints need sanding before paint because FDM printers build each part from stacked strands of melted filament, which leaves ridges called layer lines across curved and vertical surfaces. Paint is a thin film that follows the texture beneath it, so these ridges show through as stripes and uneven sheen. Sanding lowers the high points.
Why do PLA prints need sanding before paint?
How layer lines appear under paint
Each layer of an FDM print is a row of extruded filament, and the edges of those rows form a stepped pattern on the outside of the part. Under bare light, these steps read as fine horizontal lines. Under paint, they catch light differently from the flat areas around them, so a matte or gloss coat often exaggerates the pattern instead of hiding it.
| Surface condition | Effect on the paint finish |
|---|---|
| Unsanded, unprimed layer lines | Ridges appear as stripes in the sheen and shadows in the recesses |
| Sanded but not primed | Smoother texture, though small gaps and scratches remain visible |
| Sanded and primed | Gaps are filled, giving paint a more even base to adhere to |
Why unsanded surfaces show flaws
Paint does not level out a rough surface. A few thin coats add color but little material, so any roughness, bump or groove underneath stays visible. Glossy finishes make this especially obvious, because the reflection breaks up along every ridge. Matte finishes also show the problem, because an uneven surface still changes how light scatters.
Where sanding sits in the workflow
Sanding comes after printing and support removal, and before any primer or paint. The usual sequence is:
- Print the part and remove supports.
- Sand the surface to reduce layer lines and roughness.
- Confirm the part is clean, dry and free of oil or residue.
- Apply primer to fill the remaining lines and gaps.
- Paint the part.
- Wait at least 24 hours before varnishing or polishing.
Tools and safety gear for sanding PLA
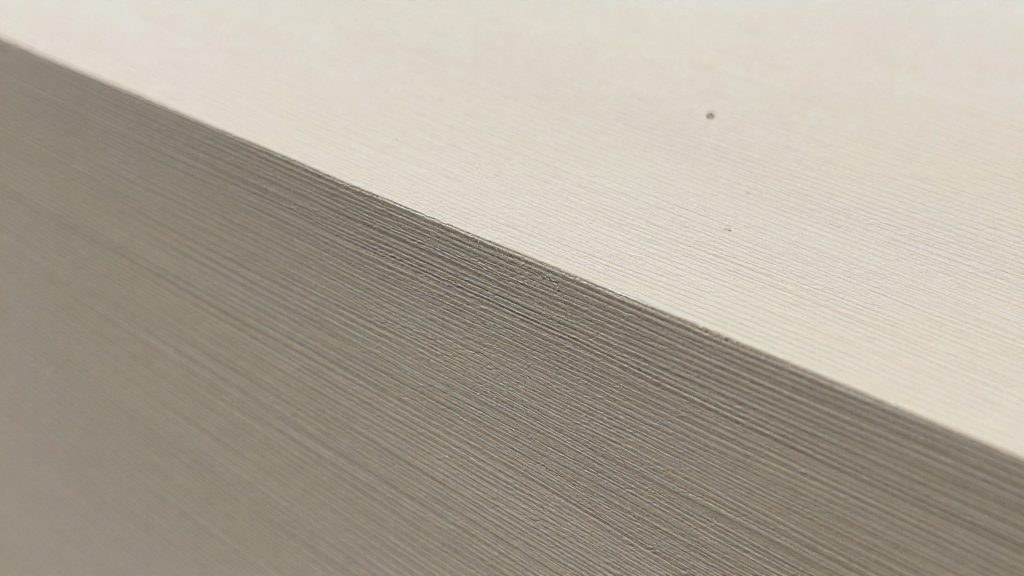
Sanding PLA needs a small kit of tools and protective equipment. The main hazard is the dust particles the work releases, which you should keep out of your lungs, eyes and skin. According to Anycubic (2026), you should wear gloves, safety goggles and a respirator while sanding. Put this gear on before you start, not after you notice dust in the air.
Protective gear
- Gloves: worn during sanding, and also during primer and paint application.
- Safety goggles: keep dust out of your eyes while you work on the surface.
- Respirator: protects your airways from inhaling dust. Spray work calls for a mask and gloves, plus a well-ventilated room.
Why sanding creates dust
Sanding removes material from the surface of the print, which sends dust particles into the air around your workbench. Treat the respirator as a standard precaution whenever you sand.
Hand sanding or an electric sander
Your choice of tool affects how much dust you create and how much control you have.
- Hand sanding gives direct control over pressure and works well on curves, small features and fine details.
- Electric sanders cover large flat faces faster, but they can build up enough heat to soften PLA and need more careful handling.
For most hobby parts, start with hand sanding and switch to a tool only for large, flat surfaces.
Which sandpaper grits work best?
Anycubic’s guide sorts sandpaper grits by the job they do, which makes it possible to plan a PLA sanding session in stages. Coarse paper removes the bulk of a flaw, medium paper removes the noticeable flaws that remain, and fine paper gives the final smoothing. Match the grit to what the surface still needs.
| Grit range | Stage | Job |
|---|---|---|
| Below 200 | Rough removal | Removes material quickly and can leave visible scratches |
| 200 to 500 | Flaw removal | Removes noticeable flaws |
| 600 to 800 | Final smoothing | Smooths the surface before painting |
Start with rough removal only when a part needs significant material taken off. Move to the 200 to 500 range once the large imperfections are gone, and use the 600 to 800 range for final smoothing, the last pass before any coating.
Sand from the coarsest grit to the finest, and finish with wet fine-grit paper. Each step should follow the one before it, so the finer paper works on a surface already prepared by the coarser grit.
How do you stop PLA from melting while sanding?
Electric sanders are the main heat risk when you sand PLA. According to Wevolver (2026), an electric sander can build up enough heat to soften or melt PLA, so the key habit is to keep the tool moving rather than working one area until it looks smooth.
Why an electric sander can soften PLA
Friction turns the sanding action into heat at the contact point between the abrasive and the print. When the heat stays concentrated in one spot, the surface of the PLA softens, and the layer lines you wanted to remove can turn into a melted, uneven patch. The damage is most likely on raised areas such as layer ridges, edges and corners, which take the most contact.
Once the surface has softened, it is hard to recover. The fine detail on the print can blur, and the damaged area may need extra filling before painting. Work on the larger, flatter surfaces first and leave tight details for last, when you can work more slowly.
Technique to avoid heat damage
- Keep the sander moving in continuous, overlapping passes instead of pressing in one place.
- Never linger in one spot. If the surface starts to feel warm or shiny, lift the sander and let the area cool before you return to it.
- Check the surface regularly by touching it with your fingertips, and stop before the surface starts to look glossy or deformed.
- Use hand sanding on detail areas where an electric sander is more likely to round off edges or melt fine features.
Why acetone does not work on PLA
Many makers try acetone to smooth a print, because Wevolver (2026) notes that acetone smooths ABS. The same source states that acetone does not work well on PLA, so it should not be used as a shortcut for removing layer lines. Sanding and filler primer remain the approach for PLA.
Filler primer: hiding layer lines
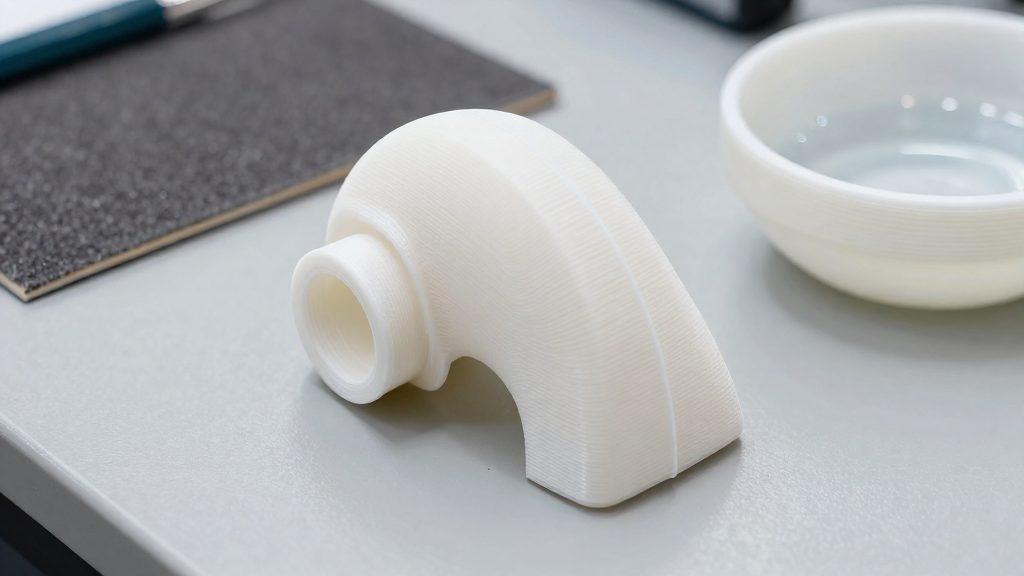
Layer lines are the small ridges left by each deposited layer of a PLA print. A filler primer is a coating that fills them in, so the surface reads smooth before paint goes on. According to Anycubic (2026), primer fills layer lines and gaps so that paint adheres better. For this job, Wevolver (2026) names a gray spray primer sold at hardware stores as the usual choice. Its purpose is structural: it builds material into the low points between layers, which gives the color coats an even base to sit on.
Preparing the part
The part must be clean, dry and free of oil or residue before any primer goes on. Anycubic (2026) specifies this condition because paint adheres better to a clean surface. Remove sanding dust from the print and let it dry completely before spraying, since any leftover residue undermines the bond.
Building the coats
Wevolver (2026) recommends at least two coats of filler primer. Let each coat dry fully before adding the next. Spray from about 25–30 cm (10–12 in) in steady passes and avoid heavy coats that pool. Then wait about 40 minutes for the primer to dry before moving on to paint.
| Stage | Action |
|---|---|
| Preparation | Wipe the part so it is clean, dry and residue-free |
| First coat | Apply a layer across the whole surface |
| Drying | Let the coat dry fully before the next pass |
| Second coat | Add a second coat to reach at least two coats total |
| Before painting | Confirm the primer is dry, then start the color coats |
Choosing acrylic or enamel paint
Acrylic and enamel differ mainly in their carrier liquid. Water-based acrylic dries matte and quickly, and it is the affordable option. Solvent-based enamel gives a glossy finish, but it dries more slowly and smells stronger. Your choice depends on the finish you want and how well you can ventilate your workspace.
| Property | Acrylic | Enamel |
|---|---|---|
| Carrier liquid | Water | Solvent |
| Finish | Matte | Glossy |
| Drying speed | Quick | Slower |
The carrier liquid explains most of the practical differences. Acrylic is cleaned up with water, while enamel is thinned and cleaned with solvent, so the two paints are not interchangeable on the same brushes or in the same workflow.
Odour is the main safety difference. Enamel has the stronger smell, so it calls for good airflow. Wevolver (2026) recommends doing spray painting in a well-ventilated space and wearing gloves, goggles and a mask when spraying, which applies to both paints but matters most for enamel.
Acrylic is described as affordable. Compare the prices of the specific products you plan to buy.
For most home printers, acrylic suits matte figures, quick turnaround and low cost. Enamel suits projects where a glossy surface is the goal and you can accept slower drying and a stronger smell.
Applying paint and a clear coat
Spray paint in thin, even layers. Wevolver gives the 25–30 cm (10–12 in) distance for spray primer, and the same steady-pass technique is a sensible approach for the color coats. Anycubic likewise advises applying acrylic model colors in thin, even layers rather than one heavy application.
Full coverage is rarely reached in one pass. Light colors usually need several coats (Anycubic, 2026). Wait 15–20 minutes between coats so each layer can set before the next one goes on.
The sequence below summarizes the spraying and drying steps.
| Step | Action | Timing |
|---|---|---|
| 1 | Spray a first coat from 25–30 cm | Steady passes |
| 2 | Recoat the part | 15–20 minutes after the previous coat |
| 3 | Repeat until the color is fully covered | Light colors need more coats |
| 4 | Let the paint dry completely | Before varnishing |
| 5 | Apply a clear varnish | At least 24 hours after the last coat |
Anycubic recommends finishing with a clear varnish once the paint is fully dry. Wevolver specifies a minimum of 24 hours before varnishing or polishing, so the paint layer is not disturbed while it cures.