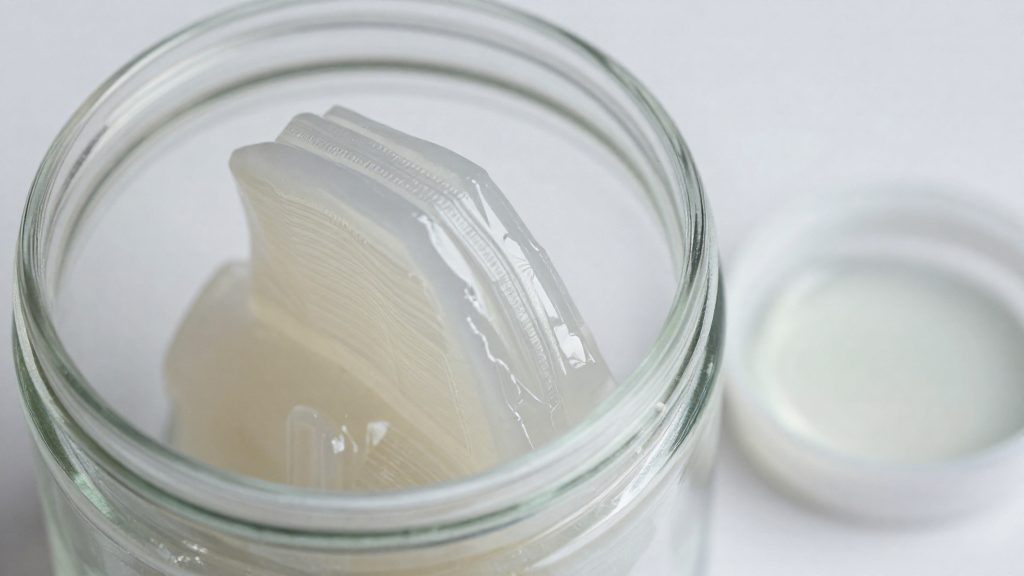
Acetone smoothing suits ABS parts where the visible surface matters more than exact dimensions. It hides the stepped layer lines of an FDM print and gives the surface a glossier finish, but the softening that causes this also costs dimensional accuracy and fine detail. The trade-off is acceptable for parts that are looked at more than they are fitted.
Why smooth ABS with acetone?
Layer lines are the main visual flaw on a standard FDM print. Each layer leaves a ridge, and these ridges scatter light and make the surface look striped and matte. Acetone softens the outer layer so these lines flow out, leaving a smoother surface that reflects light more evenly. This is the gain the method is used for.
Where the finish gain is worth it
Smoothing pays off when the exterior is the point of the part. Common examples in the hobby include:
- Display models and figurines, where layer lines are the most visible flaw.
- Cosmetic housings and covers, where the outside is seen and the exact fit is less critical.
- Prototypes that need to look finished for presentation.
What the finish costs in accuracy
Smoothing reduces dimensional accuracy, because the softened surface material shifts and the part no longer matches the model exactly. Any part that must fit a mating component, hold a tight tolerance, or keep a precise opening should be measured after smoothing, or left unsmoothed.
What you need and safety basics
Before acetone touches a print, settle three things: the protective gear you wear, where you open the container, and which electrical parts stay away from the fumes. According to Wevolver (2024), acetone work calls for a mask, eye protection and non-nitrile gloves. Acetone is flammable, so the workspace matters as much as the gear.
Protective gear
- Mask: worn for the whole session.
- Eye protection: worn while handling acetone and the container.
- Non-nitrile gloves: the only glove type the guidance names.
Ventilation rule
Open the container only in a ventilated area. The acetone vapor is the working agent, so opening the container in a closed room puts the fumes straight into the air you breathe. Set up the smoothing station where air can move freely before you remove the lid.
Exposure and flammability limits
According to CDC/NIOSH (2024), acetone has the following reference values:
| Measure | Value | What it means |
|---|---|---|
| REL (time-weighted average) | 250 ppm | Recommended average exposure limit |
| Flash point | 0°F | Lowest temperature at which vapor can ignite |
| LEL | 2.5% | Lowest vapor concentration in air that can ignite |
| IDLH | 2500 ppm | Concentration immediately dangerous to life or health |
The flash point and LEL explain why ignition is a real risk. Acetone vapor can catch fire at low concentrations and at ambient temperatures.
Ignition sources to keep out
Fans can circulate the vapor, which helps the smoothing, but fans and other electronics can spark and ignite the fumes. Keep fans and other electronics out of the fume space and away from the chamber, since they can spark and ignite the vapor (Wevolver, 2024). RepRap Wiki (2024) mentions a small fan to circulate vapor, but given the ignition risk, do not use one inside or next to the box. Keep phones, lights and other electrical devices out of the enclosure and the area around it while acetone is in use.
How to set up and run acetone vapor smoothing
Acetone vapor smoothing works by dissolving the outer surface of an ABS print. As that surface softens, the FDM layer lines flow out and the surface becomes smoother. According to Wevolver (2024), the recommended DIY method does not immerse the part. It uses a partly covered container with acetone-soaked tissue, so the part is exposed to vapor instead of liquid.
The box setup controls how much vapor reaches the print:
- Raised platform: The part sits above the acetone source, so it contacts vapor rather than liquid.
- Acetone-soaked tissue: The tissue in the bottom of the container is the vapor source.
- Loosely fitted lid: The lid covers the container only partly, which keeps the vapor concentrated around the part.
The RepRap Wiki (2024) notes that heating the print bed speeds up the process, but a heated bed is an electrical heat source and acetone vapor is flammable (flash point 0°F, LEL 2.5%). This conflicts with the rule to keep electronics out of the fume space, so do not place a heated bed or any other powered device in the vapor. The main difficulty is applying the acetone evenly, so that every surface of the part receives a similar amount of vapor.
The table below compares how acetone reaches the part in the three common approaches.
| Method | How acetone reaches the part | Control and risk |
|---|---|---|
| Vapor box | Vapor from soaked tissue | Part is exposed to vapor, not liquid; uniform application is the main difficulty |
| Brush | Liquid in 4 to 10 thin coats | Most control, keeps fine detail |
| Brief bath | Part submerged in liquid | Least safe, can warp the part |
Brushing or bath: are they worth it?
Brushing and the acetone bath trade control for speed. According to Obico (2024), brushing uses about 4 to 10 thin coats of acetone, gives the most control and keeps fine detail. Because each coat is applied by hand, the operator decides where the solvent goes and how much is laid down at a time. That makes brushing the better choice for parts where fine features need to stay intact.
The bath is the faster route. Wevolver (2024) describes a brief immersion of about 1 minute. It is also the least safe option, and it can warp the part. A warped part can no longer match the dimensions it was printed to, which is a poor trade for a model with tight tolerances or a fitted assembly.
Brushing is not risk-free either. The practical split is straightforward: brushing suits detailed or dimensionally important parts and gives the operator time to adjust, while the bath suits a quick, rough finish on a part where warping does not matter.
How long should you smooth?
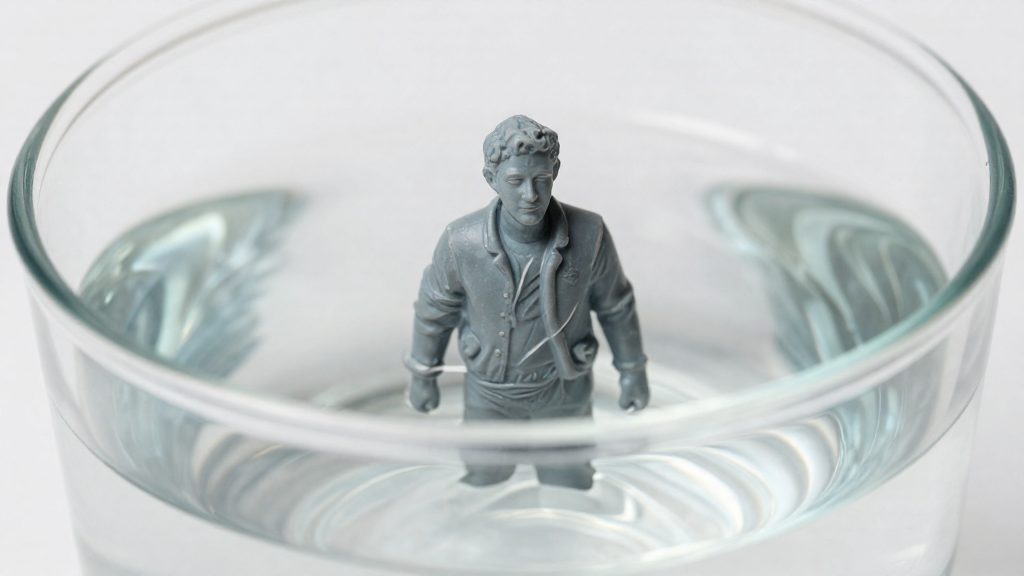
Vapor smoothing of ABS takes roughly 10 minutes to an hour according to Wevolver (2024), while Obico (2024) gives a longer window of 20 minutes to 2 hours. The sources do not explain the difference between the two ranges, so treat them as a starting bracket and check the part during the process.
| Source | Stated timing | Variables named |
|---|---|---|
| Wevolver (2024) | About 10 minutes to 1 hour | Watch the part to learn the timing |
| Obico (2024) | About 20 minutes to 2 hours | Part size, jar space, acetone amount |
Three variables set the duration:
- Part size: larger or smaller parts shift the timing, which is why Obico ties its range to this factor.
- Jar space: the free volume in the container affects how the vapor fills it.
- Acetone amount: the quantity of acetone determines how much vapor is available.
Bed temperature is another lever. RepRap Wiki (2024) notes that heating the bed speeds up vapor smoothing. Uniform application of the acetone is the main difficulty, so the timing depends as much on vapor distribution as on the clock.
Common mistakes and how to fix them
Two documented mistakes are worth avoiding: sealing the container too tightly, and handling the part before its surface has set. Both are avoidable with small changes to the setup and to how you handle the part afterward.
Fully sealed box causing pressure buildup
Acetone vapor is generated inside the container, so a lid pressed shut leaves nowhere for the pressure to go. Wevolver’s guide to acetone smoothing says never to fully seal the smoothing box for this reason. The fix is a partly covered container with a loosely fitted lid, so vapor stays concentrated around the part while the box is not airtight. The recommended DIY setup also places acetone-soaked tissue at the bottom and the part on a raised platform, which keeps it out of the liquid and above the acetone source.
Touching parts before the surface hardens
Right after smoothing, the outer layer of the ABS is still soft (Wevolver, 2024). Do not press, rotate or reposition the part until it has hardened. Leave the part untouched until it has fully hardened. Drying takes a few hours to a few days (Obico, 2024), and a touch test can mark the surface.
Drying, finishing and alternatives
A smoothed part stays soft while it dries. According to Obico (2024), drying takes a few hours to a few days, so the part should be left undisturbed until it is fully hard. Handling it earlier can mark or deform the surface that was just softened.
Final surface check
Once the part is fully hard, check two things before deciding whether more work is needed:
- Layer lines: compare the surface with the original print to confirm the lines have flowed out.
- Fit: test mating parts before final assembly, because dimensional accuracy drops after smoothing.
Non-acetone alternatives
The trade-offs below apply to acetone itself. Vapor and brush methods both remove or reflow the outer surface, which reduces accuracy on fine features.
Frequently asked questions
Which method gives more control, brushing or vapor?
The brush method uses about 4 to 10 thin coats applied by hand, so you can stop when the surface looks right and keep fine detail intact. Vapor smoothing exposes the whole part at once and runs for roughly 10 minutes to 2 hours, depending on the guide, so you have less control over individual areas.
How long should I wait before handling a smoothed part?
Smoothed ABS stays soft while it dries, which takes a few hours to a few days according to Obico (2024). Leave the part where it is until it is fully hard, and check its condition by sight rather than by touch.
Why is acetone vapor treated as an ignition hazard?
Acetone has a lower explosive limit (LEL) of 2.5% and a flash point of 0°F, so its vapor can ignite near any heat or spark source (CDC/NIOSH, 2024). Keep heaters, motors and switches outside the vapor space.