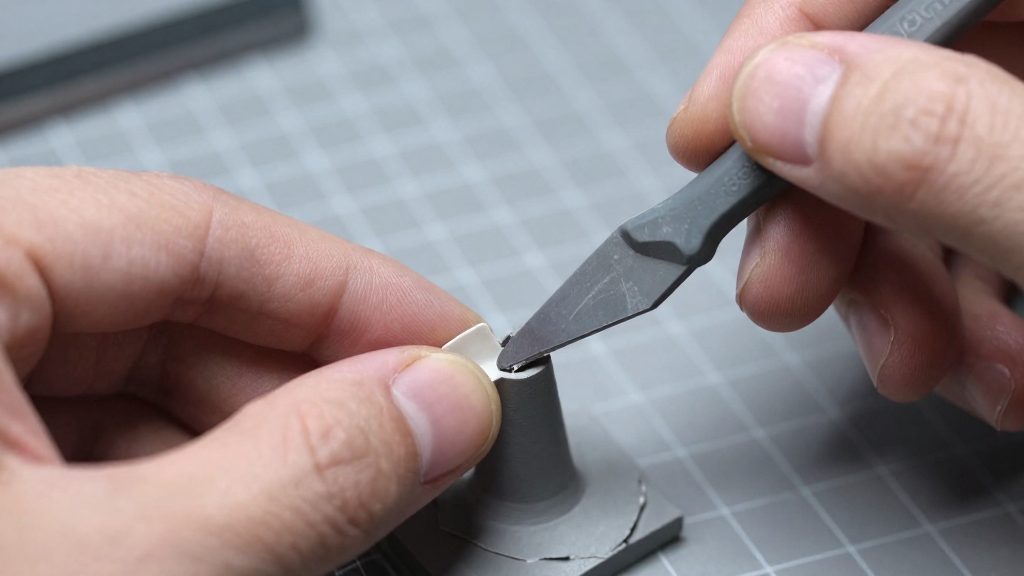
Resin supports are hard to remove because they are cured by the same light that hardens the model, so each contact point becomes part of the surface it holds. Removal has to break that joint rather than unhook a loose piece, and the break tends to leave marks on the print. Contact points on curved surfaces make the problem worse, because the tip is small and hard to reach.
Why are resin supports hard to remove?
Cured resin bonds at each contact point
Each support ends in a tip that touches the model during printing. Once the print is cured, the tip and the model are one continuous piece of hardened resin, with no gap where a tool can slip in. Separating them means breaking that joint, which can pull small fragments from the surface and leave a bump where the support was. Supports placed too close together can fuse to the model entirely, which turns a simple removal into a cutting job.
Hard-to-reach contacts on curved surfaces
On curved surfaces, the contact point is often a narrow tip set at an angle, leaving little room for a cutter or tweezers to get behind it. Working close to the surface with a tool that is too large or too blunt increases the risk of scratching the print around the joint. The sources list several factors that make removal harder:
| Factor | Effect on removal |
|---|---|
| Supports spaced too close together | Can fuse to the model (Titan Craft, 2025) |
| Tip diameter too large | Makes the support harder to release (Titan Craft, 2025) |
| Overexposure | Listed as a cause of very difficult removal (Titan Craft, 2025) |
Warming the print softens the bond. A heat gun or a warm water bath can help, but the print and resin must not overheat (Anycubic, 2025). Soaking cleaned miniatures in water at about 110°F (43°C) for 30 to 60 seconds can also make supports easier to release (Titan Craft, 2025).
Tools you need and safety gear
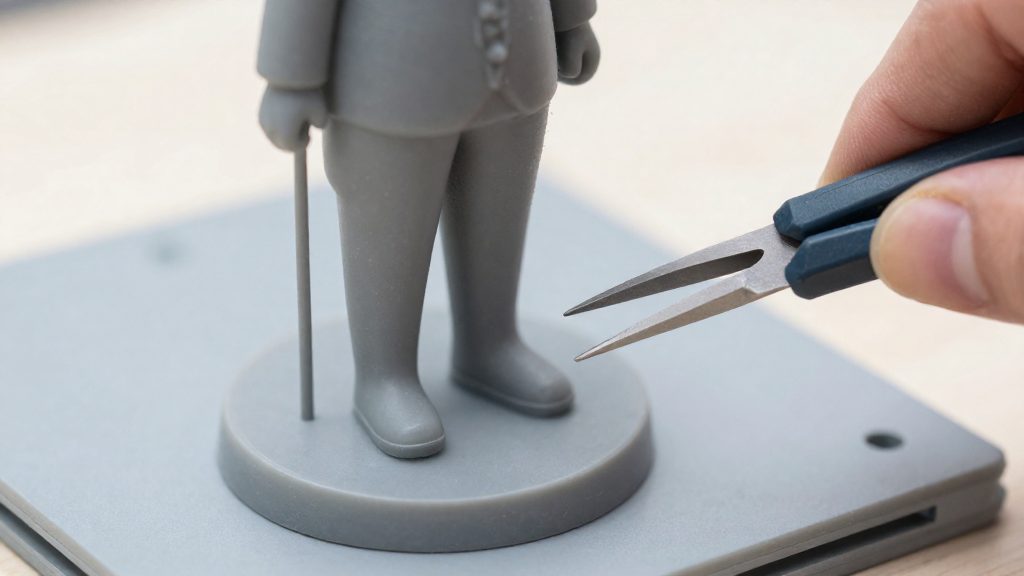
Before you cut anything, whether the print is still uncured or already cured, gather a small kit of cutting tools, hand protection and eye protection. Flush cutters do most of the work, pointed tweezers reach narrow areas, and gloves and eye protection guard against injury.
| Item | Role in support removal | Safety point |
|---|---|---|
| Flush cutters | Cut the support body at its connection point | — |
| Pointed tweezers | Grip and pull small support pieces in narrow areas | Use them where cutters cannot reach |
| Gloves | Hold the print while cutting and pulling | Protect against hand stabs and surface damage |
| Eye protection | Shield your eyes while cutting cured supports | — |
Flush cutters and tweezers
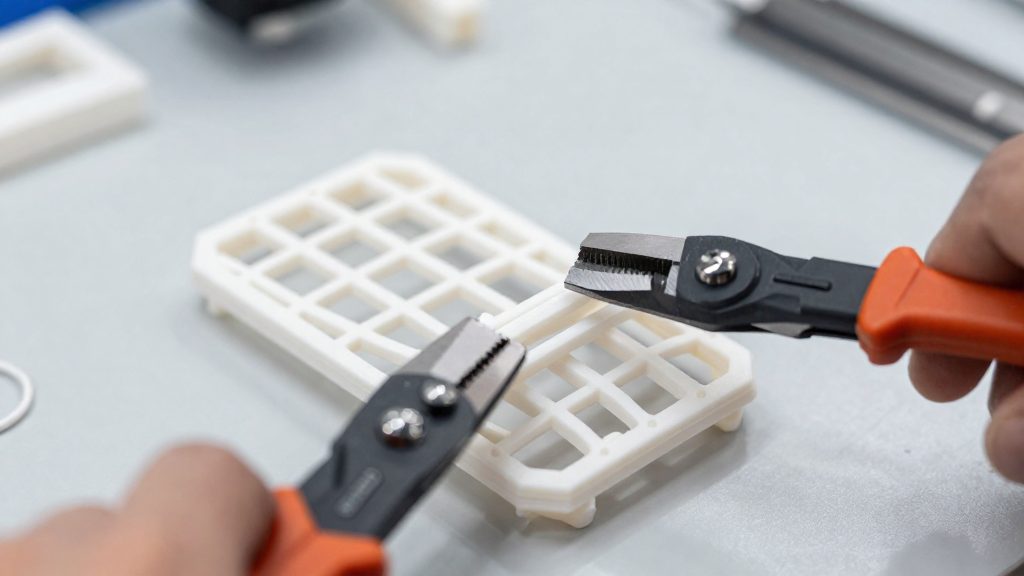
Flush cutters are the main tool for removing supports. Position the blade so it is angled against the support’s connection point, the spot where it meets the model. Cutting at that junction keeps the cut close to the model, which helps limit the cleanup afterwards. For narrow areas where the cutter blades do not fit, pointed tweezers are the recommended alternative, according to Anycubic (2025).
Gloves
Wear gloves before handling the print. Anycubic (2025) warns that pulling supports off by hand can stab your hand and damage the surface, so gloves protect against both injury and marks on the model.
Eye protection and bystanders
Put on eye protection before cutting cured supports, because fragments can fly. Keep children and pets away from the work area, because uncured resin can be harmful if ingested. Keep the uncured resin and the cutting station separate from play areas and food-related spaces to limit contact.
Should you remove supports before or after curing?
Removing supports before the final UV cure is the faster option. In one test reported by 3Dprinterly (2025), taking supports off before curing took 1 min 40 s, against 9 min 20 s after curing. The source does not specify the print, resin or support layout used, so treat these timings as a single data point rather than a benchmark.
In the pre-cure route, the print is cleaned and briefly dried, the supports are softened in warm water, and then they are pulled off before the final cure. The same source notes that removing supports after curing often causes breakage and leaves more marks on the surface.
| Factor | Remove before curing | Remove after curing |
|---|---|---|
| Removal time in the test | 1 min 40 s | 9 min 20 s |
| Breakage | Lower risk than after curing | Often causes breakage |
| Surface marks | Fewer marks | More marks |
The difference matters most when supports must be cut. Post-cure removal means cutting hardened supports, which is where fragments are produced. Cured parts also leave more visible marks, so any cleanup afterward takes additional work on the surface.
Step-by-step: removing supports cleanly
Clean support removal on a resin print follows a fixed order: wash the print, soften the supports in warm water, pull them away, then brush, dry and UV-cure. The sequence starts before the final cure, as recommended by 3Dprinterly (2025).
| Step | Action | Detail |
|---|---|---|
| 1 | Take the print off the build plate | Do this before washing. |
| 2 | Wash the print | Use isopropyl alcohol (IPA), a wash station or an ultrasonic cleaner. |
| 3 | Soak in warm water | Softens the supports. For small miniatures, about 110°F (43°C) for 30 to 60 seconds is the reference range. |
| 4 | Gently pull the supports off | Work slowly so the surface is not damaged. |
| 5 | Brush off residue | Removes loose fragments and uncured resin from the surface. |
| 6 | Dry the print again | Let the surface dry completely before the final UV cure. |
| 7 | UV cure | Final cure of the cleaned print. |
Pulling the supports off is the step where the surface is most exposed, so work slowly. Flush cutters are a common alternative for supports that do not come away cleanly.
How do you loosen stubborn supports?
When a support does not release under normal pulling, the approach is to warm the bond gently and then work at the contact point with fine tools. For hard-to-remove supports, Anycubic (2025) recommends warming the print with a heat gun or a warm water bath, taking care not to overheat the print or the resin. The goal is to make the contact easier to separate without deforming the part, so apply heat in short passes and check the surface between passes.
Once the contact has softened, the tool choice matters more than force. Anycubic (2025) lists fine-tipped tools for this stage, and the table below matches each tool to the access problem it solves.
| Tool | Best used for | Practical note |
|---|---|---|
| Water-jaw pliers | Gripping a thin support body close to the model | Fine tips allow a firm grip in tight spots |
| Pointed tweezers | Narrow areas where pliers cannot reach | Useful for pulling out small, detached pieces |
| Pen knife | Fine, hard-to-reach support contacts | Work the tip into the gap at the contact point, then lever gently |
Work from the support body toward the contact rather than pulling the support straight off the model. Keep the force low and stop if the surface starts to lift or whiten, since that may mean the tool or the pull is too aggressive.
If a support still will not come free, the cause often lies in the print setup. Fixing those settings on the next print is more reliable than forcing the current one.
Cleaning up support marks
Once the support body is off, the contact points usually leave small bumps on the surface. According to Anycubic (2025), a hobby knife trims the small bumps left after the support body is removed, and sandpaper, sanding sticks or an electric sanding pen smooth the bumps that remain. Trim first, then sand, so the abrasive only has to finish the surface.
Trimming small bumps with a hobby knife
The hobby knife suits bumps that stand proud of the surface but are small enough to shave down in a few passes. Work the blade in short strokes and remove a little material at a time, rather than pressing down to cut through the bump in one motion. Stop as soon as the bump is level with the surface, because the goal is a flat contact point, not a clean cut through the model.
Sanding with sandpaper, sanding sticks and an electric sanding pen
Sandpaper is the basic abrasive for the bumps that remain after trimming. Sanding sticks and an electric sanding pen are the other two options named for this step, and they let you work the marks without relying only on hand pressure. Sand gently and check the surface often, since sanding removes resin from the area you are treating and can leave a dull patch if you go too far.
Judge progress by sight and touch: stop when the bump no longer catches a fingertip and the surface blends into the surrounding area.
Slicer settings that make supports easier to remove
Most of the removal effort is decided in the slicer, before the print starts. Fewer supports, smaller contact points and better placement all reduce the time spent cutting and cleaning afterwards.
Model orientation
Model orientation is the first lever. Rotating the model so that fewer overhangs need support means fewer support bodies to remove. Anycubic (2025) recommends orienting the model so it needs fewer supports, which keeps the workload low before any density or contact changes are made. Fewer contact points also leave fewer marks on the surface.
Support density and contact point size
Support density and contact point size control how strongly each support bonds to the model.
| Setting | Problem when overdone | Adjustment direction |
|---|---|---|
| Number of supports | Too many supports make removal harder | Reduce through orientation first |
| Tip diameter | Oversized tips make removal harder | Reduce, within stability limits |
| Spacing between supports | Supports fuse to the model when too close | Keep supports apart |
| Density | Dense supports add contact points to remove | Reduce, within stability limits |
Placing remaining supports in less visible areas
Once the support count is minimised, position the remaining supports on faces that are least visible. Anycubic (2025) advises placing the remaining supports in less visible areas, so the marks they leave fall where they matter least. Keep contact points off detailed surfaces, mating faces and areas you will handle often, since these are the places where a leftover bump is most noticeable.
Frequently asked questions
Should I remove resin supports before or after the final UV cure?
Removing them before the final cure is faster and less likely to break the surface. In one test, removal before curing took 1 min 40 s, compared with 9 min 20 s after curing, and post-cure removal often caused breakage and more marks.
What safety gear should I wear when cutting cured supports?
Wear eye protection, because cured fragments can fly when you cut, and wear gloves so a slipping tool or support does not stab your hand. Keep children and pets away from the work area, since uncured resin can be harmful if ingested.
How can I reduce the number of supports that are hard to remove?
Start with model orientation: position the print so it needs fewer supports, and place the remaining ones in less visible areas. You can also adjust support density and contact tip size and angle, but only as far as the model still prints stably.