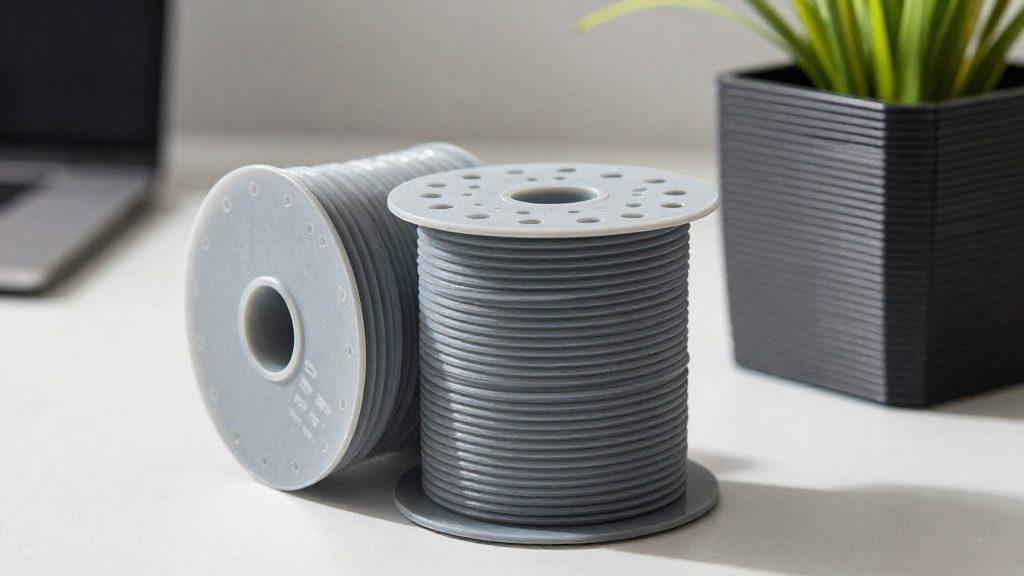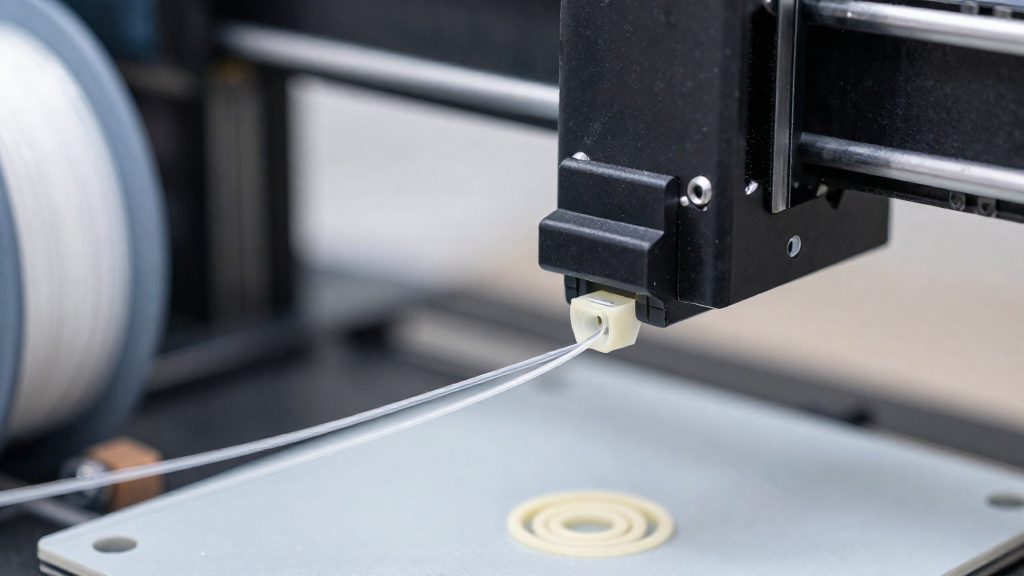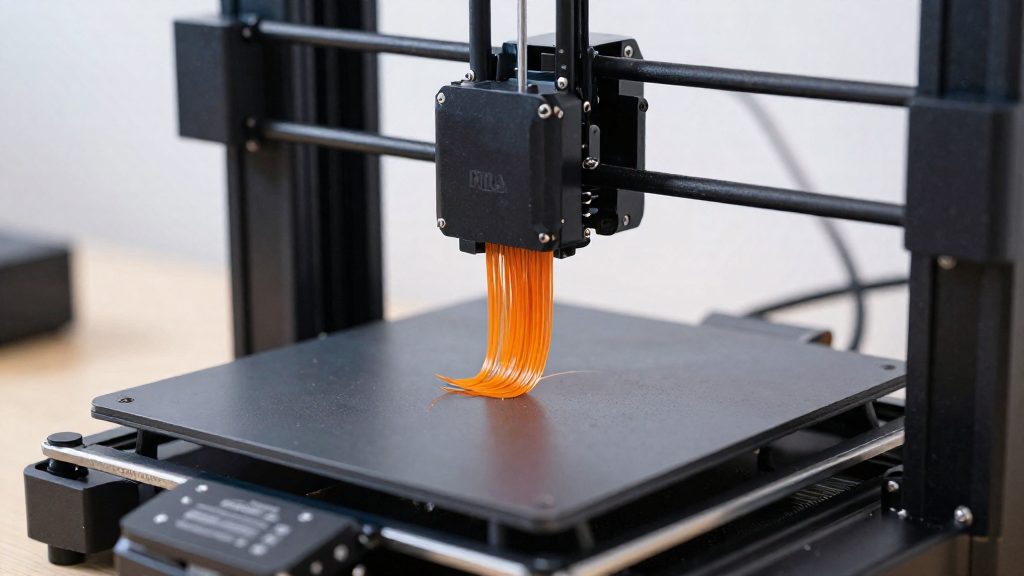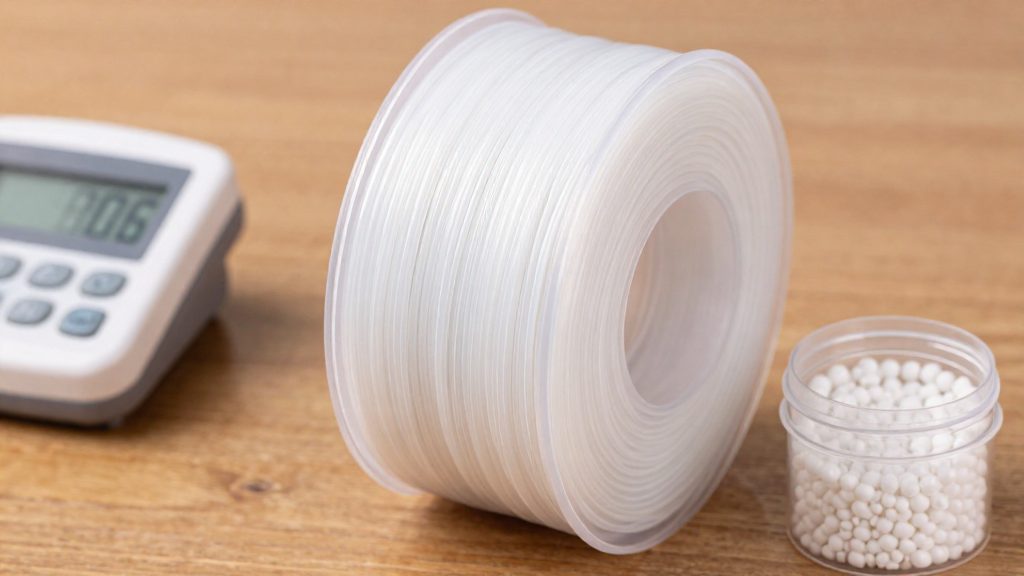
PLA needs drying because it is hygroscopic: it absorbs moisture from the surrounding air, and that water reacts with the polymer when the filament is melted. The water does more than sit in the filament. It chemically shortens the polymer chains, which lowers the strength and melt quality of the printed part. Because this reaction happens during melting, moisture that is harmless in a spool becomes a problem in the hotend.
Why does PLA need drying?
PLA is hygroscopic
PLA is a polyester, and its molecular structure allows it to take up water from humid air. Once absorbed, the moisture is held within the filament, even when the spool looks and feels dry. A spool left open on a desk gradually gains water, and the amount depends on how long it stays exposed.
Hydrolysis breaks the ester bonds
Water reacts with the ester bonds that link the units of the PLA chain, a reaction called hydrolysis. At melt temperature, this reaction proceeds much faster than at room temperature. Each broken bond shortens the chains, so the molecular weight of the polymer drops. Shorter chains give a runnier melt with lower viscosity, and the extruded strand has less internal strength. Water in the filament is generally understood to turn to steam in the nozzle, which produces bubbles and gaps in the extruded line.
Water uptake under room humidity
In practice, the rate depends on the relative humidity of the room, the temperature, and the time the spool spends unsealed. Filament kept in a humid room for several days absorbs more water than filament opened briefly, and the effect builds up over repeated exposures. The safest approach is to treat any spool that has been open for an extended period as potentially wet.
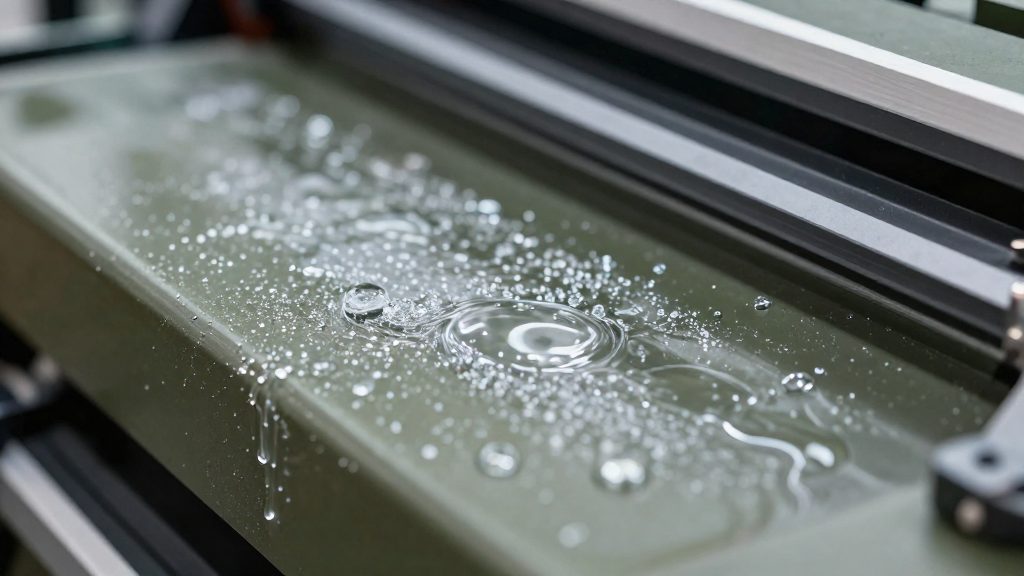
Signs your PLA filament is wet
PLA that has absorbed moisture gives off a set of recognisable symptoms, and most of them appear during printing rather than on the spool. Each symptom points to a different stage of the problem: what you hear at the nozzle, what you see on the printed part, or what happens to the filament before it reaches the extruder. Matching the symptom to its cause lets you decide quickly whether the filament needs drying before you troubleshoot anything else in the slicer or on the printer.
Audible signs during extrusion
Popping and hissing are the most common early warnings. When the filament enters the hot end, trapped water turns to steam, which escapes as small bursts at the nozzle and sometimes as a faint crackle from the heater block. The sound is usually most noticeable at the start of a print or after a pause, when the hot end has been heating the same section of filament for a while.
If the noise fades after a few minutes, the moisture was concentrated in the filament that was already in the hot end. If it continues steadily through the whole print, the entire spool is likely affected.
Visual signs on the printed part
Moisture leaves a distinct mark on the extrusion itself:
- Stringing appears as fine, hair-like threads between separate parts of the model. Steam pushes molten plastic out of the nozzle even when the printer is travelling, so the threads form in gaps that should be clean.
- Bubbling shows as small blobs or pockets in the extruded line. When a bubble bursts on the surface, it leaves a pinhole or a small crater.
- Rough surface finish looks like a matte, grainy or slightly frosted texture on walls that should be smooth. The uneven surface is caused by steam disrupting the even flow of molten plastic.
These defects often look similar to over-extrusion or incorrect retraction settings. The difference is that moisture defects tend to change from one spool to another, and they often improve when you dry the same spool and print again without changing any slicer parameters.
Physical signs on the spool
Wet PLA also changes in the hand:
- Brittle filament can snap when bent sharply near the spool, particularly at the point where it leaves the spool and runs toward the extruder. Filament that bends normally when fresh may crack or break under the same tension once moisture is present.
- Dull or cloudy appearance on the filament surface is not a reliable sign of moisture, so do not rely on looks alone.
Symptom summary
| Symptom | Where you notice it | Most likely cause |
|---|---|---|
| Popping or hissing at the nozzle | During extrusion | Steam escaping from water trapped in the filament |
| Stringing between parts | Printed model, between features | Steam pushing molten plastic out during travel moves |
| Bubbles or pinholes on walls | Printed model, extruded lines | Steam bursts within the molten bead |
| Rough, grainy surface | Printed model, outer walls | Steam disrupting even flow of molten plastic |
| Snapping near the spool | Filament path, before the extruder | Moisture reducing flexibility and toughness |
When several of these symptoms appear together, and they change after drying the same spool, moisture is the most likely cause.
What temperature and time dry PLA?
PLA is typically dried at about 40–50 °C (about 104–122 °F) for roughly 4–6 hours, according to Wevolver (2025). Staying within this window is the typical way to remove moisture while limiting the risk of deforming the filament. Going above about 60 °C (about 140 °F) can soften PLA, so keep the drying temperature within the 40–50 °C (about 104–122 °F) window and well below that threshold.
| Parameter | Value | Notes |
|---|---|---|
| Target temperature | About 40–50 °C (about 104–122 °F) | Wevolver (2025) |
| Drying duration | Roughly 4–6 hours | Wevolver (2025) |
| Thermal ceiling | Above about 60 °C (about 140 °F) | Risk of softening the filament |
The temperature and time figures work together. Within the 40–50 °C (about 104–122 °F) range, the cycle relies on the 4–6 hour duration to draw out moisture. Pushing the temperature higher to speed things up is the wrong lever for PLA, because going above about 60 °C (about 140 °F) can soften the filament. A lower temperature is gentler on the filament but needs more time to reach the same dryness, so the practical trade-off is to accept a longer cycle rather than a hotter one.
Spools that have absorbed a lot of moisture, for example after sitting open in a humid room, may need more time than the baseline range. The safe approach is to extend the cycle in steps rather than cut it short. Keep the temperature in the same window while you do so.
Can you dry PLA in a kitchen oven?
A kitchen oven can dry PLA only if it can hold a verified 40–50 °C (about 104–122 °F). Some ovens may not hold a low setting in the 40–50 °C (about 104–122 °F) range, so an oven is an imprecise tool for the job. Its thermostat is designed for cooking, not for holding a narrow low temperature for hours, and most ovens have no airflow control to carry moisture away from the spool. The main risk is a large gap between the displayed temperature and the real air temperature. Treat the oven as a last resort, and verify how it behaves before loading any filament.
Thermostat inaccuracy and calibration
The temperature shown on an oven’s dial or display often differs from the real air temperature inside the cavity. Hot spots, the position of the heating element and gaps around the door all shift the reading. To measure the thermostat offset:
- Place an independent oven thermometer on the middle rack, away from the walls and the heating element.
- Set the oven dial to about 104–122 °F (40–50 °C), wait until the thermometer reading stops changing, then note the value.
- Repeat at two or more set points and record the difference between display and thermometer.
- Apply that offset to every future setting.
Read the thermometer with the door closed. Opening the door makes the reading drop, which gives a false result.
Spool placement, ventilation and humidity escape
Position matters as much as temperature. Air needs to reach the spool on all sides, and the moisture released from the filament needs a way out.
| Position | Use | Avoid |
|---|---|---|
| Middle rack on a wire rack | Air access on all sides, away from the element | Bottom rack, touching the heating element |
| Wire rack | Circulation under and around the spool | Metal tray or foil, which traps heat and moisture |
| Oven interior | Keep the spool in the center, away from the walls and element | Leaving the oven unattended |
Keep the oven in a ventilated room, and do not leave it running unattended.
Spool core and bearing heat damage
Spool cores and flanges can deform when heated. Check the spool at intervals during the cycle. If the core softens, bends or the flanges start to warp, remove the spool before the filament winds unevenly on the distorted core. Also inspect any spool with a central bearing or hardware, since heat can affect these parts differently from the plastic flanges.
Filament dryer, dehydrator or heated bed?
Three approaches dry PLA at home: a dedicated filament dryer, a food dehydrator, or the heated bed of the printer. The target band for PLA is about 40–50 °C (about 104–122 °F) for roughly 4–6 hours. The choice depends on how precisely the temperature is held, how many spools fit at once, and whether the drying space is sealed.
Dedicated filament dryers
A dedicated dryer is built for this task: it encloses the spool, heats it, and lets the user set the temperature. A dedicated dryer is built for this task, so check each manufacturer’s published specifications before buying. Confirm that the lowest selectable temperature reaches the 40–50 °C (about 104–122 °F) band.
Food dehydrators
A food dehydrator is a cheaper alternative if one is already owned. Its limits are the following:
- Temperature floor: many units offer a lowest setting that may sit above the PLA band, for example above about 122 °F (50 °C). Check the lowest step before use.
- Capacity: trays are sized for food, so a full spool may not fit, and the airflow is not designed around filament.
- Humidity control: an open-vent unit does not seal the spool from room air.
Heated bed drying
Drying on the printer’s heated bed needs no extra hardware, but it has the most constraints:
- Temperature control: the bed is set for printing, not for drying. Monitor the surface temperature.
- Contact and heat distribution: the spool sits on or near the bed, so one side of the filament warms faster than the other.
- Enclosure: on an open-frame printer, moist room air is not contained, so drying is less effective than in a sealed space.
| Option | Temperature control | Capacity | Cost | Main limit |
|---|---|---|---|---|
| Dedicated dryer (e.g., PolyDryer, FilaDryer S2) | Set on the unit; confirm the lowest step covers 40–50 °C (about 104–122 °F) | Spool size and count per model specification | Generally the highest purchase price | Not stated |
| Food dehydrator | Often set in fixed steps; lowest step may exceed 50 °C (about 122 °F) | Food trays; not designed for spools | Low if already owned | Open airflow, no humidity seal |
| Printer heated bed | Set for printing, not drying | Only the spool loaded on the printer | No extra cost | Enclosure dependent |
How do you know the filament is dry?
PLA dryness is best confirmed by measuring change rather than relying on drying time alone. Three practical checks work at home: weighing the spool before and after drying, comparing a controlled test print against a baseline, and taking readings with a handheld moisture meter. Each answers a different question. Weight shows whether water is leaving the spool, the test print shows how the filament behaves in your printer, and the meter gives a relative moisture reading.
| Check | What it tells you | Limitation |
|---|---|---|
| Spool weight change | Whether water is still leaving the filament | Shows direction of change, not a moisture percentage |
| Baseline test print | How the filament extrudes under fixed settings | Needs a printer and a repeatable profile |
| Handheld meter reading | A relative moisture trend between sessions | Depends on the meter’s calibration and the measuring point |
Weighing the spool before and after drying
Weigh the complete spool, including the cardboard core if it stays on, on a scale fine enough to show small changes. Use the same scale every time.
- Record the weight of the spool before drying, with the date.
- After your drying run, let the spool return to room temperature before weighing, so heat does not affect the reading.
- Record the new weight and compare it with the first.
- Dry for a further session and weigh again.
A weight drop after drying suggests that mass has left the spool. When two consecutive weighings, taken under the same conditions, no longer differ on a sensitive scale, drying has probably stopped removing water, but this is an indication, not proof of dryness. This method does not tell you how much moisture remains, so treat it as a progress indicator.
Controlled test print baseline
A baseline print isolates the filament as the only variable. Use a simple model with long travel moves and fine features, such as a stringing test, because it exposes differences more clearly than a solid block.
- Before drying, print the model with a fixed profile. Record the slicer version, layer height, nozzle temperature, print speed, retraction settings, nozzle, and bed state.
- Label the print “before” and keep it.
- After drying, repeat the print with exactly the same settings and label it “after.”
- Compare both prints side by side under the same lighting. Look at surface finish, strand quality between features, and the consistency of extrusion.
If you change any setting between prints, the comparison is invalid. Clean the nozzle and bed before each run so that residue does not account for differences.
Handheld moisture meter readings
A moisture meter gives relative readings that are most useful when tracked over time, not read as a single absolute value.
- Measure at the same point on the filament each time, such as the section leaving the spool, and use the same probe contact.
- Check the meter’s manual for a PLA or generic material setting, and use it if available.
- Take several readings at each session and average them, discarding obvious outliers.
- Log every reading with its date and drying session number. A reading that falls and then levels off indicates that drying is no longer changing moisture content.
When the spool weight has stabilized, the “after” print matches the baseline, and the meter reads the same as at the end of the previous session, the filament is most likely dry.
Store PLA to keep it dry
PLA absorbs moisture from ambient air, so storage aims to limit how much humid air reaches the filament between prints. A spool kept in a sealed container with a desiccant, and opened only for the length of a print, stays in much better condition than one left on a shelf in a humid room. Drying and storage are separate steps: drying removes moisture that is already in the filament, while storage keeps it from coming back.
Airtight containers with silica gel desiccant
An airtight container is the foundation of any storage setup. Choose a box with a gasket or a tight-fitting lid, then place a silica gel desiccant inside to absorb moisture from the trapped air.
- Keep the desiccant in its own pouch or compartment so it does not touch the filament.
- Use color-indicating silica gel or a humidity card to see when the desiccant is saturated.
- Reactivate silica gel according to the manufacturer’s instructions.
- Keep the spool in its original sealed bag inside the box when possible. The bag is a second barrier.
| Storage setup | What it protects against | Limitation |
|---|---|---|
| Sealed bag with desiccant pack | Low-cost barrier for short-term storage | Frequent opening exposes the filament to air |
| Gasketed plastic box with silica gel | Stable, enclosed air between sessions | Desiccant needs periodic reactivation |
| Dry box with a filament outlet port | Printing without opening the enclosure | Requires a guide tube that fits the printer |
Printing directly from sealed storage boxes
Dry boxes with an outlet port let you feed filament to the printer without removing the spool from the enclosure. Route the filament through a PTFE guide tube from the port to the extruder, and keep the lid closed for the entire print. Each time the lid opens, the air inside is replaced, so limit openings to loading and unloading.
Check that the tube fits snugly at both ends and that the path is free of sharp bends, which can cause feeding problems that look like moisture defects but are mechanical.
Resealing spools between print sessions
When a print finishes, cut the filament cleanly and feed the remaining length back into the spool so the end is not left loose. Place the spool back in its sealed bag, press out as much air as practical, and close the bag before returning it to the container.
If a spool has been left open for a long period, re-dry it before printing. Printing damp filament can cause stringing, popping and rough surfaces, so treating a long-exposed spool as suspect is the safer habit.
Frequently asked questions
What temperature should I use to dry PLA at home?
Dry PLA at about 40–50 °C (about 104–122 °F) for roughly 4–6 hours, according to Wevolver (2025). Keep the drying window below about 60 °C (about 140 °F), the point where the filament can begin to soften.
Can I dry PLA in a kitchen oven?
An oven is a last resort. Use it only if an independent thermometer placed beside the spool confirms that the oven holds 40–50 °C (about 104–122 °F). If it cannot hold that range, use another method, and never leave the oven running unattended.
How can I tell if my PLA is still wet after drying?
Appearance is an unreliable guide, and wet PLA often shows its problems only during printing, as bubbles, gaps, or weaker strands in the extruded line. A weighing check helps: if the spool loses mass during drying and two consecutive weighings under the same conditions no longer change on a sensitive scale, drying has probably stopped. That is an indication, not proof of dryness.