Yes, a Bowden printer can print TPU, but only when the filament path is tightly controlled. According to MatterHackers (2026), TPU needs a path that stops it from buckling, kinking or escaping sideways under compression, and this requirement matters more than whether the printer is Bowden or direct drive. The extruder layout sets the starting point, but the path and the print settings decide whether the print succeeds.
Can you print TPU on a Bowden printer?
Feasibility is not the limiting factor. What matters is filament path control: keeping the flexible filament constrained from the extruder to the hot end, so that the pushing force reaches the melt rather than being absorbed by the filament itself. Overture (2026) gives the most concrete settings for Bowden hardware, and MatterHackers (2026) adds guidance on flow and retraction.
| Setting | Recommended value | Source |
|---|---|---|
| Print speed | 15–20 mm/s | Overture (2026) |
| Travel speed | 100–150 mm/s | Overture (2026) |
| Retraction | Reduced or eliminated | Overture (2026) |
| Starting volumetric flow | Near 3.2 mm³/s | MatterHackers (2026) |
| Flow adjustment step | ±0.2 mm³/s | MatterHackers (2026) |
The table shows that Bowden TPU printing relies on a low-force setup. Slow print speed keeps the filament from being pushed faster than it can flow, and the fast travel range keeps non-printing moves brief because no filament is being pushed during travel. On Bowden setups, volumetric flow is the lever to adjust, not travel speed. MatterHackers recommends limiting maximum volumetric flow, starting near 3.2 mm³/s and changing the value in steps of ±0.2.
Retraction also belongs to the path discussion. MatterHackers notes that older or open-path extruders, which include many Bowden setups, often need very low or zero retraction to avoid jams, and suggests raising it only if stringing persists after the spool has been dried.
Why does TPU jam on Bowden setups?
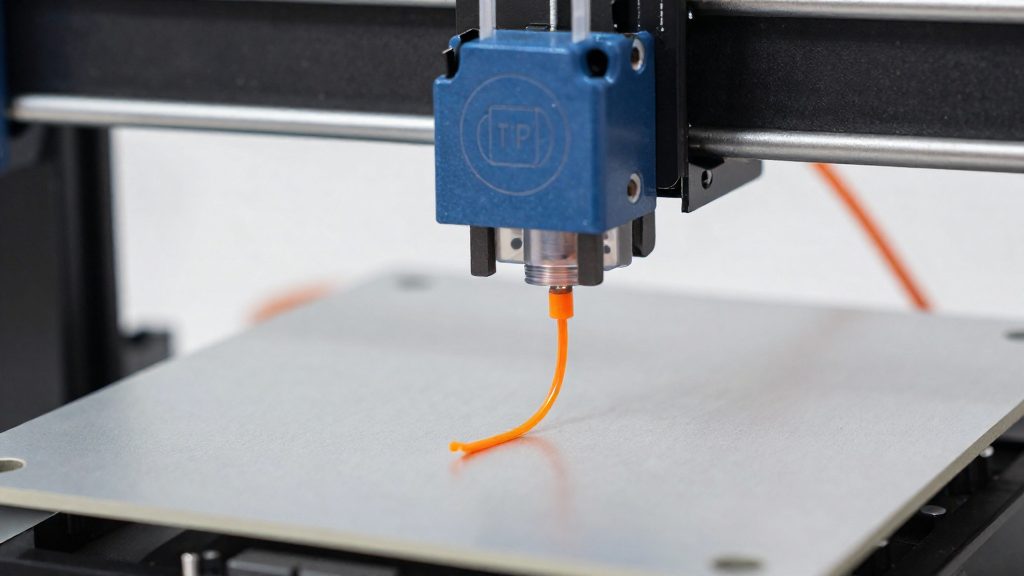
TPU jams on Bowden printers because the filament is soft enough to bend under the force needed to push it through the hotend. In a Bowden layout the extruder sits away from the hotend and the filament travels through a PTFE tube. The soft filament can still buckle wherever it is not fully constrained, such as gaps at the tube ends, slack at the drive gear, or bends and pinch points in the path. When the extruder pushes, that free section folds sideways instead of advancing. The result is a clicking extruder, a flattened filament section or a full jam in the tube.
Filament buckling under extruder compression
The core mechanism is buckling. MatterHackers (2026) compares flexible filament to pushing a rope: the harder you push, the more it buckles. A soft filament cannot transmit the extruder’s force cleanly to the melt zone, so any force not spent moving material forward shows up as bending. Pushing harder to speed up extrusion makes the jam more likely, not less.
Why open-path extruders are prone to jams
Open-path extruders, which include many Bowden setups, are the setups where the unsupported filament length is greatest. Because the filament is constrained least in these setups, MatterHackers advises very low or zero retraction and a capped volumetric flow to keep the push within what the soft filament can transmit.
Prepare the printer and filament path
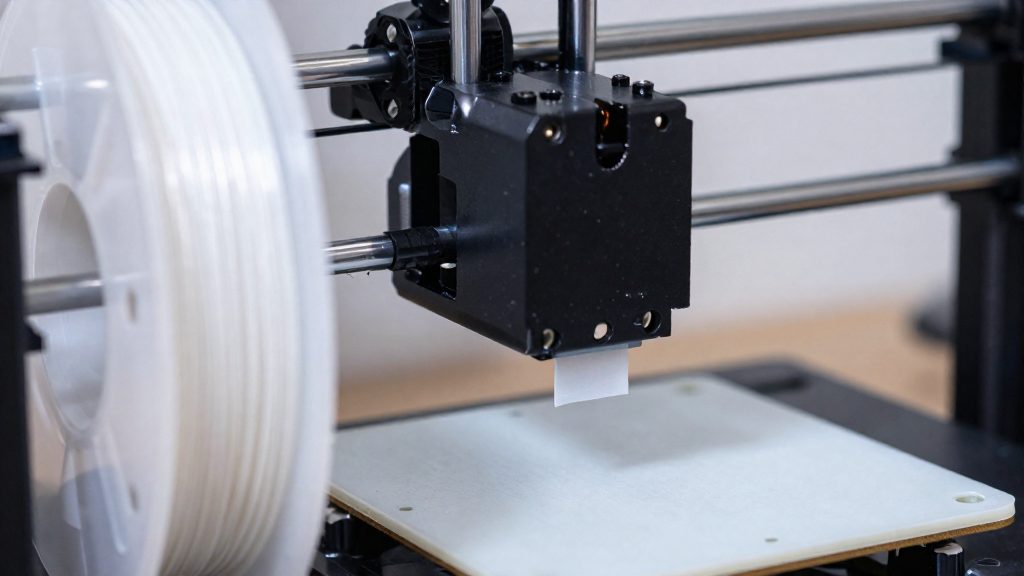
On a Bowden printer, the extruder sits on the frame and pushes filament through a PTFE tube down to the hotend. Rigid filaments tolerate this distance well, but TPU is soft and compresses under the extruder’s push, so the path must hold it steady. Preparation therefore comes down to two tasks: sealing both tube ends and keeping the tube free of bends.
Secure the PTFE tube with no gaps
Loose connections cause TPU jams, so the tube must be fully seated at both ends (Overture 3D, 2026). Check each end before printing:
- Hotend end: push the tube fully into the push-fit coupler so the filament never crosses an open gap before reaching the melt zone.
- Extruder end: seat the tube completely in its fitting at the extruder outlet, so the filament enters straight from the drive gear.
Re-seat both ends before each TPU job. A tube that has backed partly out of a coupler recreates the gap that causes jams.
Remove kinks and sideways escape points
In a Bowden line, any bend or pinch gives the soft filament a place to bow sideways instead of advancing. Route the tube in a smooth, gentle curve between extruder and hotend, and avoid sharp bends near the frame. Check that the tube does not rub against frame edges or cables, where it can be pinched during travel. Keep the spool feed clear of tight guides, because each friction point adds resistance that the filament can buckle against.
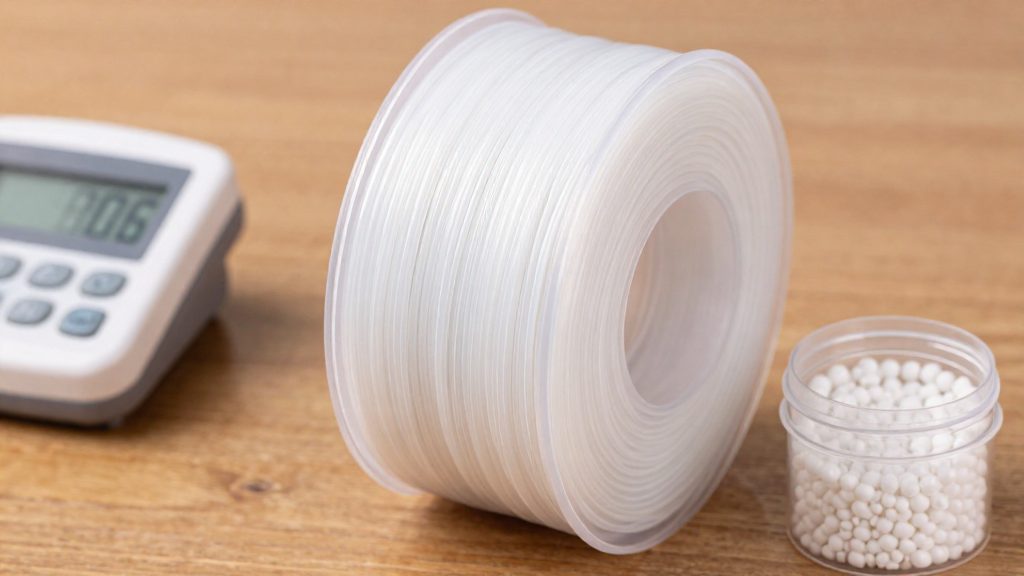
Dry the spool before printing
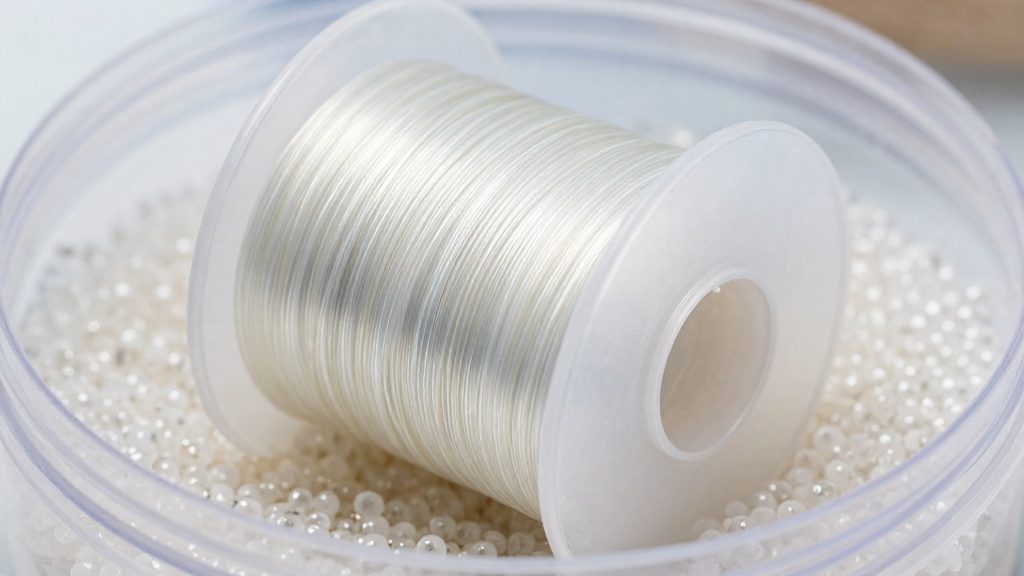
Both MatterHackers (2026) and Overture (2026) recommend drying TPU before printing, but they give different settings. MatterHackers advises about 135°F (57°C) for roughly 6 hours. Overture advises 70°C (158°F) for 7 hours. Each profile pairs a temperature with a duration, so use both values from the same profile.
| Source | Drying temperature | Drying time |
|---|---|---|
| MatterHackers (2026) | 57°C (135°F) | About 6 hours |
| Overture (2026) | 70°C | 7 hours |
The 57°C profile is the lower-temperature, shorter option. The 70°C profile runs hotter and longer. Neither publisher’s figures show that one is better, so choose the profile that matches the instructions for your spool.
Drying follows the same sequence for either profile:
- Set your oven or filament dryer to the chosen temperature.
- Place the spool inside and let the setting stabilise.
- Hold the spool at that temperature for the full duration: about 6 hours at 57°C, or 7 hours at 70°C.
- Load the dried spool and start the print.
Cutting the time short undermines the profile, because each figure is defined as a complete drying period. Plan the drying step ahead of the print so the spool is ready when you need it.
Best TPU slicer settings for Bowden
On a Bowden printer, TPU profiles start with a slow print speed and a capped volumetric flow.
Starting values and tuning steps
| Setting | Starting point | Range | Tuning step |
|---|---|---|---|
| Nozzle temperature | 225°C (Overture, 2026) or 235°C (MatterHackers, 2026) | 210–240°C (Overture, 2026) | 5°C (MatterHackers, 2026) |
| Bed temperature | 40–50°C for poor adhesion (Overture, 2026) | 25–60°C (Overture, 2026); 30–60°C depending on the plate (MatterHackers, 2026) | Not stated |
How to tune each value
Nozzle temperature: Start at 225°C, which sits inside Overture’s 210–240°C range. If extrusion is inconsistent, adjust in 5°C steps, as MatterHackers suggests. Both starting points (225°C from Overture, 235°C from MatterHackers) fall inside the 210–240°C range, so pick one and adjust from there.
Bed temperature: Start at 40–50°C if the first layer does not stick. Overture states that a heated bed is not strictly required for TPU, so the bed can be used as an adhesion aid rather than a fixed requirement.
Volumetric flow: If the filament deforms or the extruder grinds, reduce the cap. Only raise it once the print runs cleanly.
Travel speed: Keep travel moves in the 100–150 mm/s range Overture gives. MatterHackers advises limiting maximum volumetric flow rather than travel speed.
How do you fix stringing and under-extrusion?
Stringing and under-extrusion look different, so the fixes differ too. Stringing shows up as thin strands of filament between separate parts of a print, while under-extrusion shows up as gaps, thin walls or weak layers because too little material leaves the nozzle.
Under-extrusion on TPU can come from path friction, gaps in the tube connections, or a volumetric flow cap set too high, any of which stops the soft filament from pushing out evenly. Any point where the filament can flex or rub along the path adds resistance, and the soft filament then fails to push out evenly.
Print speed also affects under-extrusion. Overture recommends slowing Bowden TPU printing to 15–20 mm/s, which gives the filament more time to feed steadily.
To reduce stringing, dry the spool first. Keep retraction very low or zero on a Bowden setup, and raise it only if stringing persists after drying (MatterHackers, 2026). For under-extrusion, check the path for friction from the spool to the hotend and lower the volumetric flow cap.
When to upgrade to direct drive
A Bowden printer can often handle TPU once its settings are right, but there is a point where further tuning stops helping. If the path is secured, the spool is dry and the settings are already inside the published ranges, and the print still fails, the Bowden layout may be the limit. MatterHackers stresses that path control matters more than the extruder type, so recheck the path before changing hardware.
Settings that still fail after the basics are in place
If jams or buckling continue with a dry spool, a tube with no gaps and settings inside the ranges, recheck the tube for kinks, pinch points and friction along the whole path before concluding that the layout is the cause.
Direct drive as the alternative extruder layout
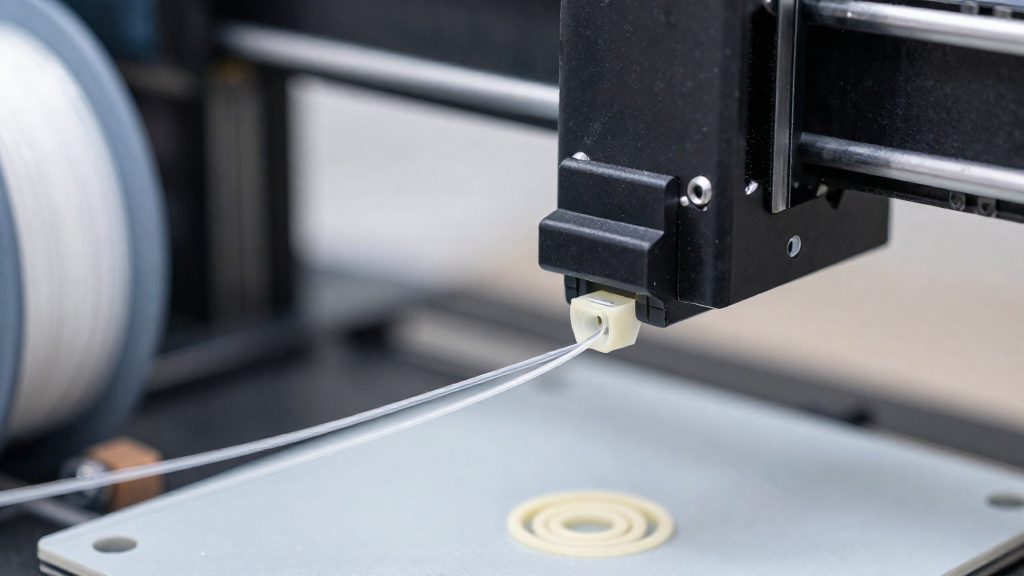
In a direct drive setup, the extruder sits on the moving carriage, directly above the hotend. The flexible filament therefore travels only a short distance before it reaches the melt zone. In a Bowden setup, the extruder is mounted on the frame and pushes the filament through a PTFE tube. A shorter unsupported length reduces the space in which buckling can occur, which is why direct drive is the usual next step when Bowden tuning is exhausted.
Frequently asked questions
Why does TPU jam on a Bowden printer?
TPU jams usually start where the filament path is loose or unsupported, such as gaps at the ends of the PTFE tube or at the drive gear. Overture (2026) advises securing the tube with no gaps, because loose connections cause TPU jams.
What temperature should I use for TPU on a Bowden printer?
Overture (2026) recommends 210–240°C, starting at 225°C (437°F), while MatterHackers (2026) suggests beginning near 235°C (455°F) and adjusting in 5°C steps. For the bed, Overture gives 25–60°C and states that a heated bed is not required, with 40–50°C suggested if adhesion is poor.
Should I dry TPU before printing it on a Bowden setup?
Yes. MatterHackers (2026) says to dry the spool first at about 57°C (135°F) for roughly 6 hours, while Overture (2026) advises 70°C (158°F) for 7 hours. Drying before the first print is the step both sources emphasise, so it should come before any changes to the printer’s settings.