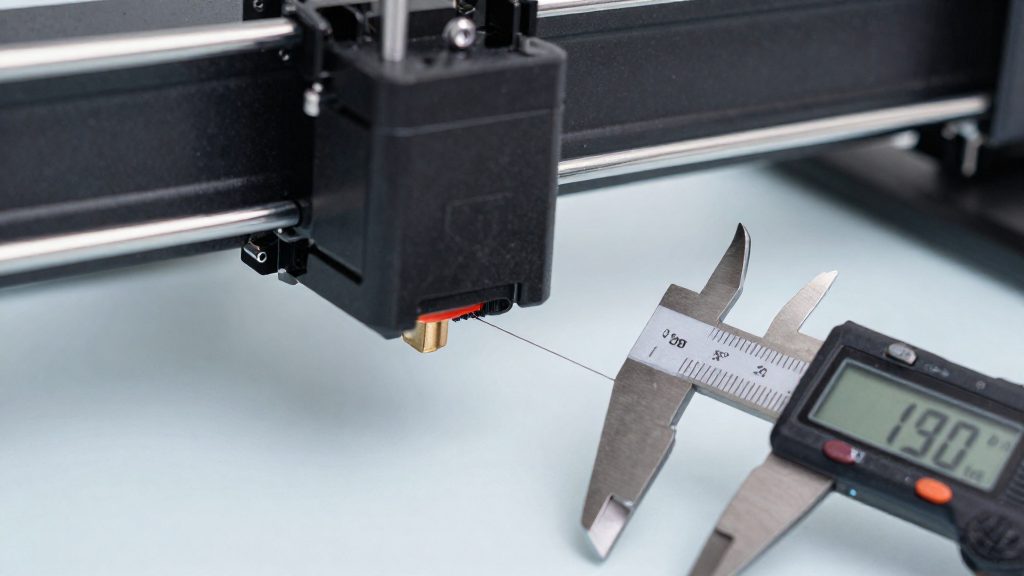
E-steps/mm is the number of steps the extruder motor must take to move 1 mm of filament into the hotend. The firmware uses this value to convert each requested extrusion length into motor movement. If the value is wrong, the printer pushes too little or too much plastic on every move, which shows up as surface, strength and dimensional defects. Calibrating the value matches the firmware to how your extruder actually feeds filament.
What are E-steps and why do they matter?
How the value is defined
E-steps/mm describes the extruder axis only, separate from the X, Y and Z axes. The firmware stores it as a single number that depends on the motor’s step resolution, the drive gear and any gearing in the extruder. Because the value is tied to the mechanics, it stays valid only while those parts stay the same. Replacing the drive gear, changing the extruder, or swapping in a different motor can make an existing value inaccurate.
What a mismatched value does
An incorrect E-steps/mm value causes extrusion errors in both directions:
| Error | What happens | Typical symptoms |
|---|---|---|
| Value too low | The motor moves less filament than the slicer requested: under-extrusion | Gaps between lines, thin walls, weak infill |
| Value too high | The motor moves more filament than requested: over-extrusion | Bulging surfaces, blobs, stringing, parts slightly oversized |
Retraction distances are also specified in millimetres of filament, so a wrong value changes how far the filament actually pulls back. Retraction distances are also specified in millimetres of filament, so a wrong value changes how far the filament actually pulls back.
Why the value is not always easy to change
Flow rate scales the extrusion in the generated G-code, so it can compensate for a mismatch without editing the firmware value.
What do you need before you start?
Calibrating E-steps needs little hardware, but the filament choice matters. The test requires a non-flexible filament such as PLA, ABS or PETG. Flexible filaments should stay off the printer for this test. A filament that feeds through the extruder predictably gives a cleaner measurement than one that compresses or stretches.
Prepare the following before you touch any settings:
- Non-flexible filament: PLA, ABS or PETG, loaded in the extruder. Choose a colour that shows a marker line clearly.
- Nozzle temperature: the filament maker’s recommended temperature, taken from the spool label or product datasheet. Do not use a generic default, because the nozzle must be at the right temperature for the filament to flow consistently.
- Rigid ruler: able to measure 120 mm from the extruder entrance.
- Marker: a pen that leaves a clear line on the filament surface.
- G-code input: a way to send commands to the printer, such as the printer’s terminal or your host software.
How do you calibrate E-steps on a Creality printer?
Calibrating E-steps means checking how far the extruder actually pushes filament compared with the distance the firmware commands. According to Wevolver, the test starts by recording the current E-steps/mm value, then heating the nozzle, extruding a known length and measuring what came out.
Test sequence
| Step | Action | Command or location |
|---|---|---|
| 1 | Read the current E-steps/mm | LCD: Control > Motion, or M503 (value on the M92 line) |
| 2 | Load the filament | Extruder entrance |
| 3 | Preheat the nozzle | Hotend |
| 4 | Switch to relative extrusion | M83 |
| 5 | Mark the filament | 120 mm from the extruder entrance |
| 6 | Extrude 100 mm | G1 E100 F100 |
| 7 | Measure the remaining distance | From the mark to the extruder entrance |
Measuring the extruded length
After the 100 mm extrusion, measure the distance between the mark and the extruder entrance. Subtract that remaining distance from 120 mm. The result is the length of filament the extruder actually moved, which is the measurement used for the calibration calculation.
Use the temperature printed on your filament’s spool label or datasheet.
How do you calculate the new E-steps value?
The corrected value comes from a single ratio that compares the length the printer was commanded to extrude with the length it actually pushed out. Start with the current E-steps/mm, which is the value already stored in the firmware. The formula is:
new E-steps/mm = (current E-steps/mm × 100) ÷ actual extruded length in mm
The 100 in the formula is the commanded length, the 100 mm the extruder was told to move with G1 E100 F100. The denominator is the length that really left the extruder, which you cannot read directly. You derive it from the remaining distance.
Deriving the actual extruded length
The remaining distance is subtracted from 120 mm:
actual extruded length = 120 mm − remaining distance
Worked example, with a hypothetical current value of C and a remaining distance of 12 mm:
- Actual extruded length: 120 − 12 = 108 mm
- New value: C × 100 ÷ 108, which is about 0.926 × C
| Variable | Meaning | Source |
|---|---|---|
| Current E-steps/mm | Value stored in firmware | Printer |
| Commanded length | Length requested by the command | G1 E100 F100 |
| Actual extruded length | Length that left the extruder | 120 mm − remaining distance |
The direction of the correction follows from the ratio. If the actual extruded length is greater than 100 mm, the printer over-extruded and the new value is lower than the current one. If it is less than 100 mm, the printer under-extruded and the new value is higher.
How do you save E-steps to the printer?
Saving E-steps on a Creality printer takes four actions: write the corrected value with M92 E[value], store it with M500, restart the printer, and confirm the stored value. Wevolver describes this sequence for setting E-steps/mm after calibration. The corrected value comes from the measurement you made beforehand, so this section starts once you have the new figure. The steps below apply to printers whose firmware accepts these G-code commands. Some newer Creality models may not, as the next-but-one section explains.
Writing and storing the value
Replace [value] with the new E-steps/mm figure and send the line M92 E[value] to the printer. Then send M500 to save the setting. Send the two commands in that order, since M500 stores the setting that M92 has just written.
| Step | Action | Command |
|---|---|---|
| 1 | Set the corrected value | M92 E[value] |
| 2 | Save the setting | M500 |
| 3 | Restart the printer | Power cycle |
| 4 | Confirm the stored value | Check the M92 line in the M503 output |
Checking for abnormal deviation
After the restart, compare the stored value with the value the printer held before calibration. According to Wevolver, a difference of more than 30% from the old value means you should check for a clog or mechanical fault before printing. A change of that size is a signal to check for a clog or mechanical fault before printing. A smaller change does not prove the extruder is healthy, so keep watching print quality.
Can you change E-steps on newer Creality models?
For the Ender-3 V3 KE, the only model-specific statement in the consulted material comes from a user on the Creality Forum, who reports that Creality support said the E-steps cannot be changed until the firmware is open-sourced. The restriction is therefore described as a firmware limit, not a hardware one. The forum post relays the support answer; the consulted sources contain no official Creality document confirming it.
This matters before you follow any extruder calibration routine. The procedure works by changing the E-steps value (steps per millimetre of filament) and saving it. If the firmware does not accept that change on your printer, the steps will not take effect, whatever the calculation shows.
What the sources support, model by model:
- Ender-3 V3 KE: E-steps reported as locked until the firmware is open-sourced. Based on one forum report of a support reply.
- Other newer Creality models: Check the firmware or manufacturer documentation for your specific printer to see whether E-steps can be edited.
Practical steps before attempting a change:
- Check the firmware version and any support statement for your exact model before editing anything.
- Treat a successful change on one Creality printer as evidence for that printer only.
E-steps vs flow rate: when to adjust each
E-steps/mm and slicer flow rate both affect how much filament reaches the nozzle, but they operate at different layers. E-steps is a printer setting stored in firmware. It sets how many motor steps move the filament by one millimetre. Flow rate is a multiplier in the slicer profile that changes the extrusion values written into each G-code file.
| Parameter | Where it lives | How it is changed | Scope |
|---|---|---|---|
| E-steps/mm | Printer firmware | Firmware G-code command | Every job run on that printer |
| Flow rate | Slicer profile, written into G-code | Slicer setting | Only files sliced with that profile |
Firmware E-steps versus slicer flow
Because E-steps lives in firmware, it applies to all prints from that machine.
Flow rate does not change the printer. It changes what the slicer asks for, so a flow change affects only the files sliced with that profile.
Flow rate as a fallback
Flow rate is the setting people turn to when the firmware value cannot be edited. Community posts on the Creality Forum mention this route for Creality printers.
How often should you recalibrate?
The clearest triggers are physical changes: recheck after fixing a clog or mechanical fault, or after replacing the drive gear, extruder or motor. Once the cause is cleared, confirm the extruder turns freely and the nozzle is no longer partially blocked, then repeat the E-steps measurement and compare the result with the stored value before returning to normal printing.
Frequently asked questions
Which filament should I use for the E-steps test?
Use a non-flexible filament such as PLA, ABS or PETG, since flexible materials will not feed predictably enough for the measurement. Preheat the nozzle to the temperature the filament maker recommends, and switch the extruder to relative extrusion with M83 before you start.
What should I do if the new value is far from the old one?
If the result differs from the current value by more than 30%, do not accept it yet. Check the hotend for a partial clog and inspect the extruder gears and filament path for a mechanical fault, then repeat the test.
Can I change E-steps on a Creality Ender-3 V3 KE?
A user on the Creality forum reports that Creality support said the value cannot be changed until the firmware is open sourced. A forum replier suggests adjusting the flow rate in the slicer instead, but this is a community suggestion rather than official guidance.