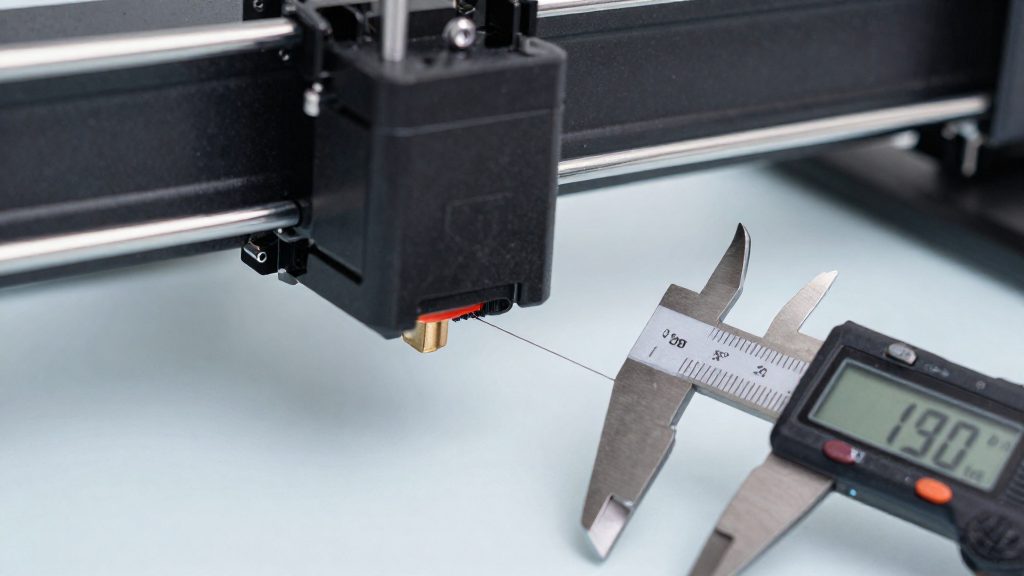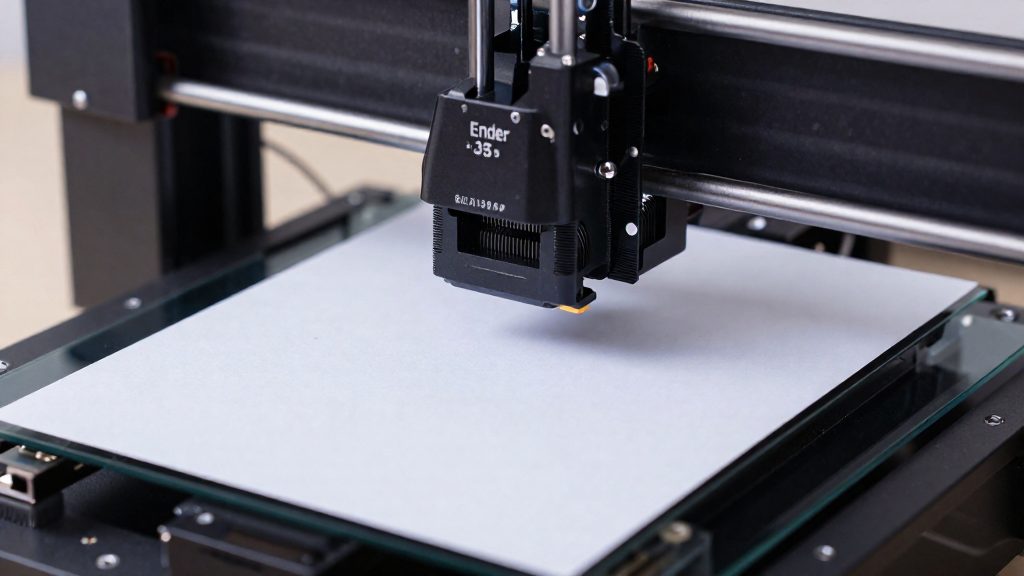
Before adjusting the bed on an Ender 3, you need two things: a thin spacer to judge the gap between nozzle and bed, and the printer’s menu (screen and control knob) to home the axes and move the nozzle into position. The spacer can be ordinary printer paper or a 0.1 mm feeler gauge, and the Prepare menu handles every movement during the process. Gathering both before you start avoids improvised adjustments.
What you need before leveling an Ender 3
| Item | Role during leveling |
|---|---|
| Standard printer paper | Thin spacer placed between nozzle and bed |
| 0.1 mm feeler gauge | Spacer with a defined thickness |
| Printer menu (LCD and control knob) | Runs homing and nozzle movement |
Choosing your spacer
Obico (2019) names two options: standard printer paper or a 0.1 mm feeler gauge. Paper relies on the thickness of the sheet you use, while the feeler gauge gives a measured, consistent thickness. Keep the spacer flat and free of folds, because a creased sheet changes how resistance feels at each corner. Use the same spacer at all four corners so your comparisons stay consistent.
Screen access before starting
On the Ender-3 V2, the procedure begins at Auto Home, found under Prepare in the printer’s menu. The steps are documented for the V2, so owners of other Ender 3 models should check that their menu matches. Homing comes first because every later movement depends on a known starting position. Once the axes are homed, you move the nozzle to each corner check position from the screen, so confirm that the Prepare menu is reachable before you start. Because leveling is done with the nozzle and bed hot, avoid touching them and handle the paper carefully to prevent burns.
Should you preheat the bed first?
Yes. Level the bed with the bed and nozzle already at their print temperatures, not when the printer is cold. According to Obico (2019), heat expansion brings the nozzle and bed closer together. A gap set on a cold machine will therefore shrink once the printer heats up, so the first-layer distance you set cold will not match the one you print with.
Why the gap changes with temperature
Heating changes the nozzle-to-bed spacing, which is why leveling is a temperature-dependent step rather than a one-time mechanical adjustment. Any adjustment made cold reflects a larger gap than the one the printer uses while printing.
Preheating sequence
- Heat the bed to the print temperature for your filament and let it reach that value.
- Heat the nozzle to its print temperature.
- Level the bed only after both have reached temperature.
- Re-level after you add or change a bed coating such as glue stick or blue tape. PEI beds may also need a Z-offset.
How do you level an Ender 3 with paper?
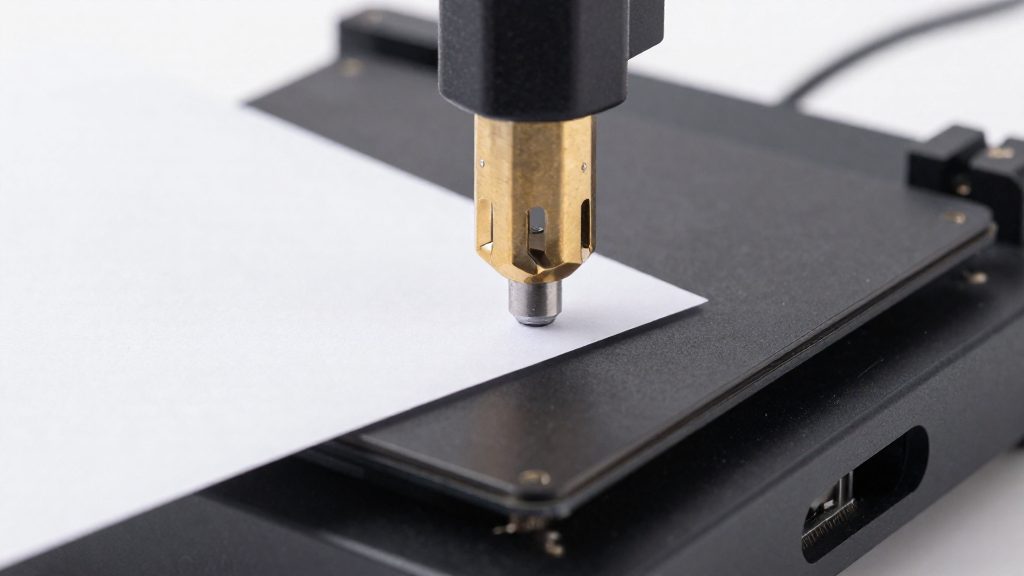
Paper leveling on the Ender-3 V2 sets the nozzle height at each corner by dragging a sheet of paper between the nozzle and the bed. The target gap is about 0.1 mm, which Obico (2019) notes can be checked with standard printer paper or a 0.1 mm feeler gauge.
Homing and moving the nozzle
Start from the touchscreen and go to Prepare > Auto Home, so the printer homes all axes before any measurement. Use the printer’s Move controls for all positioning instead of pushing the carriage by hand. Before moving the nozzle across the bed, raise Z about 2 mm so the tip does not scrape the surface, as recommended in the SainSmart Ender-3 V2 documentation.
Checking the four corners
Move the nozzle to the first corner position, about 30 mm in from each corner. Slide a sheet of paper under the nozzle, then turn that corner’s leveling knob until you feel slight resistance as you pull the paper. Repeat the same check at each of the other three corners.
Adjusting one corner also changes the others, so the process is not finished after a single corner. After every knob adjustment, return to the remaining corners and check them again. Work through all four corners in turn each time, because a change at the rear-left corner can alter the gap you set at the front-right.
Keeping the process repeatable
Keep the paper and the nozzle position consistent between checks so that each reading is comparable. Use the same sheet for all four corners, since paper thickness varies between brands and affects how much resistance you feel. The gap is judged by feel, so use the same sheet and the same pull at every corner.
How do you know the bed is level?
The bed is level when a sheet of paper meets the same light resistance at all four corners. Obico (2019-05-03) describes this paper method as targeting a gap of about 0.1 mm between nozzle and bed, and notes that standard printer paper or a 0.1 mm feeler gauge can serve as the reference. The check is comparative: you are not measuring an absolute distance but judging whether the four points feel alike as the paper moves under the nozzle.
Reading the drag at each corner
At the correct gap, the paper should feel equal drag across all four corners, with slight resistance rather than free movement. Use the same paper and the same pull direction at every corner so the comparisons stay consistent.
| Feel when sliding the paper | What it indicates |
|---|---|
| Moves freely with no grip | Nozzle is too far from the bed at that corner |
| Grips noticeably harder than the others | Nozzle is closer to the bed at that corner than at the rest |
| Same slight grip at all four corners | Bed is level for this check |
When to stop
Adjusting one corner changes the others, so the check is a loop rather than a single pass. After each change, test all four corners again. Obico (2019-05-03) advises stopping once all four corners feel about the same. On the Ender-3 V2, SainSmart Docs recommends repeating the full process a second time, which helps confirm that the result holds.
Checking without scraping
SainSmart Docs advises using the printer’s Move controls rather than moving the axes by hand, and raising Z about 2 mm before crossing the bed. This keeps the nozzle from catching the paper between test points, which would distort the feel you are trying to judge.
Common leveling mistakes and fixes
The sources warn against three common mistakes: stopping after one pass, moving the axes by hand, and crossing the bed at low height. Each one produces an uneven first layer that looks like a bed problem but comes from the procedure.
Stopping after a single pass
Adjusting one corner changes the others, so one pass across the four corners is never enough. Cycle through all four corners again and stop only when all four feel about the same. On the Ender-3 V2, the SainSmart documentation calls for repeating the whole process a second time after the first run.
Moving the axes by hand
SainSmart advises using the printer’s Move controls rather than pushing the carriage or bed by hand, so the printer positions the nozzle for each check. Use the Move controls on the printer for every position change. Start from Prepare > Auto Home so the axes are homed before you check the first corner.
Crossing the bed at low height
Dragging the nozzle across the bed at paper-gap height risks scraping the surface and the nozzle tip. Before moving across the bed, raise Z about 2 mm, then lower it again at the next corner position.
When to use a BLTouch or CR Touch
Manual leveling and probe-based compensation address the same problem: the nozzle sits at slightly different heights over different parts of the bed. They differ in how the distance is measured. With manual paper leveling, you judge the gap by feel, with a target of about 0.1 mm. According to Obico (2019), standard printer paper or a 0.1 mm feeler gauge both work for this. Because adjusting one corner changes the others, you cycle through all four corners until they feel about the same.
A probe-based option adds a sensor to the carriage. BLTouch and CR Touch are the two probes covered here. Each one lowers a pin to touch the bed at set points, and the firmware uses those readings to compensate for bed height during printing. You don’t have to turn the corner knobs until the paper drags.
| Factor | Manual paper leveling | Probe-based (BLTouch, CR Touch) |
|---|---|---|
| Measurement | Paper or 0.1 mm feeler gauge, judged by resistance | Probe touches the bed at set points |
| Correction | Mechanical: turn the corner knobs | Firmware compensates for bed height |
| Extra hardware | None | Probe fitted to the carriage |
Manual leveling is the baseline because it needs no added parts. A probe is an alternative to manual leveling when you prefer the firmware to compensate for bed height. Obico (2019) advises re-leveling after adding or changing a coating such as glue stick or blue tape, so frequent coating changes mean frequent manual passes.
How often should you re-level?
Re-level the bed whenever you change what sits on its surface. Obico (2019) advises re-leveling after adding or changing a bed coating such as glue stick or blue tape.
| Bed change | Required action |
|---|---|
| Adding glue stick | Re-level the bed |
| Adding blue tape | Re-level the bed |
| Using a PEI surface | Check whether a Z-offset is needed |
PEI beds need separate attention. Obico (2019) notes that they may need a Z-offset, which is the height adjustment applied to the nozzle position after leveling. Set the value on your own printer.
Move controls matter during this process. On the Ender-3 V2, SainSmart’s documentation starts with Prepare > Auto Home. Use the printer’s Move controls rather than moving the axes by hand, and avoid dragging the nozzle across the plate.
The paper-method steps are covered in their own section. Re-check the gap after every coating change, because the nozzle-to-bed distance you set for one surface will not carry over to another.
Frequently asked questions
Does the bed need to be hot before I level it?
Yes. Heat expansion moves the nozzle and bed closer together, so checking the gap on a cold bed gives a reading that won’t hold once printing starts. Obico (2019) recommends bringing the bed and nozzle up to print temperature first.
How do I know when all four corners are level?
Stop when each corner drags the paper or feeler gauge with about the same resistance. Turning one knob shifts the other corners, so go around all four again after each change until none of them stands out.
Do I need to level again after adding glue stick or blue tape?
Yes. A new coating changes the gap between nozzle and bed, so re-level after applying it. On a PEI surface, you may also need to set a Z-offset to fine-tune the first layer.