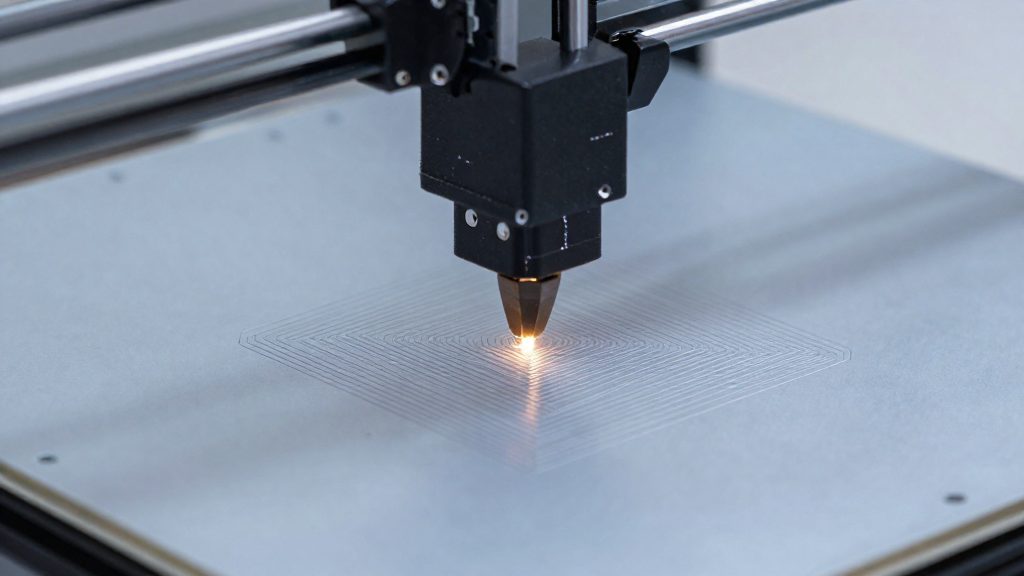
Pressure advance is a Klipper firmware feature that compensates for the delay between the extruder pushing filament and that pressure reaching the nozzle tip. When the print head speeds up or slows down, this delay leaves the nozzle briefly under-supplied or over-supplied with molten plastic. The result is visible artefacts at corners and direction changes.
What is pressure advance in Klipper?
Pressure lag in the nozzle during acceleration
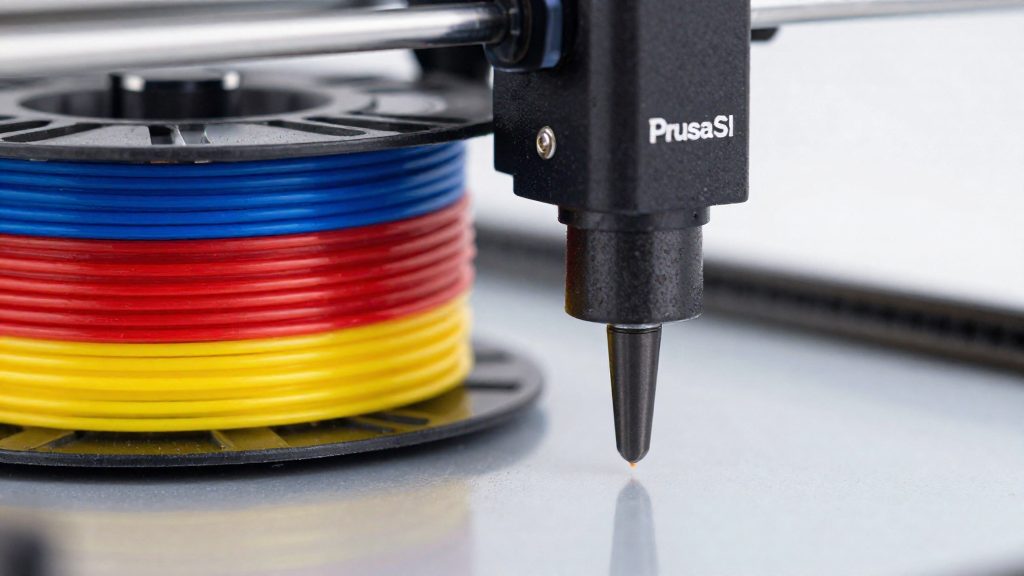
The extruder feeds filament at the rate set by the slicer, but the pressure inside the hotend does not follow that rate instantly. During acceleration, the extruder has to build pressure before plastic flows out at the new speed, so the nozzle lags behind the motion. During deceleration the opposite happens, because pressure is still high when the head slows and material keeps leaking out. Pressure advance shifts the extruder motion ahead of these speed changes, so the pressure is ready when the flow is needed.
Effect on oozing and corner blobbing
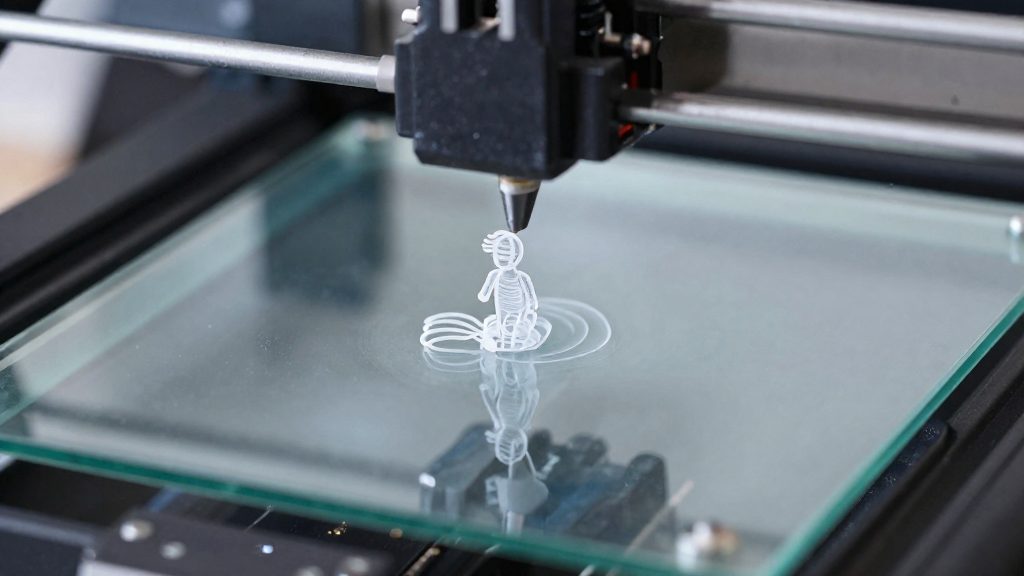
According to the Klipper documentation (2026), pressure advance reduces oozing and corner blobbing. Oozing is the thin trail of plastic that escapes from the nozzle during travel moves, when the head moves without extruding. Corner blobbing is the excess bead that forms where the head slows and turns, and both defects are tied to the pressure changes described above.
What pressure advance does not change
Pressure advance does not change print time or the total filament extruded, according to the Klipper documentation (2026). The setting alters the timing of extrusion around speed changes, not the amount of plastic deposited across the part. A correctly tuned print therefore takes the same time as an untuned one, so the setting cannot be used to speed up a job.
What to prepare before calibrating
Pressure advance compensates for pressure build-up inside the hotend, so it only gives reliable results once the extruder and the melt behave predictably. According to the Klipper documentation (2026), two baseline values must be settled before running any pressure advance test: the extruder rotation_distance (E-steps) and the nozzle temperature.
Calibrate the extruder rotation_distance first
The extruder must push the exact commanded length of filament. If it under- or over-extrudes, every pressure advance value you measure will be skewed. The Klipper documentation (2026) states that rotation_distance (extruder E-steps) should be tuned first, before any pressure advance work.
Practical order:
-
- Heat the extruder, then mark the filament at a measured distance from the extruder entry, following the procedure in the Klipper rotation_distance documentation.
- Command an extrusion of 100 mm at a slow, constant speed.
- Measure the remaining length of filament at the entry point with calipers or a ruler.
- Adjust rotation_distance in the [extruder] section of the printer configuration until the measured extrusion matches the commanded length.
Re-check after any change to the drive gear, filament diameter or hotend, since these alter the effective extrusion.
Tune the nozzle temperature before pressure advance
Pressure advance interacts with melt viscosity: a filament that flows too hot or too cold produces oozing and corner artefacts that look like a pressure advance problem. Settle on the nozzle temperature you will actually print this filament at, within the manufacturer’s recommended range, and use that same temperature for the test and for later prints.
Prepare the printer for a clean test
- Use the same filament, spool and nozzle you will print with.
- Confirm the printer runs with the intended extruder configuration, since pressure advance is written to the [extruder] section.
- Have calipers ready for measuring the test corners later.
| Baseline item | Where it is set | Why it comes first |
|---|---|---|
| rotation_distance (E-steps) | [extruder] section of printer.cfg | Ensures commanded and actual extrusion match |
| Nozzle temperature | Slicer and firmware | Keeps melt viscosity stable so oozing is not mistaken for pressure advance |
| Filament, spool, nozzle | Physical setup | Pressure advance values do not transfer between them |
Once rotation_distance and nozzle temperature are settled, and the filament, spool and nozzle are the ones you will print with, the pressure advance test itself can begin.
How do you print the tuning tower?
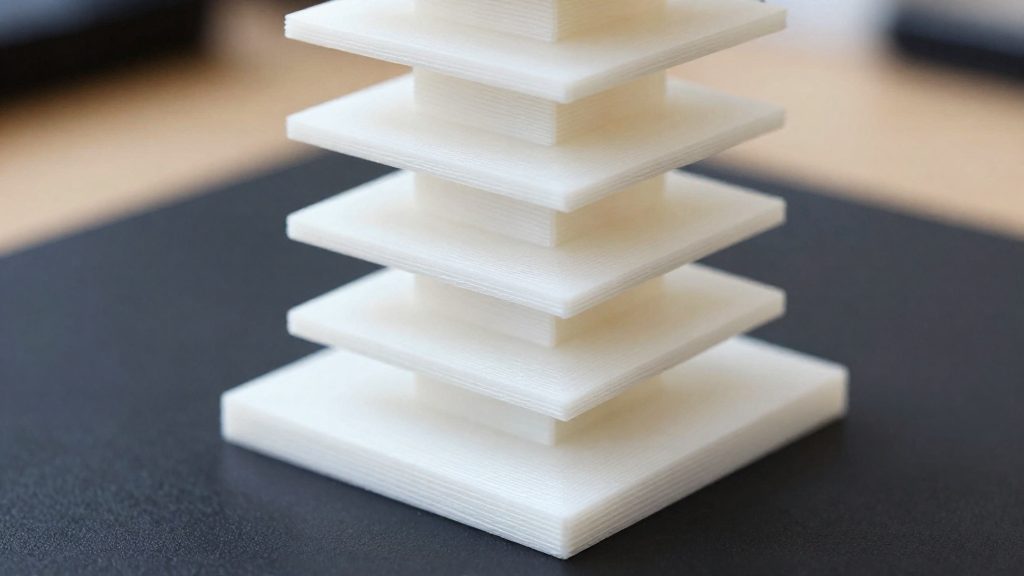
The tuning tower is a square-cornered test print that applies a different pressure advance value at each height level. You set up the printer, slice the model with specific settings, and then start the tower from the console. The square corner velocity limit makes corner artifacts easier to see, so the tower shows where pressure advance works best.
-
Set the velocity limits. Send this command in the Klipper console before printing:
SET_VELOCITY_LIMIT SQUARE_CORNER_VELOCITY=1 ACCEL=500 -
Slice the square tower. Use the settings below. The Klipper documentation (2026) recommends them for this test.
| Slicer setting | Value |
|---|---|
| Print speed | About 100 mm/s |
| Infill | Zero infill |
| Layer height | About 75% of the nozzle diameter |
| Dynamic acceleration control | Off |
| Scarf seams | Off |
-
Start the tower. Send the tuning command before the print begins:
TUNING_TOWER COMMAND=SET_PRESSURE_ADVANCE PARAMETER=ADVANCE START=0 FACTOR=.005For long Bowden setups, use FACTOR=.020 instead. The tower raises the pressure advance value as it grows taller, so each height level tests a different value. The value at any height equals START plus the height multiplied by FACTOR.
-
Print the tower. Let it finish without changing the settings mid-print, since every height level depends on the same command.
How to read the tower and calculate the value
The tower is printed as a stack of sections, and each height on it corresponds to one pressure_advance value. Once the print has cooled, look at the square tower’s corners and find the band where they look cleanest, with the least bulging, blobbing or rounding. Only the height of that band is needed for the calculation.
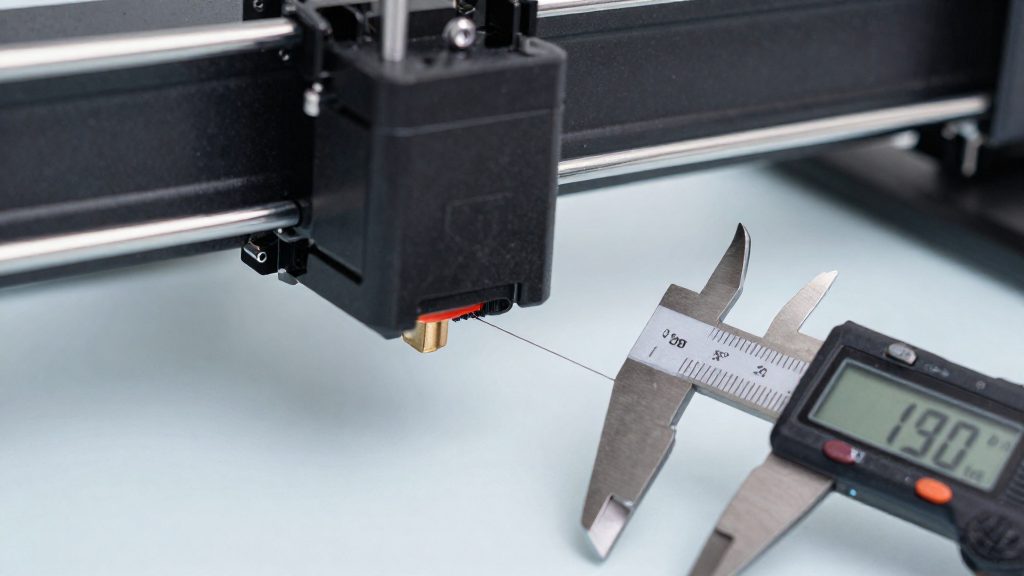
Measuring the corner height comes next. Use calipers to measure from the base of the tower up to the best-looking corner, and record the reading. Measure the same corner more than once to confirm the reading before you calculate. If you are unsure which corner is best, choose the lower height.
The formula converts that height into a value:
pressure_advance = start + measured_height × factor
Here, start is the START value used to generate the tower, and factor is the FACTOR value. The Klipper documentation uses START=0 and FACTOR=.005 for the standard tower, and FACTOR=.020 for long Bowden setups. Use the factor that matches the tower you actually printed, because mixing the two gives a wrong result.
Using the documented example, the calculation looks like this:
| Term | Value | Meaning |
|---|---|---|
| start | 0 | Starting advance of the tower |
| measured_height | 12.90 | Height of the best-looking corner, from calipers |
| factor | 0.020 | Advance added per unit of height (long Bowden tower) |
| pressure_advance | 0.258 | 0 + 12.90 × 0.020 |
The multiplication is done first (12.90 × 0.020 = 0.258), and then start (0) is added. The result is the value to test against your printer, filament and nozzle.
Saving the value in printer.cfg
Once the tuning tower has shown the best corner, the final pressure_advance value must be written into the printer’s configuration file, printer.cfg, so that Klipper applies it to every print. According to the Klipper documentation (2026), the parameter goes in the [extruder] section of the config.
The procedure has three steps:
- Open printer.cfg and locate the [extruder] section.
- Add the line pressure_advance = followed by the value you measured, or edit the line if one already exists.
- Save the file, then run RESTART to clear the test settings.
The restart step matters because the tuning tower works by changing the live value during the test. The command used for the test, TUNING_TOWER COMMAND=SET_PRESSURE_ADVANCE PARAMETER=ADVANCE, sets pressure advance at different heights of the tower, so the test values should not be treated as the saved configuration until RESTART has cleared them.
After the value is saved, the result is checked by looking at the corners and surface of a normal print.
What if corners still look wrong?
If the tuning tower shows no clear best corner, or every step looks about the same, check the setup before changing the value.
Typical values fall between 0.050 and 1.000. The higher end of that range is mostly used on Bowden setups, where filament travels through a long tube before reaching the hotend. If your printer is not Bowden, expect the best value to sit in the lower part of the range, and avoid searching above it without a reason.
If corners show no improvement at any value up to 1.000, stop raising the value. No improvement up to 1.000 means pressure advance is unlikely to help, and the corner defect probably comes from another cause. Return to the earlier steps and review the extruder and temperature settings.
A corner defect caused by under-extrusion will not disappear by adjusting pressure advance, and it should be traced back to extrusion calibration instead.
Common pressure advance mistakes
Most pressure advance problems come from setup order and reuse of values, not from the tuning tower itself. The Klipper documentation (2026) names the recurring errors below, each with its limit and corrective action.
| Mistake | Limit or risk | Corrective action |
|---|---|---|
| Setting a value above about 0.200 | Extruder skipping at high acceleration | Lower the acceleration, or disable pressure advance |
| Running the square tower with dynamic acceleration control on or scarf seams enabled | The test setup requires both to be off | Turn off dynamic acceleration control and scarf seams before printing |
Reusing one value everywhere is a frequent error after the first calibration. The documentation asks for calibration for each printer, nozzle, filament and spool, so a number found on one spool should not be copied to a different spool, filament or nozzle without retesting.
Forcing high values is another error. A value above about 0.200 is not automatically better. At high acceleration it can make the extruder skip, which shows up as under-extrusion. The documentation’s fix has two options: lower the acceleration, or disable pressure advance for that profile.
Keep the test setup consistent as well. The square tower uses SET_VELOCITY_LIMIT SQUARE_CORNER_VELOCITY=1 ACCEL=500, a slice speed of about 100 mm/s, zero infill, and a layer height near 75% of the nozzle diameter. Changing these between runs makes results from different tests hard to compare.
Frequently asked questions
Which pressure advance value is too high?
Values above about 0.200 can cause extruder skipping when acceleration is high. If that happens, lower the acceleration or disable pressure advance, as the Klipper documentation (2026) lists both remedies without ranking them.
Do I need to recalibrate when I change spools or filament brands?
Yes. The Klipper documentation (2026) says to calibrate for each printer, nozzle, filament and spool combination, because a value that works for one roll may not suit another.
Where do I save the final pressure advance value?
Enter it under pressure_advance in the [extruder] section of your printer configuration file. Then run RESTART so the temporary test settings from the tuning tower are cleared.