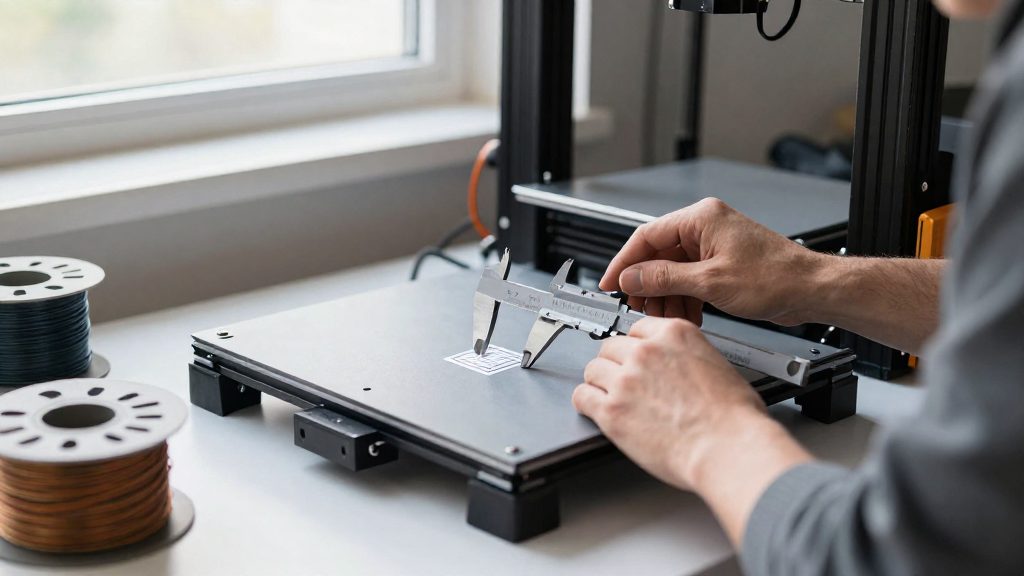
The extrusion multiplier in PrusaSlicer is a scaling factor applied in the slicer to the filament amount it calculates. It does not change the hardware. Because it works on the slicer side, it stacks with any flow setting stored in the printer’s firmware, and the two values together determine how much filament is actually extruded.
What does Prusa flow rate control?
PrusaSlicer’s extrusion multiplier adjusts filament flow as a fraction of the calculated amount, according to Prusa Research. Values below 1 reduce the extruded filament, and values above 1 increase it.
The firmware flow setting and the slicer multiplier combine multiplicatively. Changing one does not update the other, so the effective flow is the product of the two values:
| Firmware flow | Slicer extrusion multiplier | Effective flow |
|---|---|---|
| 100% | 0.95 | 95% |
| 95% | 1 | 95% |
| 95% | 0.95 | 90.25% |
The third row shows why lowering both values by 5% does not give a 10% reduction. The product is 0.95 × 0.95 = 0.9025, a 9.75% reduction in flow.
Because the two settings are independent, check both values before comparing prints. If you adjust one, the other keeps its previous value.
Check your printer before calibrating
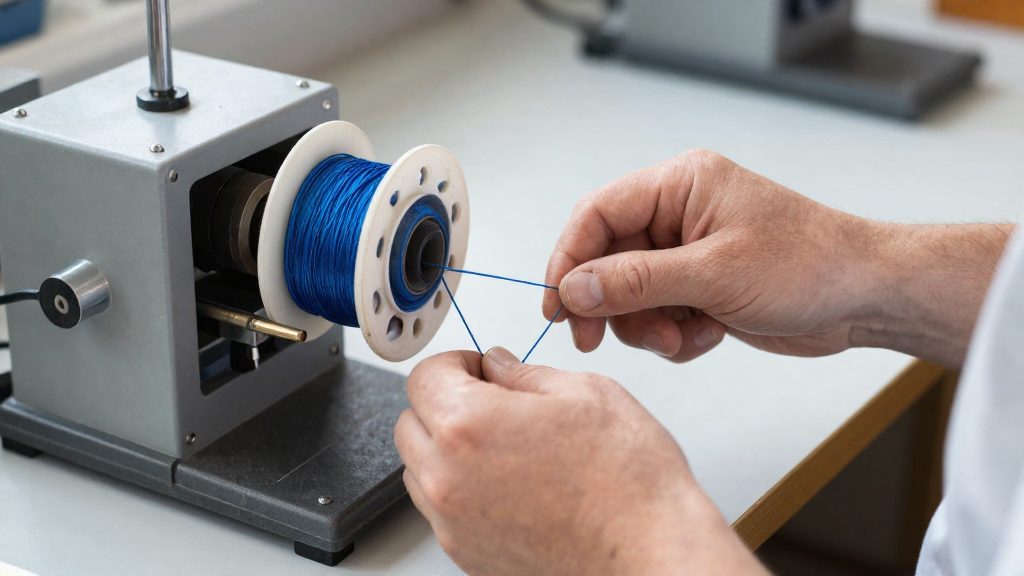
Before you change any flow value, confirm that the printer, filament and nozzle settings match the baseline your calibration depends on. According to Prusa Research, troubleshooting should begin with stock profiles that match the printer, filament type and nozzle size. No single flow or volumetric value applies to every Prusa printer and filament, so treat stock values as a starting point, not a universal setting.
Start from the stock profile for your model
Select the stock PrusaSlicer profile for your exact printer model and leave its flow values unchanged for the first test. If the starting profile is unknown or has been edited, a multiplier change cannot be interpreted, because you no longer know what it is correcting.
Match the filament type to the preset
Choose the preset that corresponds to the filament you are printing. Prusa’s visual method uses default Prusa PLA presets with 0.20 mm layers, so if you calibrate with PLA, that default preset is the matching baseline. For other materials, select the preset for that filament type rather than reusing PLA values.
Match the nozzle size to the preset
Confirm that the nozzle diameter in the printer profile matches the nozzle physically installed. Prusa’s precision method assumes a 0.4 mm nozzle and a 0.45 mm extrusion width. With a different nozzle, those starting assumptions no longer hold, and the calibration steps for that method do not apply as written.
Check the mechanics and the volumetric speed limit
Under-extrusion can come from nozzle problems, dirty or misaligned extruder gears, incorrect idler tension, or inadequate hotend cooling. Inspect these first, because a flow change will not correct a feed system that is slipping.
Next, check the maximum volumetric speed under Print Settings > Speed and Filament Settings > Advanced. When several limits are enabled, the lowest one applies, and a value of zero disables that limit. Extruder clicking, under-extrusion at high speeds and poor layer adhesion can indicate that this value is set too high.
Where is the extrusion multiplier?
In PrusaSlicer, the extrusion multiplier is a filament setting, so it is found in the Filament Settings tab, not in Print Settings. Open Filament Settings > Filament to find Extrusion multiplier. Maximum volumetric speed is a separate setting under Filament Settings > Advanced. Enter the value as a decimal: 1 equals 100% flow, and 0.95 equals 95%. Menu labels can change between PrusaSlicer versions, so confirm the field name in your version before you start.
Saving the value as a user preset
When you change the multiplier, the filament preset shows as modified. Save the change under a new name with the save icon next to the preset dropdown. Prusa’s stock presets stay unchanged, and your value is stored in a user preset that you can select from the sidebar in later slicing sessions.
Naming presets per filament
Use a name that identifies the specific filament and the value, for example PLA [brand] [color] - 0.97. A single generic preset such as “PLA” that gets overwritten each time keeps only the last value, and earlier calibrations are lost. A separate preset for each filament lets you switch between materials without re-entering the multiplier.
- Include the material, brand and colour so the preset matches the spool.
- Add the multiplier to the name if you want to read it from the dropdown.
- Keep one preset per filament, so that a value tuned for one spool is not applied to another.
Remember that the firmware flow setting on the printer is separate from this slicer value. Check which setting you are adjusting before you save a new preset.
Calibrate flow with a visual test
Prusa Research describes a visual method that uses its own test cube, printed with the default Prusa PLA presets at 0.20 mm layer height. You inspect the top of the cube and adjust the extrusion multiplier in PrusaSlicer in small steps.
The procedure for each trial:
- Slice the Prusa test cube with the default Prusa PLA preset, set to 0.20 mm layers.
- Print the cube and inspect its top surface.
- Change the extrusion multiplier by 1–2% per trial, keeping the change within that range.
- Reprint the cube with the new value and inspect the top again.
Repeat until the top surface looks correct. Each trial should change only the multiplier, so you can tell which adjustment produced which result.
The method is documented for PLA presets. For other filament types, check the manufacturer’s instructions before applying the same steps.
Measure a vase-mode calibration cube
Prusa’s precision method measures the actual width of the extruded wall, then calculates the multiplier from it. It requires a spiral vase mode print of the calibration cube, a 0.4 mm nozzle, and an initial multiplier of 1. According to Prusa Research, the method assumes a 0.45 mm extrusion width and 0.1 to 0.2 mm layers, so the target wall width is 0.45 mm.
Print the cube in spiral vase mode
- Set the extrusion multiplier to 1 (100%) in PrusaSlicer before slicing.
- Use a 0.4 mm nozzle and the layer height in the 0.1 to 0.2 mm range.
- Enable Spiral vase mode to print a single continuous wall above any bottom solid layers, with no internal infill or top solid layers.
Measure the walls
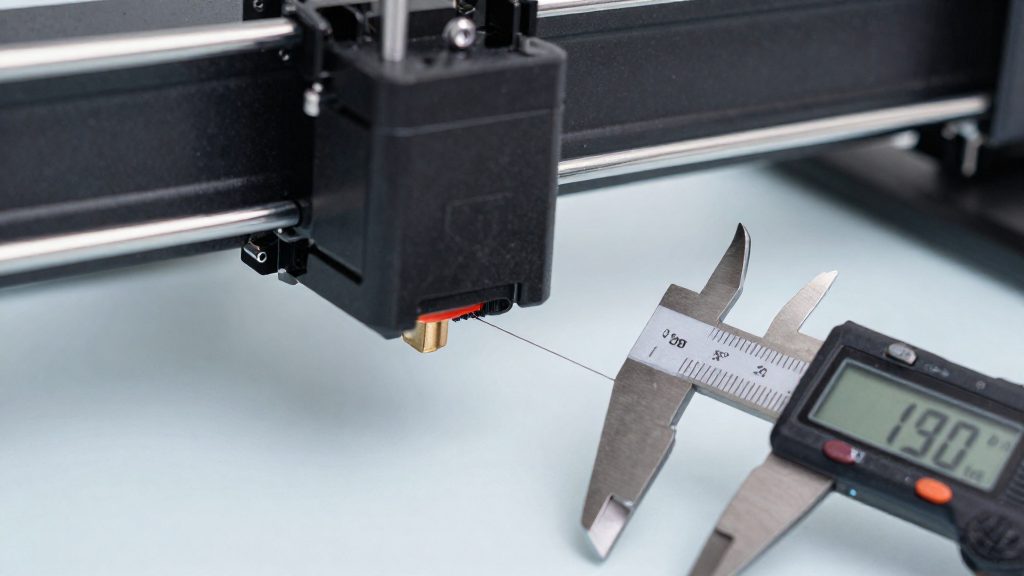
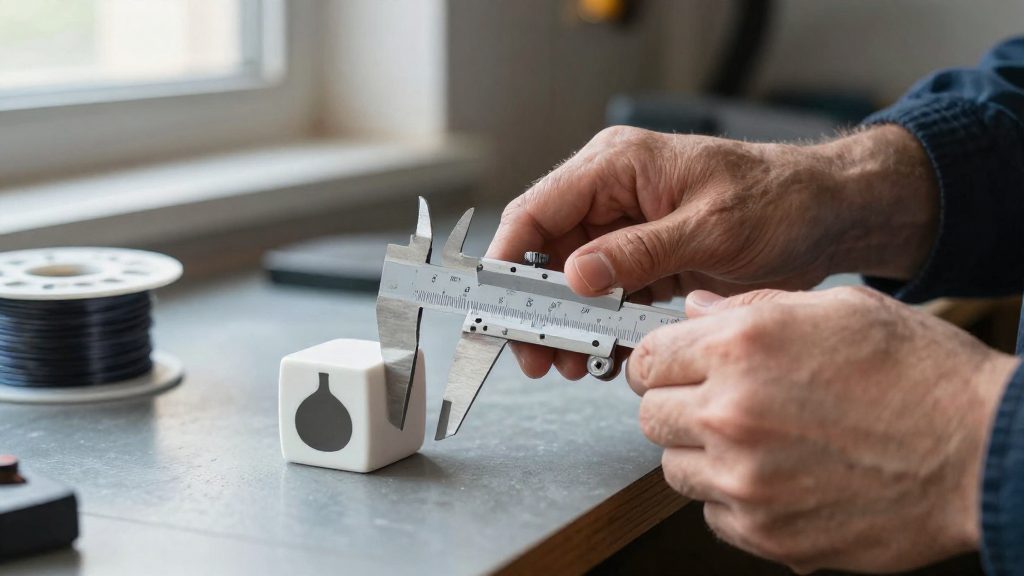
Digital calipers can be too imprecise to measure a single perimeter wall, according to Prusa Research. Take at least three measurements per wall and average them, then repeat the process on several walls to reduce the error from any single reading.
Calculate the multiplier
Use this formula, with the average wall thickness in millimeters:
| Step | Calculation |
|---|---|
| Target extrusion width | 0.45 mm |
| Multiplier | 0.45 ÷ average wall thickness (mm) |
For example, an average wall of 0.42 mm gives a multiplier of 0.45 ÷ 0.42 ≈ 1.07 (107%). A wall of 0.48 mm gives 0.45 ÷ 0.48 ≈ 0.94 (94%).
Flow multiplier versus volumetric speed
The extrusion multiplier and the maximum volumetric speed control different things. The multiplier scales how much filament is extruded. The maximum volumetric speed caps throughput, the volume of molten material delivered per second, in mm³/s. According to Prusa Research, when a print requests more than this cap allows, PrusaSlicer reduces the requested print speeds to stay within it.
Where the limit is set
PrusaSlicer exposes the limit in two places, and the lower enabled value is the one that applies:
| Location | Scope | Behaviour |
|---|---|---|
| Print Settings > Speed | Print profile | Sets a maximum volumetric speed for the print |
| Filament Settings > Advanced | Filament profile | Sets a maximum volumetric speed for the filament |
| Either field set to 0 | That specific limit | Disables that limit |
Because the lower enabled value wins, a high value in one profile does not override a lower value in the other.
Signs the value is set too high
Prusa Research lists three symptoms that can indicate an excessive maximum volumetric speed:
- Extruder clicking
- Under-extrusion at high speeds
- Poor layer adhesion
If these appear only on fast infill or perimeters, lower the value in Filament Settings > Advanced and compare the results at the same print speed.
Troubleshoot gaps and rough top layers
Gaps and excess material call for opposite corrections, so identify the symptom before changing any setting. Visible gaps between lines mean the extrusion multiplier should go up. Excess material near the perimeters means it should go down.
| Symptom | Direction of change | Where it appears |
|---|---|---|
| Visible gaps between lines | Increase the multiplier | Between adjacent extrusion lines |
| Excess material near perimeters | Decrease the multiplier | Along the outer walls |
If you have already changed firmware flow, check both values before adjusting the multiplier again, or the correction will stack on top of the earlier one.
When gaps point to mechanical causes
Adjusting the multiplier only works when extrusion is consistent. Under-extrusion can come from mechanical faults that a multiplier change will not fix:
| Cause | What to check |
|---|---|
| Nozzle problems | Inspect the nozzle for wear, damage or a partial clog |
| Dirty extruder gears | Remove filament debris and dust from the drive gears |
| Misaligned extruder gears | Confirm the gears sit centred on the filament path |
| Incorrect idler tension | Set the idler tension following Prusa’s instructions for your model |
| Inadequate hotend cooling | Check hotend fan operation against Prusa’s instructions for your model, including fan orientation and possible obstructions. |
Check the gears and idler first, since they are the most direct link to the filament being driven. Clean the gears, then adjust the idler tension so the filament is gripped firmly without deforming it.
Frequently asked questions
Will spiral vase mode give me a hollow print with no bottom?
No. According to Prusa Research, spiral vase mode can retain bottom solid layers, so it does not automatically produce a bottomless print. Check the bottom of the slicer preview before printing to confirm what will be produced.
Do I have to start the vase-mode measurement at a multiplier of 1?
Yes, if you want to use Prusa’s precision formula as written. The method assumes an initial multiplier of 1, and the sources do not explain how to recalculate from a different starting value. Set the multiplier to 1 for the test, then restore your saved filament preset afterwards.
Why is my hotend fan not spinning when I start heating?
Hotend fan operation depends on temperature, so a fan that is stationary at the start of heating does not by itself indicate a fault, according to Prusa Research. Recheck the hotend fan once the hotend is hot before treating it as a problem.