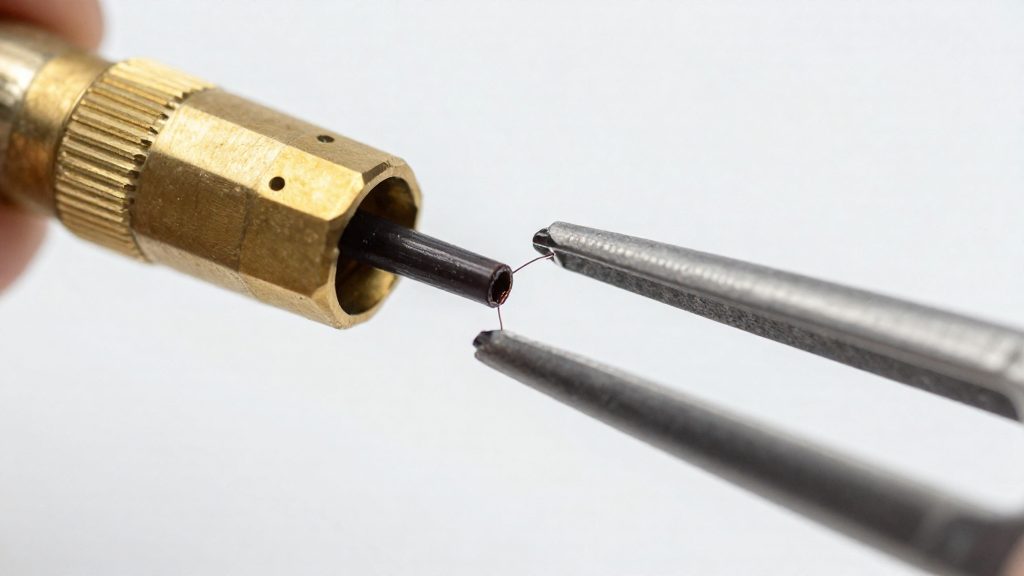
A cold pull is a maintenance procedure in which you push filament through a hot nozzle, let the hotend cool while the filament is still inside, and then pull the solidified filament back out. The filament carries embedded debris out of the nozzle with it. The method targets blockages that are still partial, where filament continues to pass through.
What is a cold pull and when does it help?
How cooled filament grips debris
A cold pull works because the filament stiffens around the particles inside the hotend before it is extracted. Prusa Research (2026) describes the manual version as pushing filament through the heated nozzle until it flows out, then cooling the nozzle while you keep pushing. At that point the plastic is firm enough that debris lodged in the melt zone comes out attached to the filament tip instead of staying in the nozzle.
On the Prusa CORE One, an automatic cold pull uses PLA. The printer cools the nozzle, reheats it, and unloads the filament, after which you pull the remaining length out by hand. The automatic routine handles the heating steps, but the extraction still depends on a manual pull.
For a manual cold pull, Recreus (2026) adds a practical step: loosen the extruder tension before pulling.
Symptoms pointing to a partial clog
The practical distinction is whether filament still flows when you push it by hand. If it does, the blockage is partial and the cold pull applies.
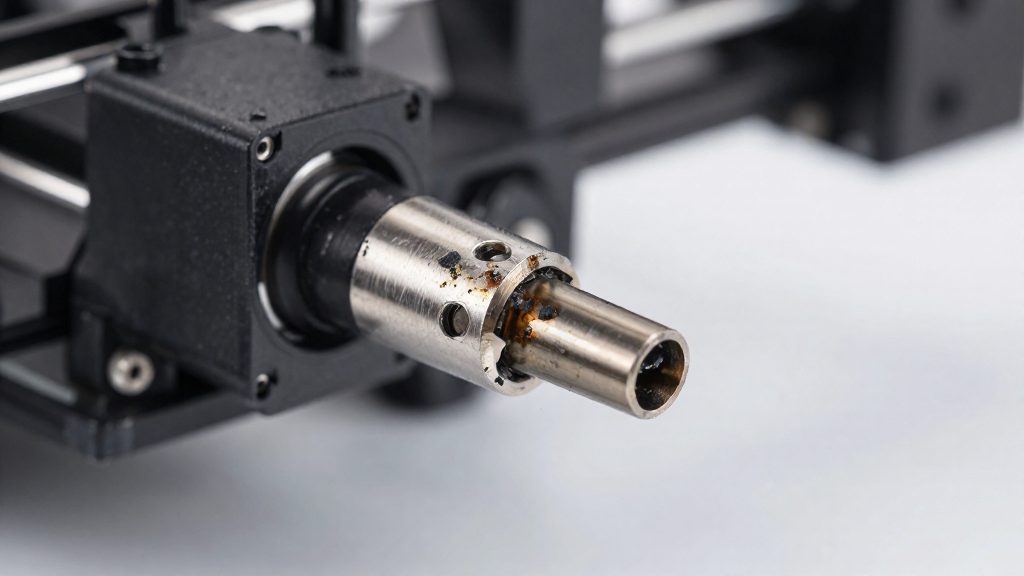
What you need before you start
Before you heat the nozzle, confirm that the blockage is a partial clog, because Prusa Research (2026) limits the cold pull to that case.
| Item | When needed | Check before starting |
|---|---|---|
| Pliers | Every cold pull, to extract the solidified filament | Jaws grip the filament without slipping |
| Needle | Only if nothing extrudes | Diameter no wider than the nozzle opening |
Choose pliers whose jaws hold the filament firmly, so it does not slip partway through the pull.
If nothing extrudes, the clog may be full. Recreus (2026) describes pushing the needle into the hotend in that case, but Prusa Research (2026) directs fully clogged nozzles to its Clogged Nozzle guide, so consult that guide first.
Loosen the extruder tension before any pull. It is a printer adjustment, not an item to gather, and Recreus (2026) recommends it.
How do you do a cold pull step by step?
According to Prusa Research (2026), a manual cold pull works by pushing molten material out of the nozzle, cooling the nozzle while the filament is still moving, and then pulling the solidified filament out in one piece. Follow the steps in order, because the filament must keep moving during cooling. For PLA, Prusa gives the pull temperature as 100 °C, and the pull should be slow and steady.
- Load PLA and heat the nozzle to 270 °C. Push the filament by hand until it flows out of the nozzle.
- Keep pushing the filament while the nozzle cools to about 170 °C. The molten material ahead of the filament tip is forced out, and debris is carried with it. Let the nozzle continue to cool to 100 °C before pulling.
- When the nozzle reaches 100 °C, pull the filament out slowly and steadily with pliers.
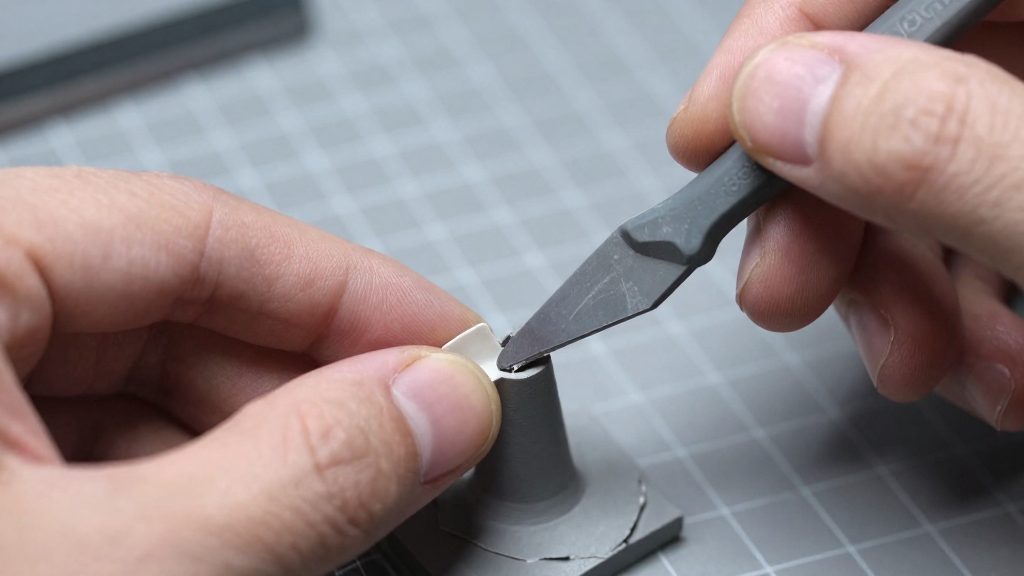
- Pull in a straight upward line. Do not pull sideways, because the filament can break inside the hotend, and the broken piece then has to be removed separately.
- Inspect the pulled end. A clean tip has no particles or dark residue attached.
- If the tip is not clean, repeat the sequence from step 1 until the pulled tip comes out clean.
Each cycle removes a little more debris, so a single pull often isn’t enough. Stop repeating when the pulled tip is clean. If filament no longer passes through the nozzle, treat the clog as full and switch to the Prusa Clogged Nozzle guide.
Which temperatures work for PLA, PETG, ABS, TPU and nylon?
A cold pull depends on two values: a heat target, which melts the residue inside the hotend, and a cool target, the temperature at which the filament is pulled out. Recreus (2026) publishes a separate pair for each of five common materials. Choose the pair for the filament you use for the cold pull. Recreus recommends transparent PETG as the cleaning filament, so the PETG row (240 °C heat, 120 °C cool) applies when you follow the Recreus method. Prusa’s manual procedure uses PLA with its own values.
| Material | Heat target (°C) | Cool target (°C) |
|---|---|---|
| PLA | 200 | 90 |
| PETG | 240 | 120 |
| ABS | 240 | 140 |
| TPU/TPE | 230 | 120 |
| Nylon | 250 | 160 |
Prusa’s manual values are given for PLA (270 °C, about 170 °C, pull at 100 °C), and its automatic routine is specific to the CORE One. Recreus gives its own PLA pair (200/90). On the Prusa CORE One, the automatic cold pull waits for the nozzle to cool to 36 °C, then heats it to 80 °C before the printer unloads the filament. The manual method uses a different sequence: the nozzle is set to 270 °C, cooled to about 170 °C while the filament is pushed through, and the filament is pulled out at 100 °C.
These Prusa figures apply only to PLA on Prusa hardware. For a manual cold pull with another filament, such as the recommended transparent PETG, use the matching row from the Recreus table instead. The two sources do not share a single set of values, so do not mix them within one procedure.
Which filament should you use for a cold pull?
The filament you use depends on whether you clean the nozzle manually or run the automatic routine on a Prusa CORE One. Recreus recommends transparent PETG as the cleaning filament for a manual cold pull (Recreus, 2026). Prusa Research specifies PLA for the CORE One’s automatic cold pull (Prusa Research, 2026). The two sources cover different methods, so the filament follows the routine you choose.
| Aspect | Manual cold pull | CORE One automatic cold pull |
|---|---|---|
| Filament | Transparent PETG | PLA |
| Source | Recreus (2026) | Prusa Research (2026) |
| Who pulls the filament | You, after the nozzle is prepared | You, by hand, after the printer unloads the filament |
| Length requirement | Not specified in the consulted sources | At least 30 cm |
For manual cleaning, Recreus names transparent PETG and describes the method as the atomic method (Recreus, 2026).
On the CORE One, the automatic routine needs PLA at least 30 cm long, so do not run it with a short leftover piece.
The consulted sources do not give a minimum length for PETG used in a manual cold pull.
Why does my cold pull keep failing?
A failed cold pull shows up in one of three ways, and each has a different response.
Filament snaps and leaves fragments
When the filament breaks inside the hotend, pieces stay behind in the nozzle. Prusa Research (2026) identifies the pull direction as the cause to control: pulling sideways can make the filament break, so pull straight upward instead. Pull slowly and steadily with pliers, and only once the nozzle has reached the pull temperature given in the step-by-step sequence. If fragments remain and filament no longer passes through the nozzle, the clog is full, and Prusa Research (2026) directs that case to its Clogged Nozzle guide rather than another cold pull.
Repeated cycles with no clean tip
A tip that still carries debris after one pass means the blockage has not been fully cleared. Prusa Research (2026) and Recreus (2026) both say to repeat the procedure until the pulled tip comes out clean, with no particles. Repeat the full sequence for each attempt, starting again from the heating step.
Residue that resists extraction
When residue will not come out, repeat the cold pull until the filament comes out with no particles (Recreus, 2026). Recreus (2026) recommends transparent PETG as the cleaning filament, so use the PETG row of the temperature table below. Keep the extruder tension loosened during each repeat, as Recreus (2026) specifies.
When should you skip the cold pull?
A cold pull is designed for a partially clogged nozzle, where some filament can still pass through and debris can be drawn out. According to Prusa Research (2026), a fully clogged nozzle needs its own procedure, described in the separate Clogged Nozzle guide, so the cold pull is the wrong method in that case.
Hotend type is the second hard exclusion. Prusa Research (2026) states that the cold pull must not be used with the Nozzle X, whatever the state of the clog.
| Situation | Cold pull? | Method to use |
|---|---|---|
| Partial blockage, filament still passes through | Yes | Cold pull |
| Full blockage, no filament exits | No | Clogged Nozzle guide |
| Nozzle X hotend | No | Not applicable, cold pull excluded |
Telling partial from full blockage
The sources do not give a measurable test that separates a partial blockage from a full one. If the filament will not move at all, treat the clog as full and start with the Clogged Nozzle guide. If filament still flows, even weakly, the cold pull applies to a partial blockage.
How do you prevent nozzle clogs?
Most clogs that eventually need a cold pull begin with small amounts of residue left behind during normal printing. Prevention comes down to three habits: purging the hotend when you change materials, storing filament dry, and keeping the nozzle within the temperature range the filament is designed for.
Purge the hotend when switching materials
When you change from one filament to another, run the new material through the hotend until the old colour or material is gone before you start a print. Leftover material can sit in the melt zone and only surface later as a blockage, especially when the next filament melts at a lower temperature. Purging at the new filament’s settings keeps the leftover residue from hardening in the nozzle.
Store filament dry to limit residue
As general practice, damp filament can extrude unevenly, which may contribute to deposits around the nozzle. Keep spools in a sealed container with desiccant, and return them to storage as soon as a print finishes. Hygroscopic materials such as nylon need this more than most, so check the storage conditions before each long print.
Catch partial clogs early
As general practice, reduced extrusion, thin lines or visible under-extrusion can signal a developing partial clog, and acting early is easier than clearing a fully blocked nozzle.