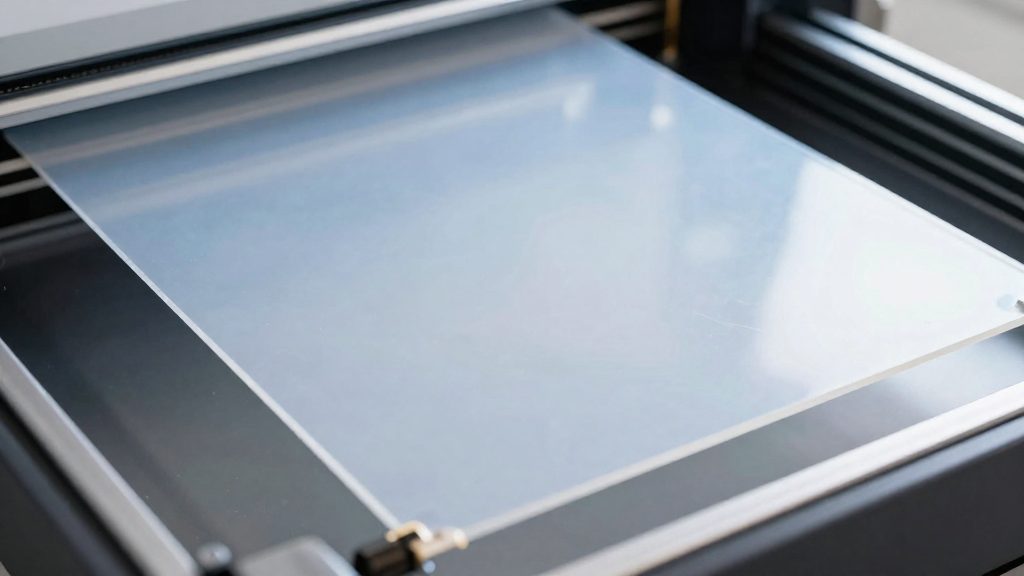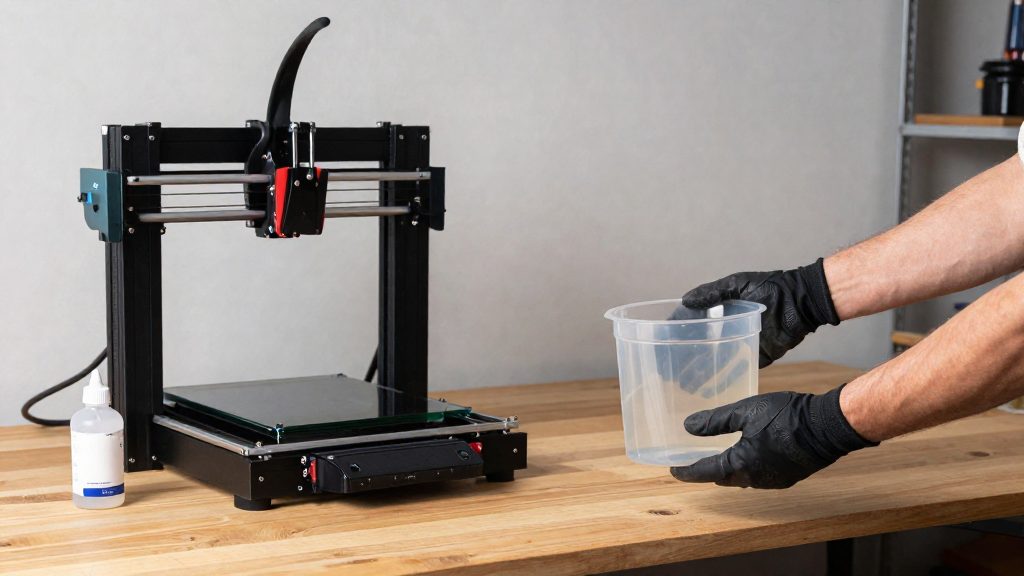
For an ELEGOO Saturn resin vat, the choice depends on the type of damage and whether the existing frame is still usable. A film-only swap keeps the original frame and replaces only the release film, a procedure ELEGOO documents for the original Saturn. A complete replacement tank replaces the whole unit, including the film. It is listed for the Saturn 2 and Saturn 3 and comes with its release liner already installed, so it is the route to choose when the frame cannot be reused.
Replace the whole vat or just the film?
Decision criteria: damage type and frame reuse
Start by identifying where the damage is:
- Damage limited to the film: a film-only swap reuses a serviceable frame but requires disassembling and reassembling the film assembly. A complete replacement tank arrives with its release liner installed.
- Damage to the frame or to the unit as a whole: a complete tank avoids reusing a compromised frame.
- Film condition: ELEGOO recommends replacing the film when its condition affects print results or success rate, not for every mark.
Film-only replacement with the original frame reused
ELEGOO’s procedure for the original Saturn removes the tank screws in groups before the film is detached from its frame:
| Stage | Specification |
|---|---|
| Tank screws removed | Groups of 4 and 12 |
| Film fastening | 24 screws securing the FEP to its frame |
| Slack sponge | 80 × 80 × 8 mm |
Peel the protective layers from both sides of the new film before fitting it. These counts and dimensions are documented only for the original Saturn, so verify them against your own printer before starting.
Full tank replacement for Saturn 2 and Saturn 3
The complete replacement tank for these models has feet that keep its release liner off the workbench and a lid that protects against dust and UV light.
Matching the replacement type to damage severity
- Film damage affecting print results with an intact frame: a film-only swap lets you reuse the frame but requires disassembly and reassembly. A compatible complete tank arrives with its release liner installed.
- Frame damage or a unit-level problem: a complete tank replaces every component in one step.
- Film still printing well: keep the existing film until its condition affects results.
Which replacement vat fits your Saturn?
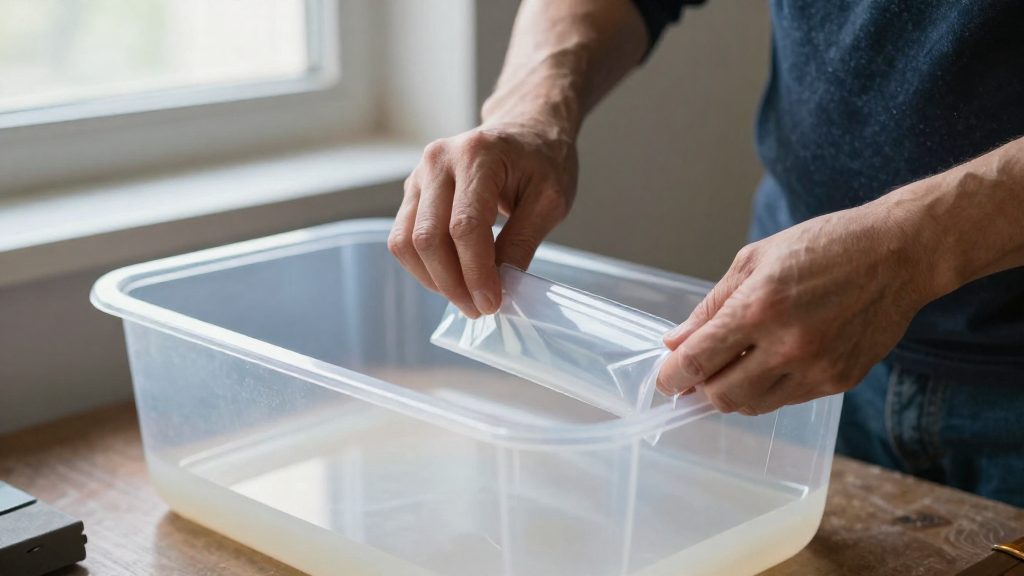
The replacement tank that ELEGOO lists for the Saturn 2 and Saturn 3 is a complete tank with a PFA release liner already installed, according to ELEGOO US. This is the part to check first: the listing names those two models only. The sources do not establish that the same tank fits the original Saturn, Saturn S, Saturn 3 Ultra or Saturn 4, so confirm the exact model name on your printer and on the product page before ordering.
| Check | What to confirm |
|---|---|
| Printer model | Saturn 2 or Saturn 3, as named in the ELEGOO US listing |
| Release liner | PFA, pre-installed on the replacement tank |
Terminology: FEP or PFA
The Saturn 2 manual refers to its release film as FEP (ELEGOO, 2022). The current Saturn 2/Saturn 3 replacement tank listing specifies PFA. Treat these as descriptions tied to each source and installed part: confirm the liner material in the replacement tank’s product listing or supplied documentation.
Protecting the liner before installation
Keep the lid on until you are ready to install the tank, and place the tank liner-side down on the feet only when it is out of the box.
Tools and resin handling precautions
Before touching the vat or the film, gather the right tools and set up a clean workspace. The steps below apply to the original Saturn film replacement procedure that ELEGOO documents.
Tools listed by ELEGOO
For the original Saturn FEP replacement, ELEGOO lists the following:
| Tool | Use |
|---|---|
| Hex wrenches, 2.0, 2.5 and 3.0 mm | Loosening and tightening the tank screws |
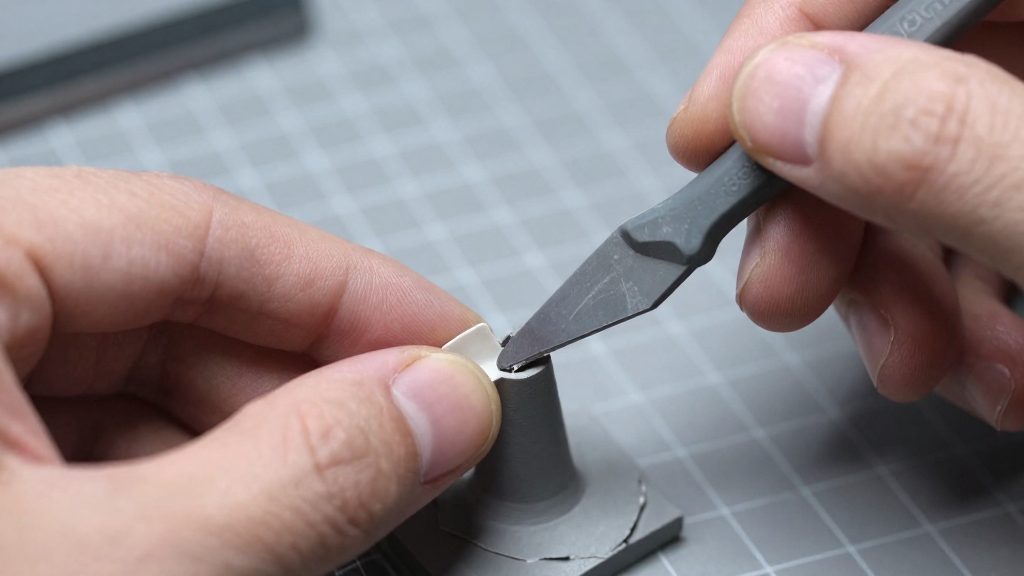
| Utility knife | Cutting and separating the film from its frame |
| Gloves | Handling the film and resin-contaminated parts |
| Sponge, 80 × 80 × 8 mm | Providing slack during frame assembly |
The sponge is used when reassembling the frame, so keep it within reach rather than improvising a substitute. The hex wrench sizes are specific to the screws on this procedure, so check that you have all three before starting.
Handling resin before opening the vat
The original Saturn manual instructs users to wear gloves and avoid direct skin contact when using the printer. Put gloves on before you open the tank or handle any resin-coated part. Work on a surface you can wipe clean, and keep the tank lid closed when the vat is not in use.
Remove the existing resin vat
Before lifting anything, drain the tank. After a failed print, filter leftover resin to remove cured fragments before returning it to its original bottle or a dedicated, labelled container; keep the container sealed and away from direct sunlight.
Draining is the first step because a tank still holding resin is heavy and can spill during handling. Do this over a surface you can wipe clean, and clean any drips immediately.
Release the tank screws before lifting the old tank off the printer, following your model’s removal instructions. Work slowly and keep the tank level so resin does not run toward the release liner. Set it down on a clean surface, with the liner facing up and not resting on the bench.
Protecting the release liner matters during removal. Avoid sharp tools near the film.
Install and secure the replacement vat
The Saturn 2 manual sets a fixed order for this step. When performing the Saturn 2 leveling procedure, complete leveling and raise the build platform before reinstalling the resin tank and fastening its screws (ELEGOO, 2022); this sequence does not establish that every tank replacement requires releveling. Installing the tank against a platform that is already set lets you check the fit before the tank screws are tightened.
- If leveling is required by your model’s instructions, complete that procedure before reinstalling the tank.
- Raise the build platform.
- Reinstall the replacement tank on the printer.
- Fasten the tank screws.
It is also not confirmed whether every full tank swap requires releveling, so follow the sequence in your own model’s manual.
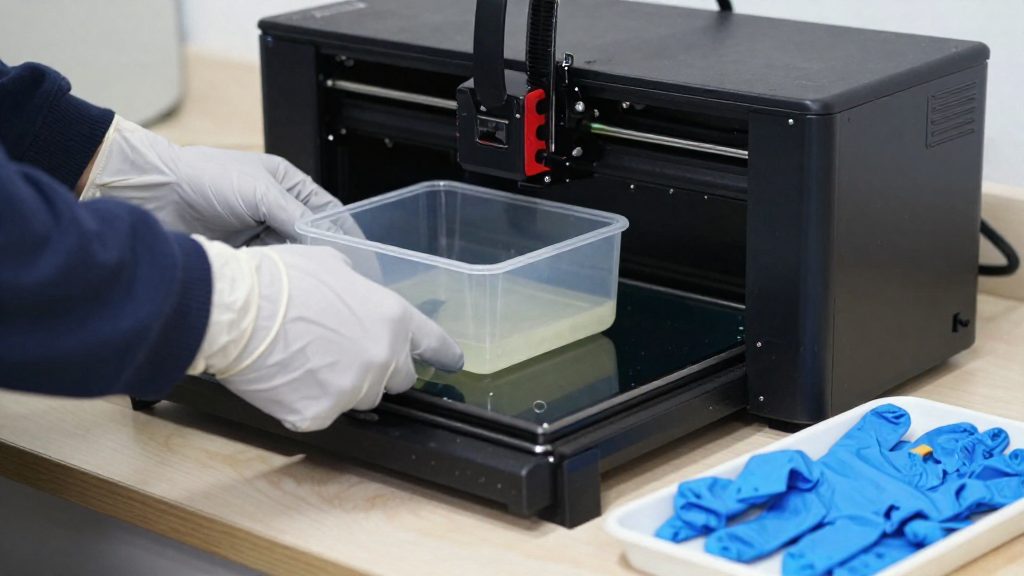
Replace the original Saturn FEP film
ELEGOO’s procedure for the original Saturn removes the tank screws in groups. According to ELEGOO US (2026-08-25), you first remove groups of 4 and 12 tank screws, then the 24 screws that secure the FEP film to its frame. Keep each group separate so the screws can be matched to their positions at reassembly.
| Order | Screws | Role in the procedure |
|---|---|---|
| 1 | 4 tank screws | First group removed |
| 2 | 12 tank screws | Second group removed |
| 3 | 24 screws | Secure the FEP film to its frame |
Peel the protective layers from both sides
The new film has protective layers on both faces. ELEGOO instructs users to peel them off from both sides before fitting the film. Check both faces before assembly, since a layer left on either side would stay in the tank.
Use the sponge to create slack
During frame assembly, use the 80 × 80 × 8 mm sponge listed for this procedure to give the film slack. For the original Saturn, orient the frame half with the larger openings of its 12 screw holes facing the table. Position the sponge and new film, place the other frame half over them, and secure the film with the 24 screws. Trim excess film along the frame edge with the utility knife, then reinstall the film-and-frame assembly and secure all tank screws. Follow ELEGOO’s illustrated procedure for the frame orientation.
Check the vat before printing
After a failed print, the first step is to leave the printer alone. ELEGOO advises against immediately starting another print, so the tank, the FEP and the build area should be inspected before any new job is sent.
Judging whether light marks need replacement
Small, light marks on the FEP do not necessarily affect printing, according to ELEGOO (2026). Check whether the marks actually change the result. A light scratch that prints cleanly does not justify a replacement on its own, while a film that causes failed layers or inconsistent surfaces does.
Waiting before a new print after failure
ELEGOO advises against starting another print immediately after a failed one. Before restarting, remove cured debris from the tank without sharp tools, inspect the release film, and confirm that the build platform is clear; waiting for the resin to settle does not replace cleaning.
Debris removal without sharp tools after failure
Remove cured resin fragments from the tank without using sharp tools. ELEGOO warns against sharp tools for this task because they can damage the FEP.