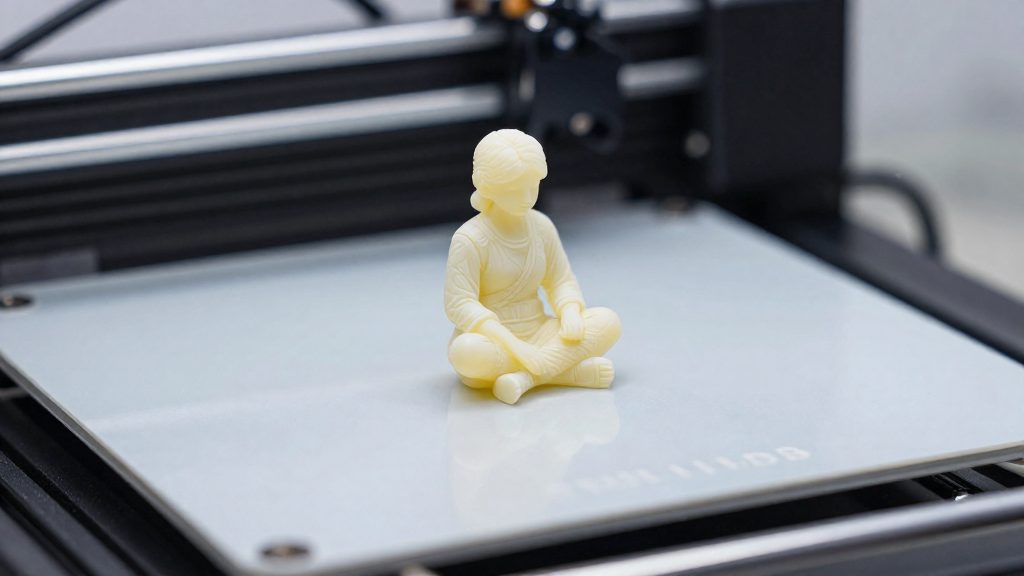
Resin vs FDM: which prints better miniatures?
For most hobbyists, resin suits character miniatures and FDM suits terrain, buildings and large accessories. According to 3DSourced (2026), resin’s fine detail and smooth surface make it the common recommendation for figures, while FDM is the usual choice for larger pieces. The better printer therefore depends on the model type, how many identical pieces you print, and whether you want to print one figure at a time or a full batch.
Recommended split: character miniatures versus terrain
The usual split follows the type of model:
| Model type | Suggested technology | Reason |
|---|---|---|
| Character miniatures | Resin | Fine detail and a smooth surface, where FDM shows visible layer lines |
| Terrain | FDM | Common recommendation (3DSourced, 2026) |
| Buildings | FDM | Common recommendation (3DSourced, 2026) |
| Large accessories | FDM | Common recommendation (3DSourced, 2026) |
Faces, hands, and engraved armour are the features that reward resin. Walls, rocks, and crates are usually judged by their silhouette at table distance, so the layer lines of FDM matter less.
Large accessories and buildings on FDM printers
Large pieces fill more of the build plate, so resin’s batch advantage gives little benefit when one part occupies most of the volume. FDM is the more practical choice for these parts. Print them in fewer, larger pieces, and reserve resin for the small, detailed parts of a scene, such as figures, banners, or small props.
Hobbyist priorities that decide the printer choice
Use these priorities to decide which printer to buy or which method to use for a given job:
- Detail on figures: resin, because it produces finer detail than FDM.
- Batch printing: resin, because each layer takes the same time whether it holds one mini or twenty (3DSourced, 2026).
- Scenery and large parts: FDM, as described above.
Overall verdict for hobbyists
If your main goal is tabletop figures, choose resin. If your main goal is scenery, large props, or buildings, choose FDM. If you want both, the tasks split cleanly: resin for the small detailed parts, FDM for the large ones.
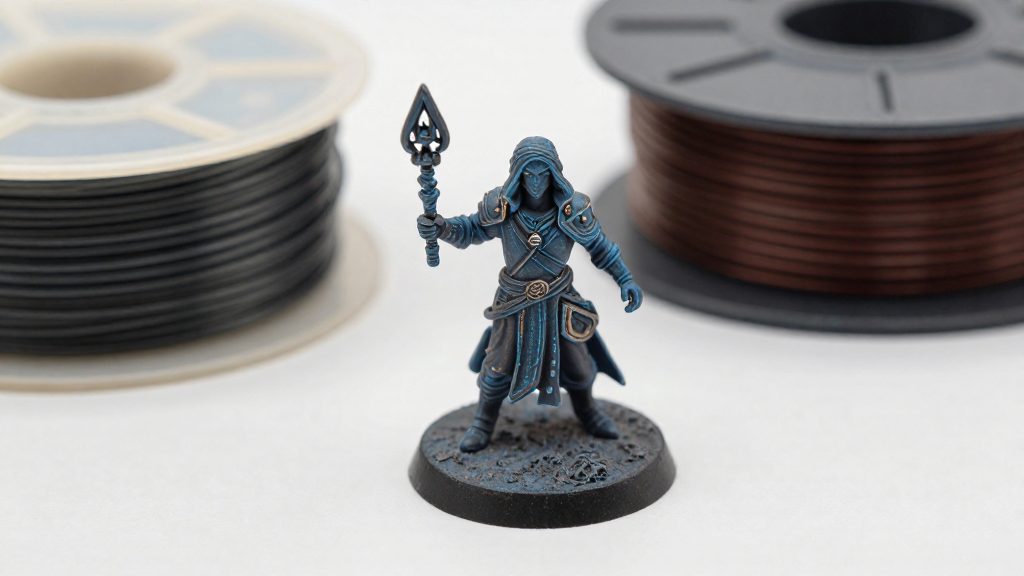
How much detail can each printer capture?
Resin printers reproduce finer detail than FDM printers, mainly because of layer height. According to 3DSourced (2026), FDM layer heights run about 50–400 microns, while resin can go as low as 10 microns. Layer height sets the stepped texture on curved and angled surfaces, so this gap determines how much of a miniature’s sculpted detail survives the print.
| Attribute | FDM | Resin |
|---|---|---|
| Layer height range | About 50–400 microns | As low as 10 microns |
| Surface appearance | Visible layer lines | Smooth surface |
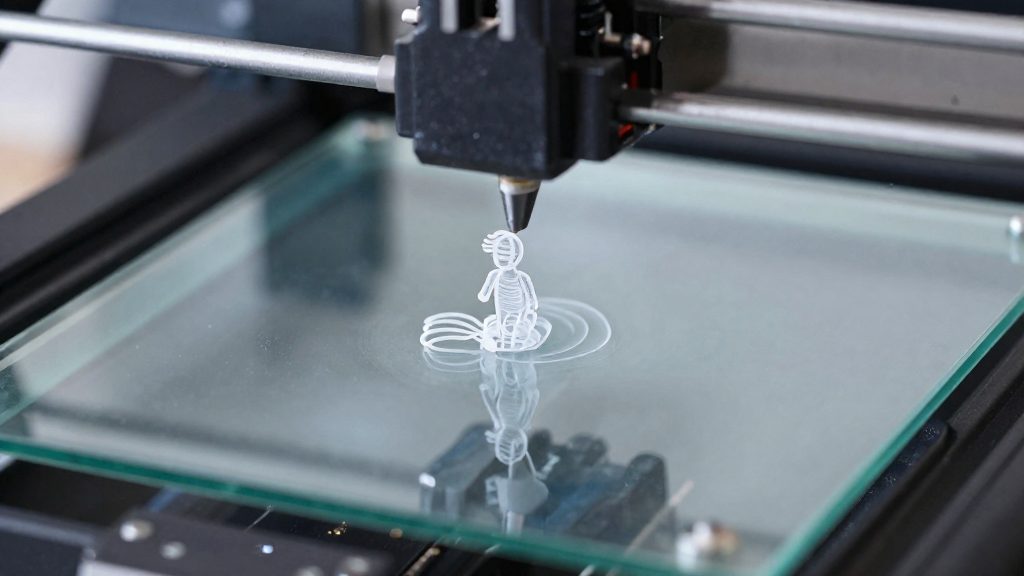
Layer lines are the most visible difference. On an FDM miniature, each extruded layer leaves a ridge that catches light on sloped areas such as cloaks, faces, and hair. A resin print at the low end of its range builds layers thin enough that the surface reads as continuous at normal viewing distance.
Feature limits depend on the printer and the layer height used, so the practical limit has to be measured on your own machine:
- Model a test plate with a row of small pins, letters, and grooves, graduated in size.
- Print it at two or three layer heights within each technology’s range.
- Inspect the plate under magnification and record the smallest feature that stays intact and legible.
- Repeat the test whenever you change material, slicer profile, or layer height.
Which is cheaper to run?
Running cost per mini depends on three factors: the material each process consumes, the material lost to failed prints and supports, and the electricity drawn during printing. This section explains how to calculate your own number.
Material cost per mini
Resin is usually sold by the millilitre and filament by the gram, so the two cannot be compared directly. Convert both to a cost per mini:
- Resin: cost per mini = millilitres used × price per millilitre
- Filament: cost per mini = grams used × price per gram
Use your slicer’s estimate for filament weight. For resin, use the volume your slicer reports for the model plus its supports.
Support and failure waste
Failed prints and support structures are material that never becomes a usable figure. Record the grams or millilitres lost on every failed print, not only the successful ones. Your real cost per mini is the material used across all attempts divided by the number of finished minis.
| Cost item | FDM | Resin |
|---|---|---|
| Print material | Filament, priced per gram | Liquid resin, priced per millilitre |
| Support removal | Supports removed and discarded | Supports removed and discarded |
Energy use
You can estimate energy for your own machine, covering UV curing, nozzle heating and bed heating, using the rated power printed on its label:
- Energy use (kWh) = rated watts × print hours ÷ 1000
Multiply the result by your electricity price per kWh to get the energy cost per print. Compare the labelled power of each machine rather than assuming either is cheaper to run.
Is resin or FDM faster for a tabletop army?
For a single miniature, FDM printers finish sooner. For a full army printed in one run, resin printers pull ahead as the part count rises. According to 3DSourced (2026), FDM is faster for a single mini, while resin is much faster for batch printing, because each resin layer takes the same time whether it holds one mini or twenty.
Why a single mini favours FDM
A resin print runs through its full layer count even when only one figure sits on the build plate. The per-layer time stays fixed, so a lone miniature pays the full cost of every layer. Under the same source’s comparison, an FDM printer completes one small figure sooner.
Why batches favour resin
Batch time on resin stays flat as parts are added. Adding figures to the plate does not add layer time, so total print time depends mainly on the number of layers and the time per layer, not on how many parts share the layer. The practical limit becomes how many minis fit on the plate at one time, not the printing clock.
As simple arithmetic, for any given part height, halving the layer height doubles the number of layers.
The 0.050 mm starting layer and its time cost
For resin miniatures, 3DSourced (2026) suggests a starting layer thickness of 0.050 mm. Lower layer heights improve results but take longer, because each extra layer adds its full per-layer time. A 0.050 mm setting is a sensible baseline for a first army run. Moving to a finer value trades print time for detail, and that trade is worth measuring on a test batch before committing an entire army to it.
| Scenario | FDM printers | Resin printers |
|---|---|---|
| Single mini | Faster | Slower, full layer count applies |
| Large batch in one run | Advantage shifts away from FDM | Much faster, each layer takes the same time |
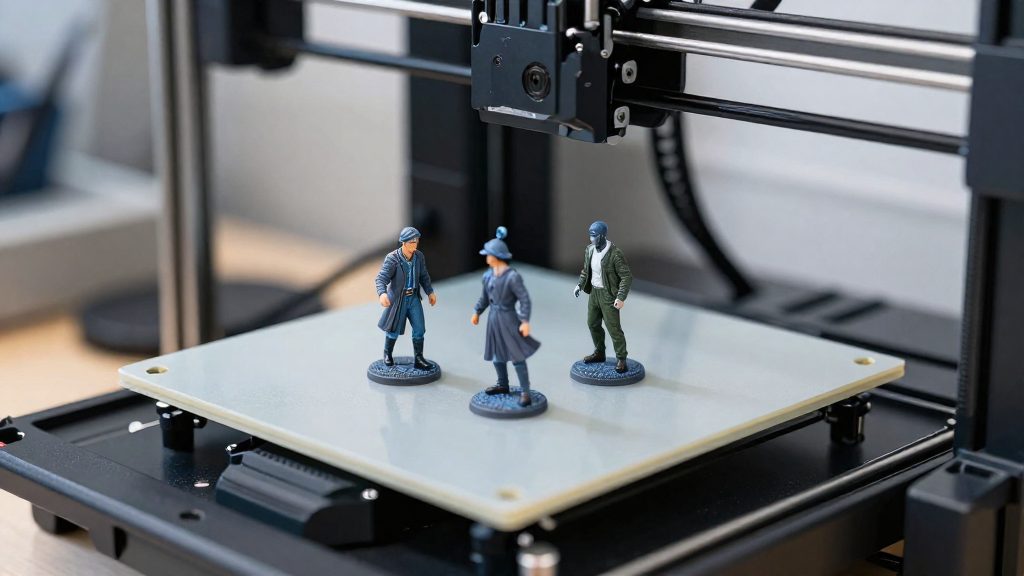
What post-processing does each need?
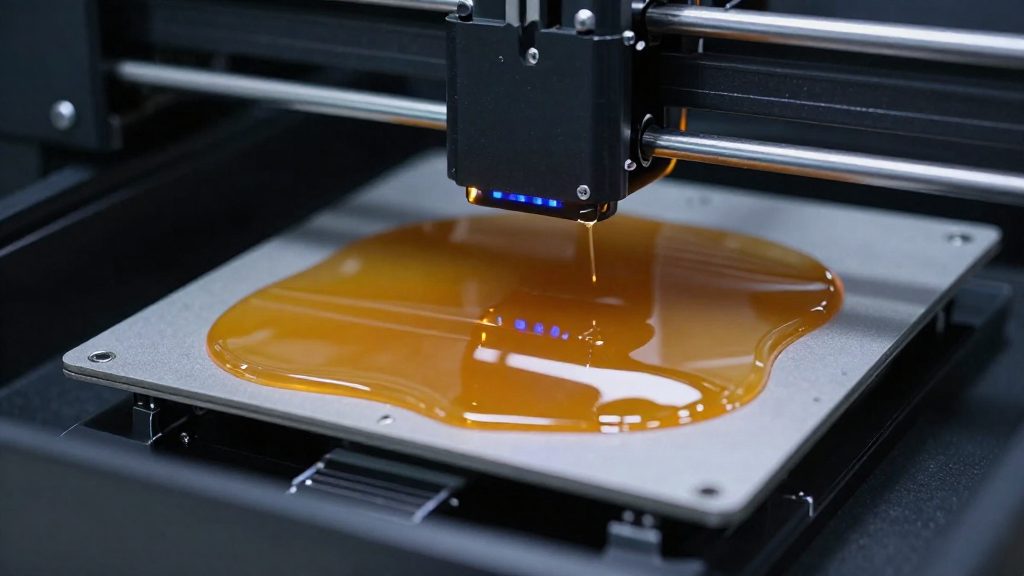
Resin and FDM prints leave the printer in different states, so each needs a different cleanup sequence. According to 3DSourced (2026), resin post-processing involves an isopropyl alcohol wash, support removal and UV curing, while FDM post-processing involves support removal and sanding. The resin workflow is chemical and light-based. The FDM workflow is mechanical. Each technology follows its own workflow, and the steps and tools differ.
Resin workflow
A resin print comes off the build plate coated in uncured liquid resin. The listed sequence is:
- Isopropyl alcohol wash: removes uncured resin from the surface, including fine and hollow areas.
- Support removal: the source lists this step after the wash.
- UV curing: exposes the part to UV light to finish hardening the resin.
The resin workflow listed by 3DSourced (2026) does not include sanding.
FDM workflow
An FDM print follows two stages:
- Support removal: breaks or cuts away the supports.
- Sanding: smooths the surfaces where supports were attached and any rough areas left on the part.
No washing or curing step applies to FDM prints.
Support removal compared
| Aspect | Resin print | FDM print |
|---|---|---|
| Position in workflow | After the isopropyl alcohol wash, before UV curing | Directly after printing, with no wash or cure |
| Support material | Supports are removed in both workflows | Supports are removed in both workflows |
In short, resin cleanup is a chemical and curing process built around the wash, while FDM cleanup is a mechanical finishing process built around support removal and sanding.
Is resin printing safe at home?
Liquid resin should be handled as a chemical irritant, and the source recommends precautions. 3DSourced (2026) recommends three measures: nitrile gloves, eye protection, and a well-ventilated area. Each measure covers a different route of exposure: skin contact, splashes to the eyes, and inhalation.
Hand and eye protection
Liquid resin contacts your hands when you fill the vat, refill bottles, and remove printed parts. 3DSourced (2026) specifies nitrile gloves for this handling. Eye protection guards against splashes while you pour or lift a print out of the vat. As general practice, wear both for the entire handling step, not only while pouring.
Lung irritation from fumes
Fumes can irritate the lungs, so the exposure concern goes beyond spills. Inhalation is most relevant when the printer is running, when the vat is open, and during post-printing steps. 3DSourced (2026) does not give an airflow rate or a distance, so the guidance here is qualitative: keep the printer in a room where air moves, and as general practice, avoid enclosed spaces such as closets or small bedrooms.
Ventilated printing area requirements
| Measure | Exposure it addresses | Practical setup |
|---|---|---|
| Nitrile gloves | Skin contact with liquid resin | Wear during filling, pouring, and part removal |
| Eye protection | Splashes while the vat is open | Wear whenever you open the vat or lift a print |
| Ventilated area | Lung irritation from fumes | Place the printer where air circulates, away from sleeping areas |
When should you use both?
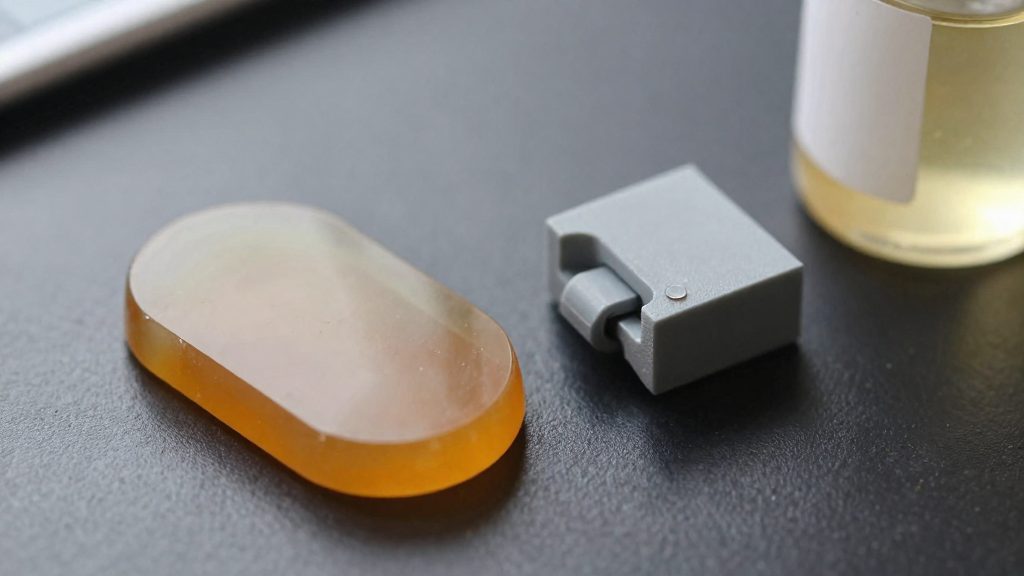
Running a resin printer and an FDM printer on the same project makes sense when the parts of one model have different requirements. The workflow is to assign each part to a printer before slicing, schedule the two queues around their different finishing steps, and test-fit the mating parts before committing to a full run. Resin reaches layer heights as low as 10 microns, while FDM layer heights run from about 50 to 400 microns (3DSourced, 2026). Those figures give you a sorting rule: parts where surface detail matters most go to resin, and parts where visible layer lines are acceptable go to FDM.
Splitting parts between the two printers
Start with a list of every part in the project, noting its approximate size and surface requirements. Then tag each part with its target printer in your slicer project so the files are not mixed up later. Where two parts must match each other, such as a peg and its socket, assign them to printers that you can finish and test together, so you are not comparing a raw print against a fully finished one.
Scheduling the two queues
The two processes have different finishing workloads. Start the FDM job first when possible, then let the resin job run while you sand the FDM parts. Do the resin wash and cure steps with gloves, eye protection and ventilation, and keep FDM sanding dust away from the resin station.
Checking fit across both technologies
Test-fit mating parts before the final print run. Print the pieces on their assigned printers, finish them with the same steps they will receive in the final build, and then dry-fit them. Measuring raw prints can mislead, because the finishing steps differ between the two processes. Record any gap or interference with calipers, adjust the clearance in the model, and reprint only the affected part rather than the whole project.
Frequently asked questions
Which technology gives sharper detail on a miniature face or armour engraving?
Resin. According to 3DSourced (2026), resin can print layers as thin as 10 microns, compared with the 50 to 400 microns typical of FDM, which is why FDM minis show visible layer lines while resin surfaces look smooth.
Is FDM or resin faster if I only need one figure?
FDM is faster for a single mini. Resin becomes the quicker option when you print a batch, because the time per layer stays constant regardless of how many figures share the build plate (3DSourced, 2026).
What safety precautions apply to resin printing?
Wear nitrile gloves and eye protection when handling liquid resin, and print in a well-ventilated room, since resin fumes can irritate the lungs (3DSourced, 2026).