To replace an FDM nozzle, you need a socket that matches the nozzle and a ratchet to turn it. You also need pliers or a wrench to hold the heater block, and heat-resistant gloves. Anycubic’s guide describes unscrewing the nozzle with a socket and ratchet. These are the tools for the job, and the steps that use them are covered in the sections on removal and installation.
What tools do you need to replace an FDM nozzle?
Socket. The socket must match the nozzle size. Anycubic’s example for the Vyper uses a 7 mm socket, according to Anycubic (2026). A generic socket that does not fit the nozzle can’t grip it properly, so measure or check the nozzle’s size before you start and choose the socket to suit it.
Ratchet. The ratchet handle drives the socket. The socket and ratchet are used together as one tool to turn the nozzle, so make sure the socket fits the nozzle and the ratchet fits the socket. The ratchet gives you control over the turn, which matters because the nozzle must not be over-tightened when you reinstall it.
Heat-resistant gloves. The hotend is hot when you work on it, and Anycubic advises wearing heat-resistant gloves when handling it. Gloves protect your hands from the heater block and the nozzle while you loosen and remove the old nozzle.
Keep these three items within reach before you begin, so you do not have to step away from a hot hotend to find them.
When should you replace your nozzle?
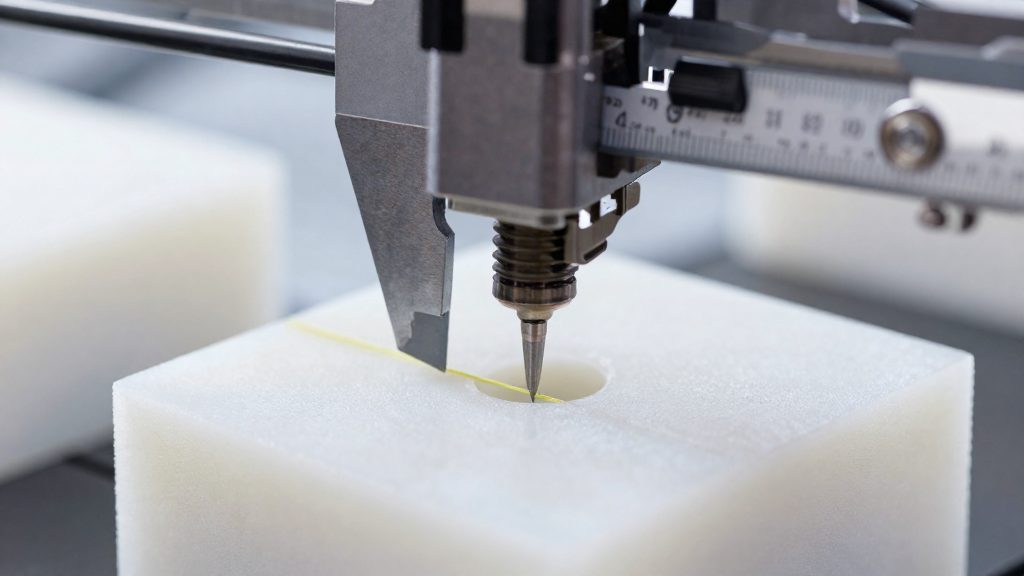
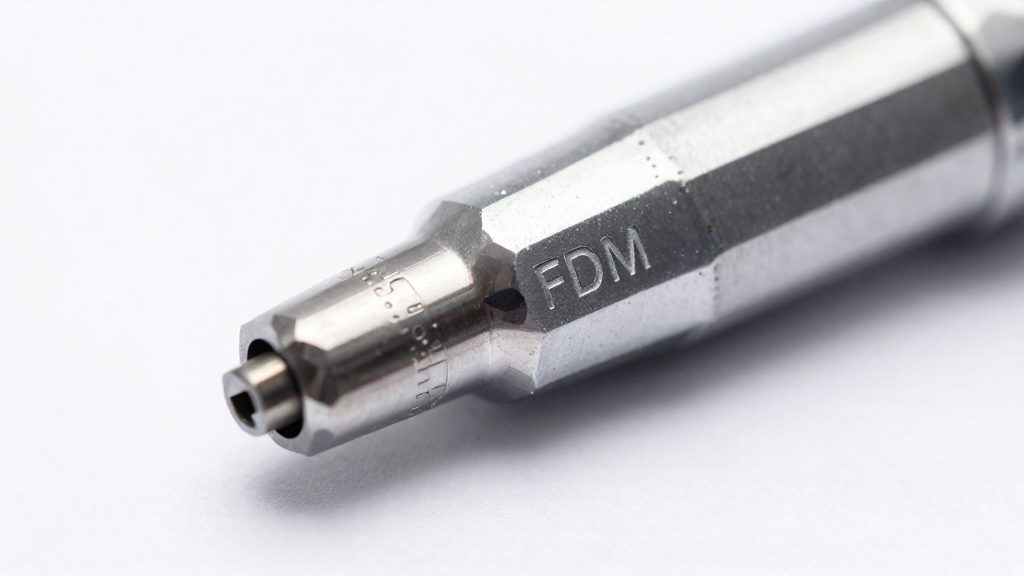
The main trigger is tip wear. Anycubic (2026) says a nozzle is due for replacement when its tip wears down, becoming larger and shorter than its original size. Because the tip opening widens, the extruded line changes, and because the tip gets shorter, the nozzle sits at a different height from the bed. A comparative check works well here. Set the used nozzle beside a new one of the same model and look at the tip. If the used tip is visibly wider or shorter, replace it.
Service life varies with the filament you print, the quality of the nozzle and its material. eufyMake (2026) suggests changing nozzles every 3 to 6 months as a general guide, and gives longer material-based estimates for harder nozzles: Its material-based estimates are below:
| Nozzle material | Typical service life (eufyMake, 2026) |
|---|---|
| Brass | About 6 months |
| Hardened steel | Up to 1 year |
| Ruby-tipped | Often several years |
These figures are planning guides, not guarantees. A printer that runs abrasive or high-volume jobs will wear through a brass nozzle faster than one that runs occasionally, so it makes sense to inspect the tip on a regular schedule rather than waiting for a failure.
Several signs point to a nozzle that needs replacing before it fails outright. Watch for a visibly widened or shortened tip, and for a print that looks wider or thinner than it did when the nozzle was new. If you print a calibration object and the dimensions drift, check the tip before adjusting your slicer settings.
Hot or cold: how do you prepare the hotend?
The hotend has to be heated and emptied before the nozzle can be removed. Heat softens the filament still inside the nozzle, and unloading clears the channel so the nozzle can be unscrewed without pushing molten plastic out. Anycubic’s guide lists the steps as raising the Z-axis, preheating the hotend, and unloading the filament (Anycubic, 2026). In practice, the preheat temperature should match the material you were printing with, not a single default. iFixit’s guide to the Prusa i3 MK2 says to heat the nozzle to suit the filament before removing the old one, and gives example values for two common materials (iFixit, 2026).
| Filament | Example preheat temperature | Source |
|---|---|---|
| PLA | 190 °C | iFixit (2026) |
| ABS | 220 °C | iFixit (2026) |
Once the hotend reaches the target, run the filament unload function on the printer so that no plastic remains in the nozzle. Anycubic’s sequence puts preheating before unloading, so the filament is only pulled out when the hotend is hot enough to release it. The goal is an empty nozzle before any unscrewing begins. Check the display or the printer’s unload menu to confirm the filament has fully retracted from the heater block.
If you switch materials between prints, the preheat temperature changes with them. A nozzle that held ABS needs the ABS example value, and one that held PLA needs the PLA value, because the same nozzle can be swapped from one material to another during routine maintenance.
How do you remove the old nozzle?
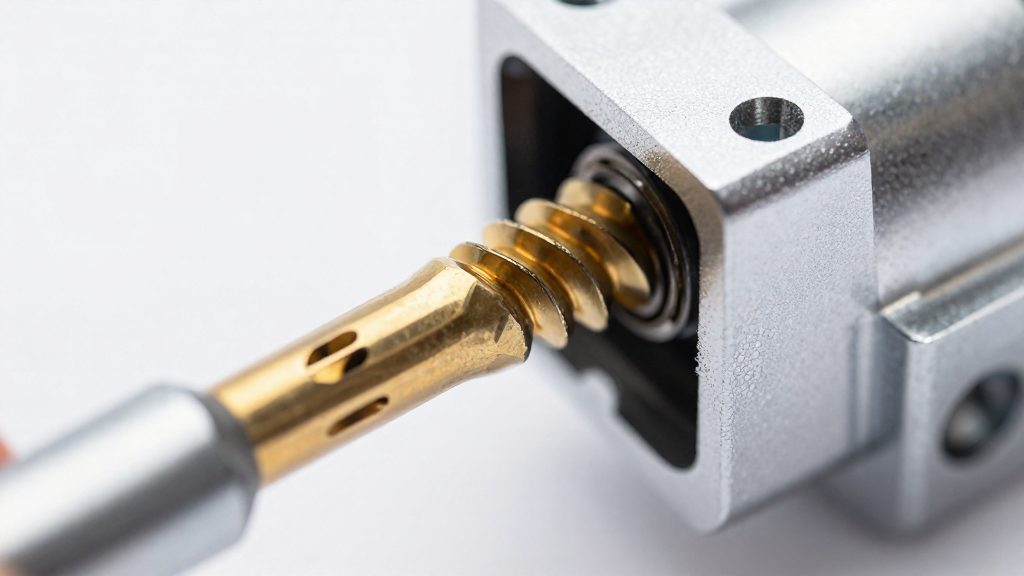
Removing the old nozzle means holding the heater block still while you unscrew the nozzle from it. The nozzle threads into the bottom of the block, so if the block turns with it, the force travels into the heater and the print head. Once the hotend is heated and the filament is out, the removal itself comes down to two actions: holding the block and turning the nozzle.
Hold the heater block
Grip the heater block with pliers or a wrench and apply steady pressure so it cannot rotate. According to Anycubic (2026), the block is held this way while the nozzle is unscrewed. Keep your grip on the block itself, not on the nozzle, because the nozzle is the part you are turning.
Unscrew the nozzle with a socket and ratchet
Fit a socket over the nozzle’s hex flats and turn it with a ratchet, rotating counterclockwise to loosen the thread. A ratchet lets you work in short strokes without repositioning your hand, which lowers the chance of slipping onto the block. Turn steadily until the nozzle spins free, then lift it out and set it on a heat-resistant surface while it is still hot.
Protect the heater block wires
Keep the heater block wires clear of the socket and ratchet for the entire operation. Route them away from the tool path before you start, and let them hang loose rather than gripping or pulling them. Any strain on the wiring can damage the connection, so the block should always be the part you hold, not the cables.
Installing the new nozzle without over-tightening
The nozzle needs to seat firmly in the heater block, but it should never be forced. For a Prusa i3 MK2, iFixit recommends tightening the new nozzle about a quarter turn past hand tight. Starting by hand lets you feel the threads engage properly, and the small extra turn provides the seal without straining the parts.
The main risk is applying more force than that. The two sources flag different damage:
- Heater block: Anycubic states that excess force can damage the heater block, which houses the heating element that the nozzle screws into.
- Nozzle and print head: iFixit warns that over-tightening could damage the nozzle or print head.
Tightening sequence
- Thread the new nozzle in by hand until it stops turning freely.
- Apply only about a quarter turn past that hand-tight point.
- Stop there. Do not tighten any further with the socket or ratchet.
What to do after the swap
After the new nozzle is fitted, three checks confirm the printer is ready: re-levelling the bed, a filament feed test, and inspecting the nozzle for clogs or leaks.
Re-levelling the bed
Re-level the bed first, because a different nozzle changes the nozzle-to-bed distance. Run your printer’s levelling routine, whether it is automatic or manual. On a manual machine, slide a sheet of paper between the nozzle and the bed at each corner and adjust until the paper drags slightly. Then print a single-layer test to confirm the first layer sticks evenly across the bed.
Feed test for extrusion
Once the bed is level, feed filament through the extruder to confirm the new nozzle extrudes. Load the filament as you would for a normal print and watch the nozzle tip for a steady, continuous flow. If the filament stops, comes out in an uneven stream, or the extruder gear slips, stop and inspect the nozzle before printing.
Reading clog and leak symptoms
A clog or leak after a swap usually means the nozzle is not tight enough. Anycubic (2026) points to this directly as the most likely cause. Before changing anything else, check the nozzle seat and look for filament or melted residue around the threads and the heater block. Retighten the nozzle, then repeat the feed test to see whether the problem is gone.
Quick-release nozzles and printer-specific steps
Nozzle replacement procedures differ between printers. Threaded nozzles are removed with a socket and ratchet. For quick-release designs, the manufacturer manual is the only reliable reference, and it should override any generic routine it contradicts.
Anycubic Vyper: heat, unload, hold, unscrew
Anycubic’s guide starts by raising the Z-axis, preheating the hotend and unloading the filament. The socket should match the nozzle size.
The guide then recommends feeding filament to confirm extrusion.
Prusa i3 MK2: iFixit’s heating-first approach
iFixit’s Prusa i3 MK2 guide begins with heating. The nozzle is heated to a temperature suited to the filament before the old one is removed.
Where the manual overrides generic steps
A generic routine covers heating, unscrewing, tightening and a test extrusion.
Frequently asked questions
How tight should the new nozzle be?
According to iFixit’s Prusa i3 MK2 guide (2026), you should tighten the new nozzle about a quarter turn past hand tight. That is a printer-specific figure, and over-tightening can damage the nozzle or print head, so do not force it further.
What should you check after swapping a nozzle?
Anycubic (2026) advises that the nozzle-to-bed distance can change, so re-level the bed before printing. Then feed filament to confirm it extrudes. If it clogs or leaks, the nozzle is probably not tight enough.
How long does a nozzle last?
According to eufyMake (2026), you should change the nozzle every 3 to 6 months, depending on the filament you print and the nozzle’s quality. Brass nozzles last about 6 months, hardened steel up to a year, and ruby-tipped nozzles often several years.