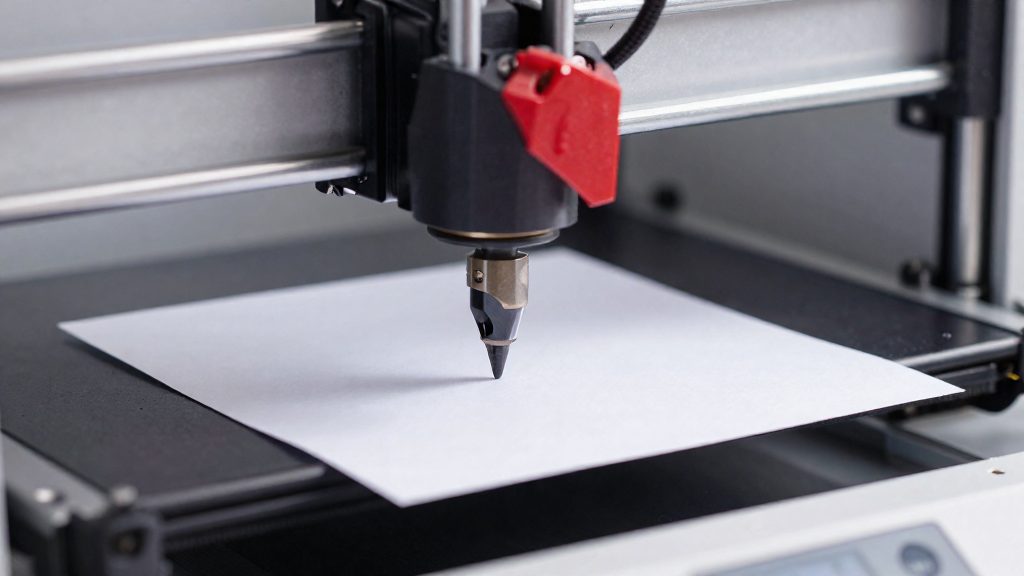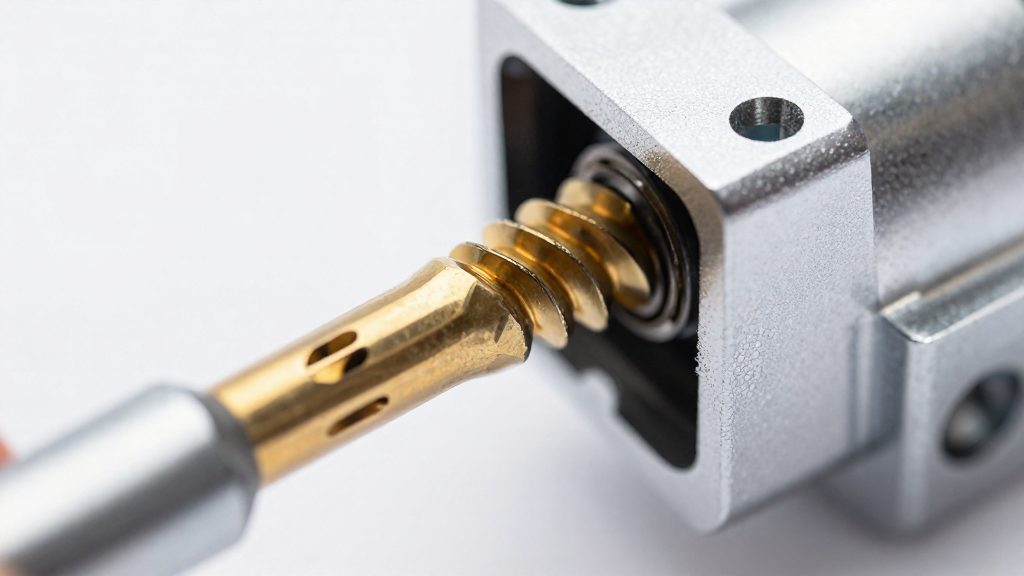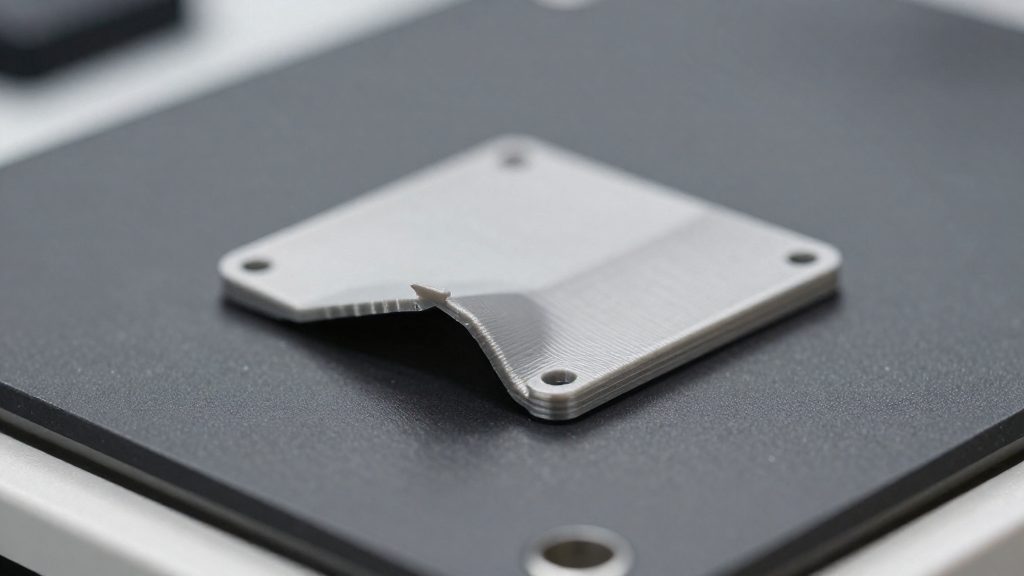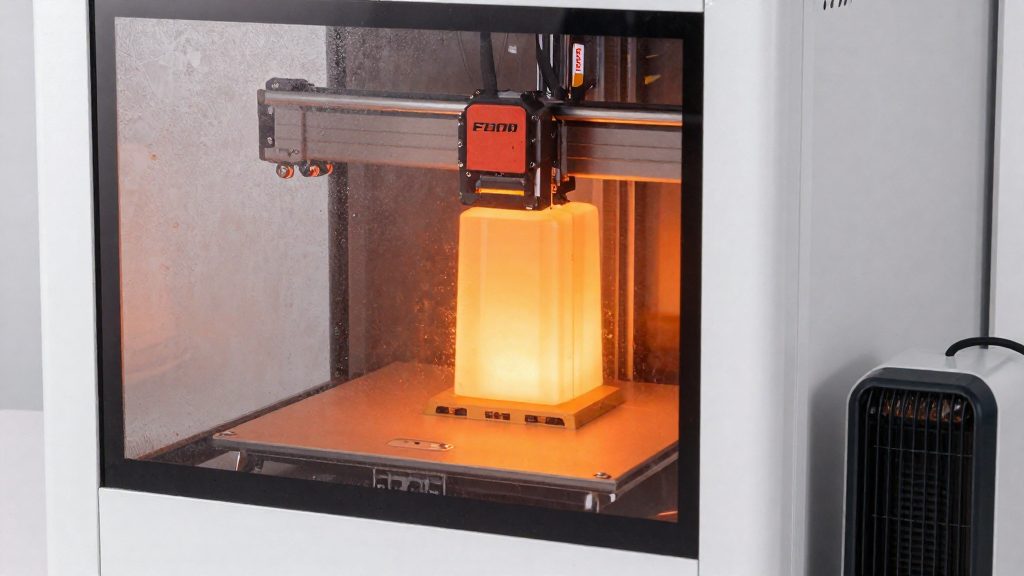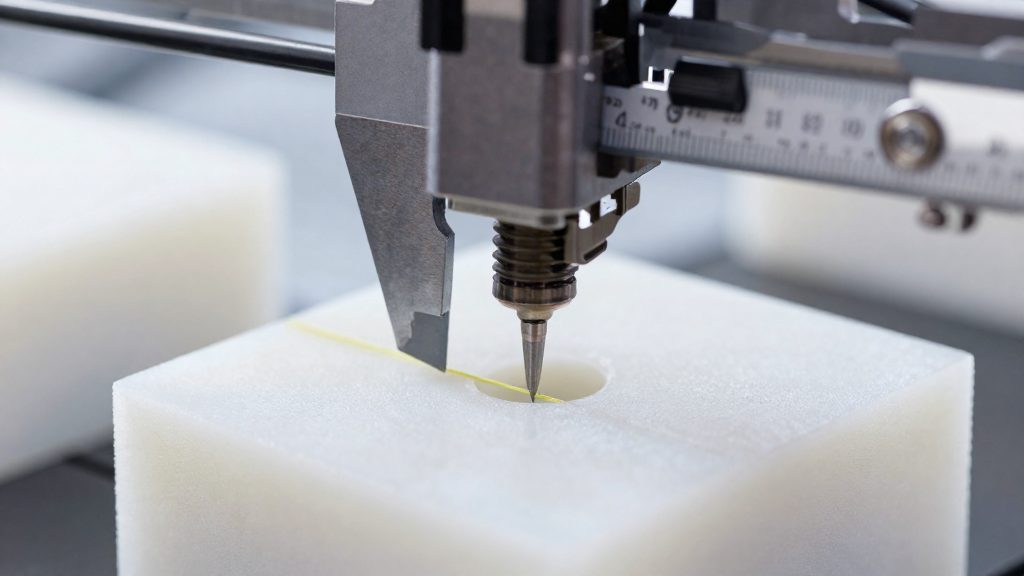
Flow rate, also called the extrusion multiplier, is the setting that scales how much filament the nozzle pushes out during a print. It acts on the amount the slicer has already calculated for each toolpath, so one change adjusts all extrusion at once. In OrcaSlicer, the value is stored as a flow ratio inside each filament profile. A ratio of 1.00 leaves the slicer’s raw extrusion unchanged.
What is flow rate in FDM printing?
Flow rate as a multiplier on slicer extrusion
The slicer first calculates how much filament each segment of the toolpath requires. The extrusion multiplier then scales that amount, so a value of 1.00 passes the calculation through untouched. Because the multiplier applies to the whole print, a single change alters every extrusion move, including walls, infill and top surfaces.
Flow ratio stored per filament profile in OrcaSlicer
In OrcaSlicer, the flow ratio is saved in the filament profile, so each material keeps its own value. Changing the ratio does not edit the slicer’s base extrusion; you calculate the new stored value from the previous one. The formula is:
new flow ratio = old flow ratio × (100 + modifier) / 100
Obico (2025) gives two worked examples, which are detailed in the calculation section below.
| Starting flow ratio | Modifier | Resulting flow ratio |
|---|---|---|
| 0.98 | +5 | 1.029 |
| 1.029 | -6 | 0.96726 |
Why does flow rate calibration matter?
According to Obico (2025), setting it too high causes over-extrusion, while setting it too low causes gaps and weak layers. Both errors show up on the printed part, so a correct value is what separates clean walls from blobs, holes and brittle joints.
Over-extrusion from a flow value set too high
When the flow is too high, the nozzle deposits more plastic than the toolpath needs. The extra material bulges out of the walls, fills in fine details and leaves a rough, sometimes lumpy top surface. Over-extruded parts also lose dimensional precision because each wall ends up thicker than the slicer models it.
Common symptoms include:
- Walls that look fat or bulging compared with the model
- Small holes and text that close up or lose definition
- Blobs or bulges at seams and corners, where excess material builds up
- A top surface that looks bumpy instead of smooth
Under-extrusion: gaps and weak layer bonding
When the flow is too low, each track carries less material than planned. The result is visible gaps between perimeters and infill lines, and thin, poorly fused layers. Weak layer bonding is the main structural risk: parts can snap along layer lines under a load that a properly extruded part would carry.
Under-extrusion can be easy to miss at first, because a part can look finished while its layers are only weakly bonded.
Dimensional accuracy of walls and features
Flow error changes the actual width of every extruded line, so wall thickness and feature sizes drift from the model. An over-extruded wall is wider than designed, and an under-extruded one is narrower and may leave gaps. This is why flow is checked either against measured walls (cube method) or against test blocks compared side by side (OrcaSlicer method).
What do you need before you calibrate?
Three things must be in place before you tune flow rate: correct E-steps, an extruder tension check if your hardware supports it, and an accurate filament diameter measured with a digital caliper. Flow calibration only gives reliable results when the extruder feeds the correct length of filament and the slicer knows the real diameter of the filament you are printing with. According to 3D Print Beginner (2025), E-steps and extruder tension should be calibrated before flow, and a digital caliper is required.
Step 1: Calibrate the E-steps
E-steps set how many motor steps the extruder needs to push one millimetre of filament. Flow calibration assumes this value is already correct. If the E-steps are wrong, the extruder delivers the wrong amount of filament before any flow change is applied, so the flow test would measure that error instead of your real flow setting. Calibrate E-steps first, then move on to flow.
Step 2: Check extruder tension
If your extruder has a tension adjustment, check it before calibrating. The drive gear should grip the filament firmly enough to feed it without slipping, but not so tightly that it deforms the filament. Extruders without this adjustment can skip this step.
Step 3: Measure the filament diameter
Measure the filament diameter with the caliper at five points along the filament, spaced about 10 cm apart, then average the readings. Enter that average in your slicer’s filament settings. Measured values are the basis for accurate flow results, and the amount of variation depends on filament quality:
| Filament type | Diameter variation along the filament |
|---|---|
| Quality filament | Under 0.02 mm |
| Cheaper filament | About 0.05 mm |
Because cheaper filament varies more, measuring it directly matters more than relying on the nominal value printed on the spool.
How do you calibrate flow rate with a test cube?
The hollow test cube method measures how much plastic the nozzle lays down by checking the walls of a printed part. According to 3D Print Beginner (2025), you print a hollow 30 mm cube with the settings below, measure one wall near the end of the print, and compare it with the expected thickness. Because the cube has no infill and no top layers, the two perimeters are the only features that set the wall thickness, which makes the measurement easy to read.
| Setting | Value |
|---|---|
| Perimeters | 2 |
| Infill | 0% |
| Top layers | 0 |
| Bottom layers | 1 |
| Layer height | 0.2 mm |
| Speed | about 50 mm/s |
With a 0.5 mm extrusion width, two walls should measure about 1 mm. The result tells you which way to correct:
- Wall close to 1 mm: flow is on target.
- Wall thinner than 1 mm: the nozzle is extruding too little.
- Wall thicker than 1 mm: the nozzle is extruding too much, which is over-extrusion. Lower the flow ratio, then repeat the test.
How to calibrate flow rate with OrcaSlicer’s two passes
OrcaSlicer’s flow calibration runs in two passes. Each pass prints a set of test blocks that differ only in their flow modifier. You don’t take measurements with a ruler here.
| Pass | Blocks printed | Modifier values |
|---|---|---|
| Pass 1 | 9 | A different flow modifier on each block |
| Pass 2 | 10 | From -9 to 0 |
Pass one: nine blocks
Pass one prints nine blocks, each with a different flow modifier. The block you choose from this pass identifies the approximate flow setting for the second pass.
Pass two: ten blocks from -9 to 0
Pass two prints ten blocks with modifiers from -9 to 0. Because every block in this pass uses a modifier of zero or less, from 0 down to -9, it refines the result of the first pass.
Choosing the final block
Use these steps to pick the final value:
- Print pass one and compare the top surfaces of all nine blocks side by side.
- Note the smoothest block.
- Calculate the new ratio from the pass 1 block, enter it in the filament profile and save it before printing pass two.
- Print pass two and compare its ten blocks the same way.
- Select the block with the smoothest top surface.
- If two blocks look close, choose the one with the higher flow rate, then calculate the final ratio from the ratio you saved after pass one.
The tie rule matters because a slightly higher flow value gives a more solid top surface. Once you have chosen a block, you use its modifier to calculate the new flow ratio, then enter that ratio in your filament profile.
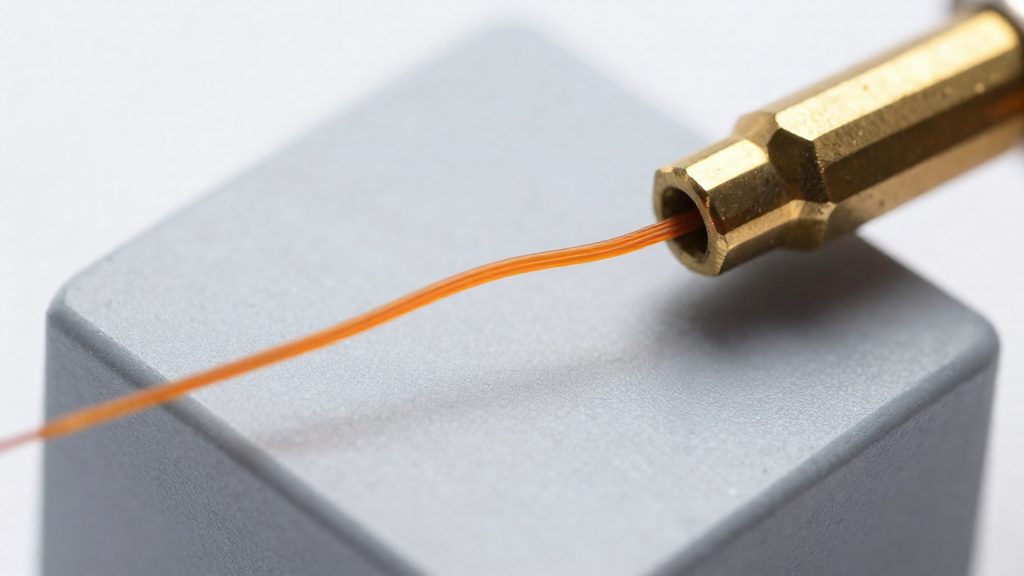
How to calculate and save the new flow value
Once you have picked the block, read the modifier printed on it. That number converts directly into a corrected flow ratio. In OrcaSlicer, the new flow ratio is the old flow ratio × (100 + modifier) / 100, according to Obico (2025). The formula handles positive and negative modifiers the same way: a +5 block raises the ratio by 5%, and a -6 block lowers it by 6%.
The two examples below show the calculation with real values:
| Step | Old ratio | Modifier | Calculation | New ratio |
|---|---|---|---|---|
| Example 1 | 0.98 | +5 | 0.98 × 10⁵ / 100 | 1.029 |
| Example 2 | 1.029 | -6 | 1.029 × 94 / 100 | 0.96726 |
A block from pass 2 always produces a ratio at or below the old value, because its modifier is zero or negative.
To apply the result:
- Note the modifier of the block you chose, including its sign.
- Read the flow ratio currently stored in the profile for that filament.
- Calculate the new value with the formula, keeping the full result.
- Enter it in the flow ratio field of the filament profile and save the profile, so the next slice uses it.
A well-calibrated filament should give a value close to 1.00, according to 3D Print Beginner (2025). Both examples above are near that target, which confirms the calculation is in the expected range.
When should you recalibrate flow rate?
Flow rate is tied to the filament type, not to each spool. According to 3D Print Beginner (2025), you should calibrate once per filament type, so PLA, PETG, ABS and TPU each need their own value. Two PLA spools from different brands or colours share one flow setting, and you do not need to repeat the calibration when you load a new roll of the same type.
The reason is that each material extrudes differently under the same settings, so one value cannot serve all of them. Switching filament types triggers a new calibration. If you have a saved flow value for PLA and move to PETG, the PLA value no longer applies, and you should run the calibration again for PETG.
| Situation | Recalibrate flow? |
|---|---|
| Loading a new spool of the same type | No. The value is set per type, not per spool |
| Changing to a different type, such as PLA to PETG | Yes. Calibrate for the new type |
| Returning to a type you have already calibrated | No. Reuse the saved value for that type |
Common mistakes to avoid
Most flow calibration errors come from working with a value that has already changed. Two mistakes recur, and either one can leave the printer extruding the wrong amount of filament even after a full calibration run.
Applying the second modifier to the original ratio
Each modifier scales the flow ratio that is currently stored in the slicer, so pass 2 only makes sense on top of the value you saved from pass 1. If you run pass 2 while the profile still holds the original ratio, the correction from pass 1 is discarded and the second pass is calibrated against the wrong starting point. Before you start pass 2, open the flow settings and confirm that the ratio shows the value you entered from pass 1.
Skipping the repeat test after entering the new value
Entering a new value and going straight to a production print is the most common shortcut. According to 3D Print Beginner (2025), you should repeat the test after entering the new value to verify it. If you used the cube method, print the same hollow cube with identical settings and measure the wall again. If you used OrcaSlicer’s passes, rerun the test and check that the smoothest block is now the one with no modifier. Use the wall’s result to judge the value:
- Over-extrusion: the wall is still too thick or bulges, so the value is too high.
- Gaps and weak layers: the wall shows gaps or looks thin, so the value is too low.
A value that passes the repeat test is verified. A value that fails it needs another adjustment, not acceptance.
Frequently asked questions
Do I need to recalibrate flow for every spool of the same material?
No. Calibrate once per filament type, such as PLA, PETG, ABS or TPU, rather than per spool. A well-calibrated value should land close to 1.00, and you should repeat the test after entering the new value to confirm it (3D Print Beginner, 2025).
What should I check before starting a flow calibration?
Calibrate E-steps first, then extruder tension if your extruder supports it, and have a digital caliper ready. Measure the filament diameter at five spots about 10 cm apart and enter the average in the slicer, because cheaper filament can vary by about 0.05 mm.
How does the cube method differ from OrcaSlicer’s test passes?
The cube method gives you a measured wall thickness with calipers, so you can compare the result against the expected two walls of about 1 mm. OrcaSlicer’s passes are judged by eye: you pick the block with the smoothest top surface, and if two blocks look close, you choose the higher flow rate.