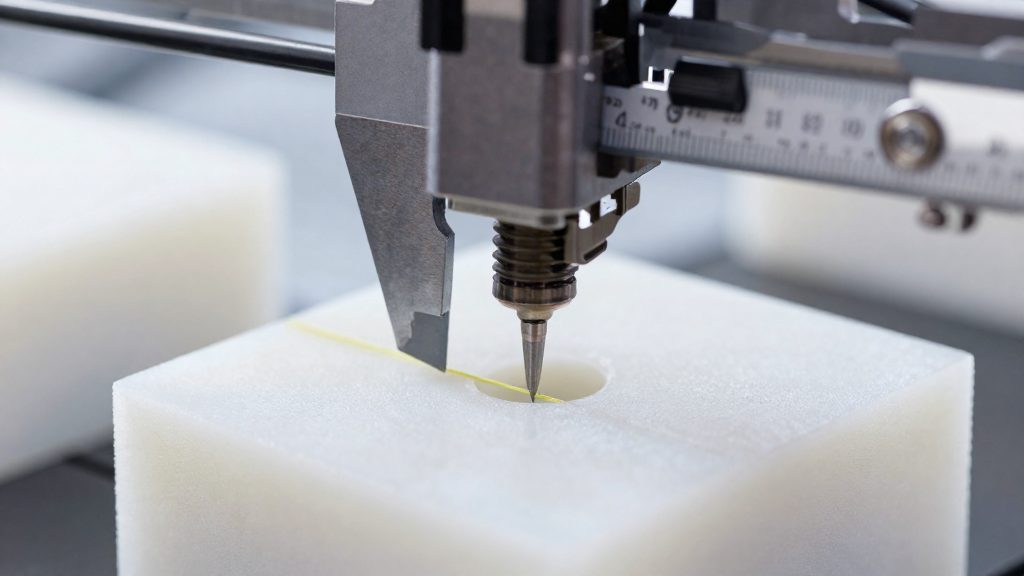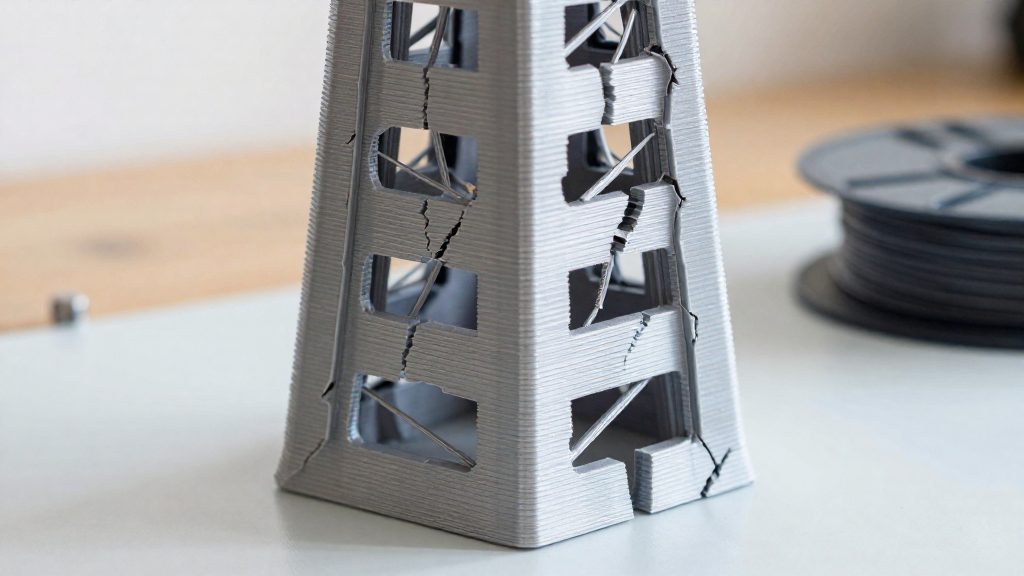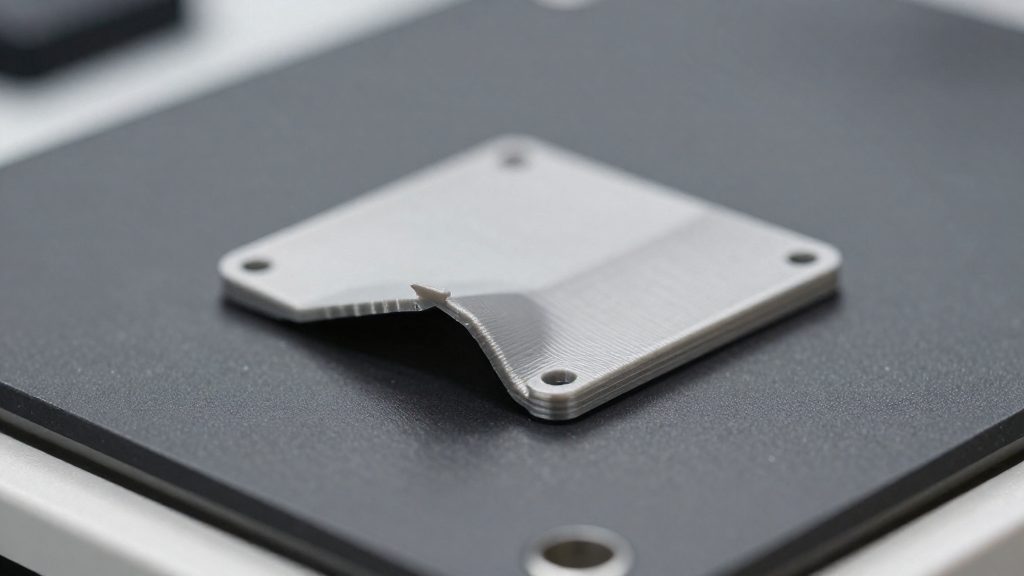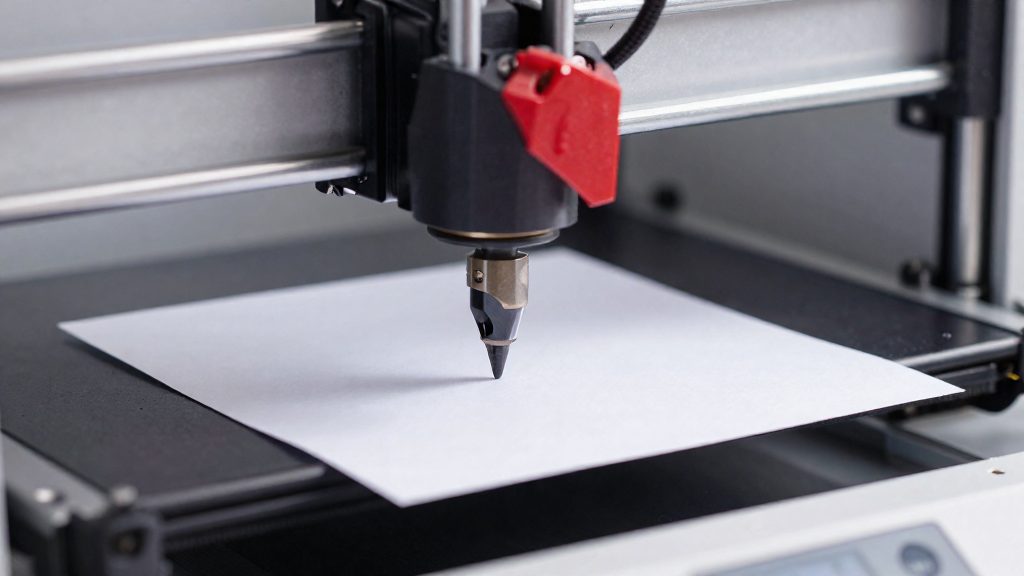
Your first layer depends on the gap between the nozzle and the plate at every point under the nozzle. If the bed is tilted, that gap changes as the head moves, so the same Z height gives different results in different corners. Manual leveling, also called tramming, corrects the bed’s tilt. Z-offset then sets the overall first-layer height in software.
Why bed leveling matters
When the plate is uneven, the nozzle sits closer to the bed in some areas and farther away in others. A single Z height that suits one corner can squish the filament too hard in that corner and leave it too high in the opposite one. The first layer then varies across the plate, and a print can stick well in one area and lift in another.
Squish, meaning how much the extruded line is flattened against the bed, determines whether layers bond. Snapmaker (2025) describes the three outcomes below for a single-layer test print.
| Nozzle gap | Visible result | Consequence |
|---|---|---|
| Correct | Lines fuse with no gaps | Good adhesion across the plate |
| Too high | Rounded lines that do not merge | Weak adhesion and gaps between lines |
| Too low | Over-flattened lines or ridges | Extruder may click, and ridges can cause uneven surfaces |
Tilt is the root problem, and squish is the symptom you see on the first layer. Fix the tilt first, then fine-tune the height with Z-offset.
What you need to level without a sensor
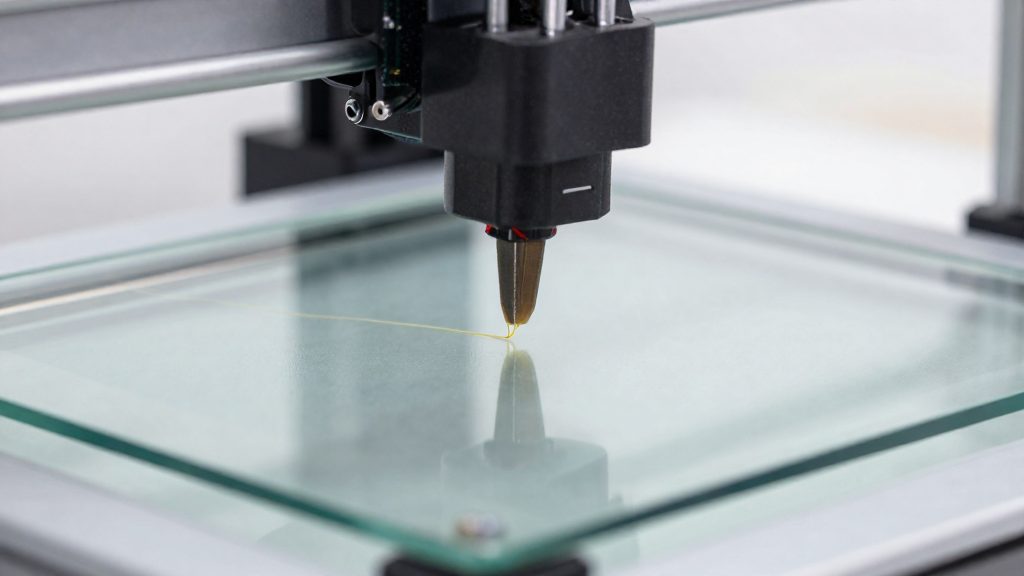
Manual leveling without a sensor requires three items: a cleaning agent, a lint-free cloth, and a thickness reference. Clean the build plate before you measure anything, because residue on the surface changes how the reference drags under the nozzle.
| Item | Role before leveling |
|---|---|
| High-concentration isopropyl alcohol | Cleans the build plate |
| Lint-free cloth | Wipes the plate without leaving fibres |
| Paper or 0.1 mm feeler gauge | Provides the reference thickness for the nozzle-to-bed gap |
High-concentration isopropyl alcohol
The isopropyl alcohol removes residue from the build plate surface. Use a high-concentration product rather than a diluted one. Apply it to the cloth and wipe the plate, rather than pouring liquid onto the bed, which can run under the plate and reach the bed mounting hardware.
Lint-free cloth
A lint-free cloth wipes the plate clean and dry without transferring fibres onto the surface. Work across the whole plate, including the four corners and the center, since these are the positions you will check during leveling. Let the plate dry fully before you place any paper or gauge on it, so that moisture does not change the drag.
Paper or 0.1 mm feeler gauge
The reference is either a 0.1 mm feeler gauge or a sheet of paper. The gauge is the defined thickness reference; paper can stand in when no gauge is available. Keep the same reference for every corner so that each reading is comparable. Store the gauge flat and clean, since dirt on the blade alters the gap you set.
How do you level a bed with the paper method?
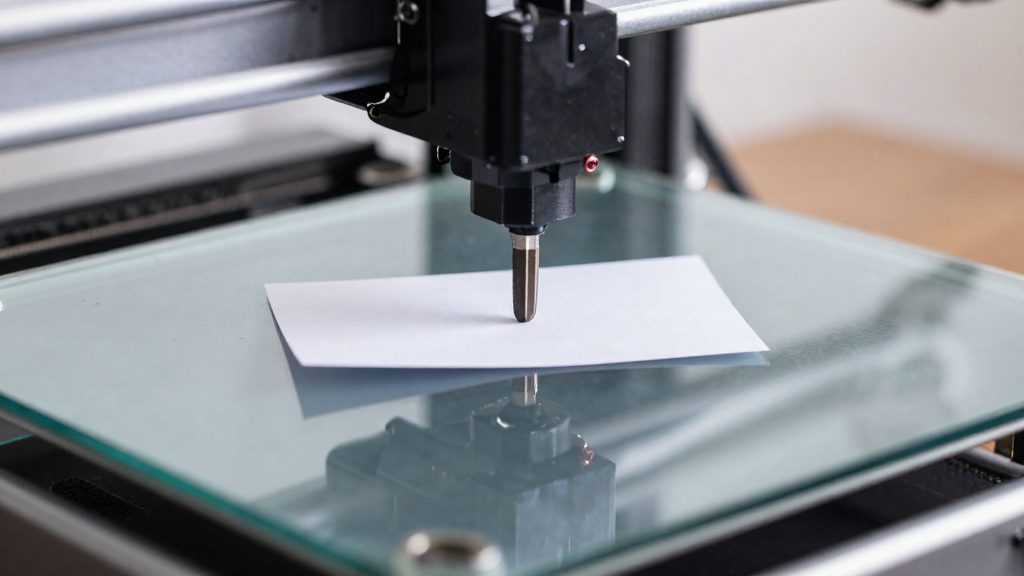
The paper method is a manual tramming procedure. You slide a sheet of paper, or a 0.1 mm feeler gauge, between the nozzle and the bed, then turn each leveling knob until the nozzle holds the reference lightly. According to Snapmaker (2025), the process starts with the printer homed and the steppers disabled, so you can move the nozzle by hand to each leveling screw.
Preparing the nozzle
- Run auto-home so the printer knows its starting position.
- Disable the steppers so the nozzle can move freely by hand.
- Move the nozzle over the first leveling screw and lower it to about 1–2 mm above the bed.
Tuning each screw
| Step | Action | Target result |
|---|---|---|
| 1 | Place the paper or 0.1 mm feeler gauge under the nozzle at the first corner. | Reference sits between nozzle and bed. |
| 2 | Turn the knob slowly while moving the reference back and forth. | The drag test: the paper slides with light resistance. |
| 3 | Move to the next corner and repeat steps 1 and 2. | Same drag at every corner. |
| 4 | Optionally check the center of the bed. | Same drag at the center. |
If the paper slides with no resistance, the nozzle is too far from the bed at that point. If it jams or tears, the nozzle is too close. Work with small knob turns and check the drag after each one.
Repeating the sequence
Each knob affects the neighbouring corners, so adjusting one corner changes the others. Run the full four-corner loop at least twice. The second pass should need much smaller adjustments than the first. If the second pass still requires large turns, the bed has not settled, so continue with a full third loop and keep the adjustments small.
Once the drag feels consistent at all four corners, the bed is tram-level and the printer is ready for a first-layer check.
Should you level the bed hot or cold?
Level the bed at operating temperature, not cold. According to Snapmaker (2025), heat expands both the bed and the nozzle, which shifts the gap between them. A height that looks correct on a cold machine can be wrong once the printer reaches its working temperature.
For PLA, Snapmaker (2025) gives the preheat targets for manual leveling:
- Nozzle: about 200°C
- Bed: about 60°C
Preheat to these temperatures before turning any leveling screw. The nozzle and plate are hot at these temperatures, so avoid touching them, keep your fingers clear of the nozzle, and use the paper or gauge with care to avoid burns. Adjusting a cold bed and then printing hot means the corrections were made against the wrong geometry.
Once the machine is hot, set the starting height. QIDI Tech (2025) advises tightening the gap until the paper or feeler gauge drags. Start with the nozzle about 1–2 mm above the bed (QIDI Tech, 2025), then close the gap gradually until the paper or gauge drags lightly.
Two related points affect the order of operations:
- Tramming corrects bed tilt with the leveling screws. Snapmaker (2025) states that auto bed leveling cannot fix a badly tilted bed, so tramming at temperature comes first.
- Z-offset: QIDI Tech (2025) recommends using Z-offset babystepping for fine-tuning once the bed is hot and tramming is finished.
Hot leveling also needs repeating. Each re-check should follow the same preheat sequence, so the bed is always adjusted at the temperature it will print at.
How do you check the first layer?
A single-layer test print shows whether squish (how much the extruded line is flattened against the bed) is correct after leveling. The shape of the first-layer lines then tells you whether the nozzle is too high, too low, or set correctly.
Reading the line shape
| First-layer appearance | Diagnosis |
|---|---|
| Fused lines with no gaps between them | Correct squish |
| Rounded lines that do not merge, with gaps visible | Nozzle too high |
| Over-flattened lines, ridges, or extruder clicking | Nozzle too low |
Correct squish
When squish is right, each bead bonds to its neighbour and the surface looks continuous. Check the four corners and, optionally, the center, because the leveling method works on those points. A correct result at one corner but not another means that corner still needs adjustment.
Nozzle too high
Rounded lines that do not merge mean the nozzle is sitting above the bed. Each extruded bead keeps its round cross-section instead of flattening onto the surface. If only one corner shows this symptom, re-check that corner with the leveling sequence before changing anything else.
Nozzle too low
Over-flattened lines and ridges mean the nozzle is pressing too hard into the bed. The extruder may click in this case. If the extruder clicks, the nozzle is probably too low. Stop the test and raise the nozzle slightly before trying again.
Z-offset versus tramming
Tramming and Z-offset both affect the gap between nozzle and build plate, but they correct different problems. Tramming is a mechanical adjustment that levels the physical bed so the corners sit at the same distance from the nozzle. Z-offset is a software setting that shifts the nozzle height for the first layer without moving any part of the printer. Because one changes the hardware and the other changes a value in the firmware, neither can replace the other.
Tramming comes first, using the paper method described above with the bed at print temperature.
Z-offset is set only after the plate is flat. A software offset applies one height across the whole bed, so it cannot correct a corner that sits lower than the rest. Once tramming is complete, set the Z-offset value, then fine-tune it with babystepping. Babystepping raises or lowers the nozzle in small increments while the printer is running, which makes it the practical way to adjust the first-layer gap without returning to the menu for each change.
When to re-level
Bed leveling is not a one-time task. The bed and the nozzle change dimensions with heat, and the mechanical settings can drift over time. Re-leveling at the right moments keeps the first layer consistent across prints, which is what makes the rest of the model stick and dimension correctly.
Re-level weekly as a routine interval
For a printer used regularly, the manufacturer guidance is to re-level weekly. QIDI Tech (2025) recommends this as a baseline interval, so the bed stays within tolerance without waiting for visible defects. A weekly check is short when the procedure is already familiar: the manual sequence is quick, and the verification is a single-layer test print.
Keep the routine consistent. Clean the build plate with high-concentration isopropyl alcohol and a lint-free cloth before each leveling session, because oils or residue change how paper or a feeler gauge drags under the nozzle and can make the bed look more level than it is.
Re-level before long prints
Before a long print, re-level the bed even if the last session was recent. A long job exposes small errors across many layers, and an uneven first layer at the start of a multi-hour print is hard to recover from. QIDI Tech (2025) lists long prints as a trigger for re-leveling, alongside the weekly interval and moving the printer.
Preheat before you level, as described above.
Re-level after moving the printer
Any relocation can change the bed’s relationship to the frame. QIDI Tech (2025) lists moving the printer as a reason to re-level. Even a short move across a room can loosen a leveling screw or shift the printer’s footing, so the bed should be checked before the next print.
After a move, repeat the full leveling sequence at least twice, because adjusting one corner affects the others (Snapmaker, 2025).
Frequently asked questions
Can I level the bed while the printer is cold?
No. Level the bed at your normal print temperature, because heat expands both the bed and the nozzle. Snapmaker (2025) gives about 200°C for the nozzle and 60°C for the bed when printing PLA, so run the preheat cycle before you start the paper check.
What if the paper or feeler gauge feels too tight or too loose?
Use plain paper or a 0.1 mm feeler gauge, and turn the leveling knob until the reference slides with light resistance. If it cannot move at all, the nozzle is too close to the bed. If it slides freely with no resistance, the nozzle is too far away.
When should I use Z-offset babystepping instead of re-leveling?
Use babystepping for small first-layer height corrections after the bed is already level. QIDI Tech (2025) recommends it for fine-tuning, while re-leveling is for correcting the bed’s tilt, which babystepping cannot fix.