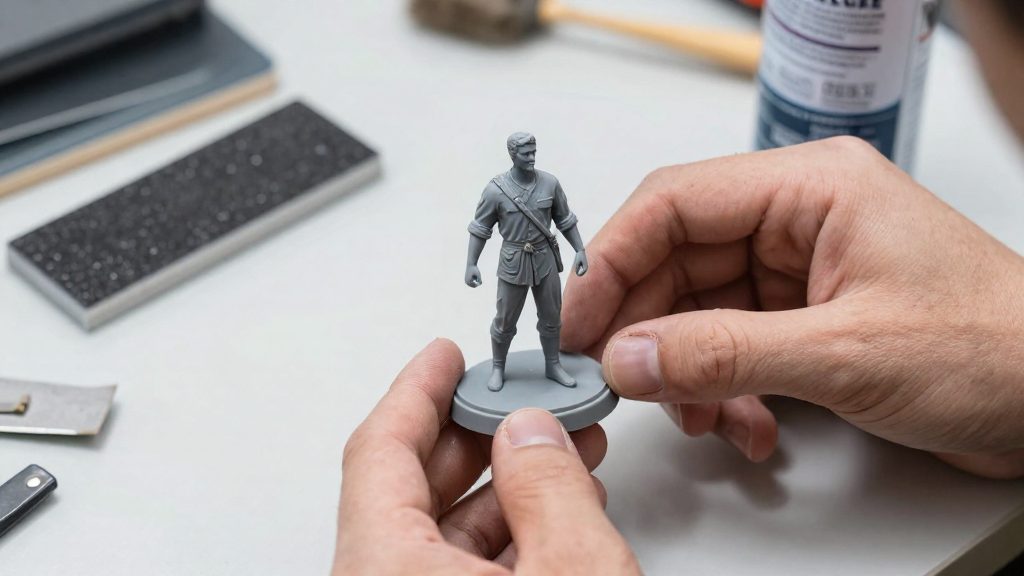
Why sand and prime 3D prints?
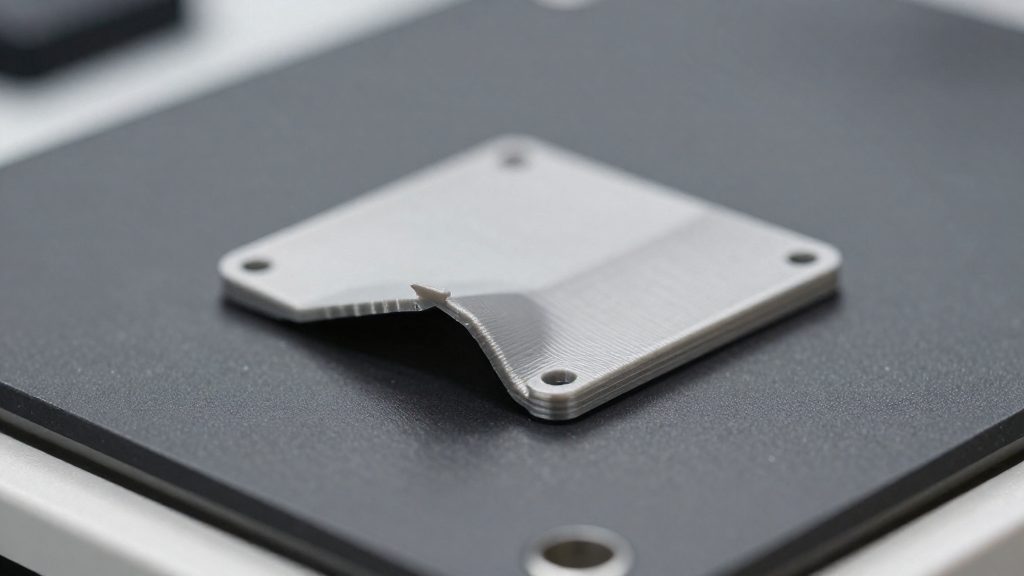
Raw FDM and resin prints rarely look finished. Layer lines from FDM printing, scars left by support structures and small surface imperfections all remain visible under paint. Sanding flattens these features, and priming reveals what sanding missed before the final coat goes on. Skipping either step usually leaves defects that the topcoat makes more obvious.
What sanding and priming fix
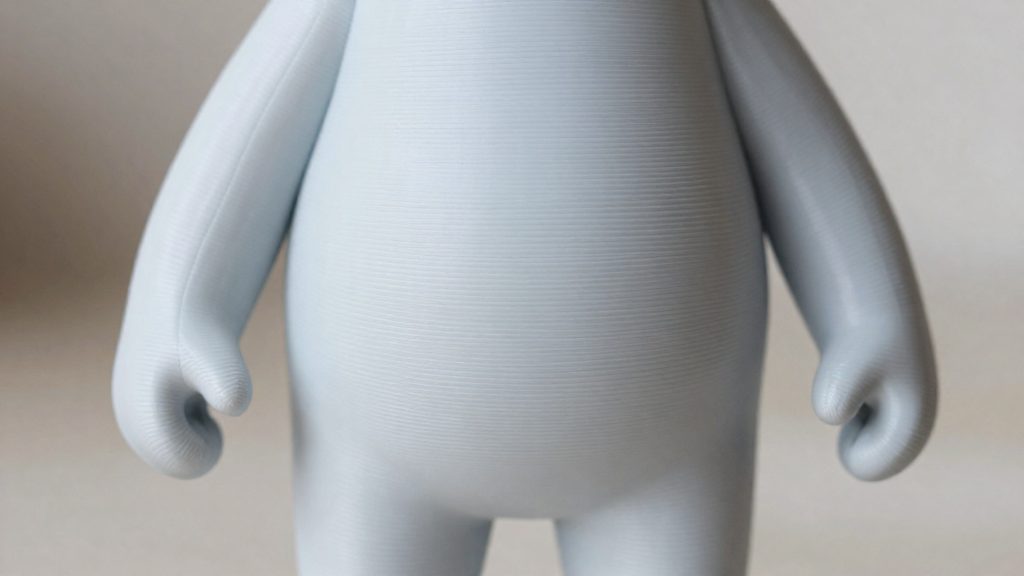
Layer lines on FDM prints
FDM parts are built from stacked extruded beads, so each layer leaves a ridge on the outer surface. These ridges are visible on the raw print and often stay visible under paint if they are not sanded. Sanding works on the whole surface rather than on one spot, which is why the full part is treated and not only the most noticeable areas.
Support marks
Support structures leave small nubs and scars wherever they were attached. Support marks left in place will show through primer and paint as small raised or dark spots.
What primer reveals
Primer is applied as a thin coat that makes surface differences easier to see, so scratches and low spots become visible before the final colour is applied. After the first primer coat, remaining flaws are sanded and the part is cleaned again before the next coat. This check is the main reason priming comes before painting: it shows where more work is needed while the correction is still cheap to make.
Tools and grits you need
Grit numbers tell you how aggressively the abrasive removes material. Lower numbers cut faster and leave deeper scratches, while higher numbers remove only the marks left by the previous step. Anycubic groups grits by the job they do:
| Grit range | Stage of surface work | Source |
|---|---|---|
| Below 200 | Rough removal, where obvious scratches may remain | Anycubic (2025) |
| 200 to 500 | Initial sanding of noticeable imperfections | Anycubic (2025) |
| 600 to 800 | Further smoothing for a fine finish | Anycubic (2025) |
Formlabs gives a more specific sequence for smoothing the whole surface of a part before priming. It starts at 220 or 320 grit and finishes at 400 or 600 grit. After the first primer coat, flaws are sanded with paper finer than 600 grit, so that the sanding stays gentle on the primer coat that has just been applied.
The rotary tool and hand file are useful on heavy material, while sandpaper handles the broader smoothing. Keep one grit per pass and work from the coarsest grit that clears the marks to the finest grit you need for the finish. Moving to the next grit before the previous scratches are gone leaves them visible under primer.
How do you sand FDM and resin parts?
Sanding follows a fixed order: remove the support marks first with a coarse tool, then smooth the entire part through progressively finer paper.
Stage 1: Remove the support marks
Support marks are the small bumps and scars left where supports touched the part. Take them down with a rotary tool, a hand file or 220-grit paper. Work only on the marked spots at this stage, since the rest of the surface is handled in the next stage.
Resin prints need extra preparation. Clean and cure the part, and remove the supports, before any sanding begins (Anycubic, 2025). Sanding a resin part that still has supports attached or uncured residue on it makes the job harder and messier.
Stage 2: Smooth the full surface
Once the marks are gone, move to full-surface smoothing. Start at 220 or 320 grit and finish at 400 or 600 grit, stepping up through the intermediate grits in between.
| Step | Grit | Purpose |
|---|---|---|
| Starting pass | 220 or 320 | Levels the area around the removed marks |
| Intermediate passes | Between the start and finish grits | Removes the scratches left by the previous grit |
| Finishing pass | 400 or 600 | Produces the final smooth surface |
Sand the whole part, not just the repaired spots. Sanding one area alone leaves a patch with a different texture next to the rest of the surface, and that difference shows once primer or paint goes on.
Wet sanding: what the sources say
Because the sources do not cover wet sanding, this guide does not recommend it for PLA or resin. Follow the dry-sanding steps above, then remove the dust as described in the cleaning section.
Cleaning before primer
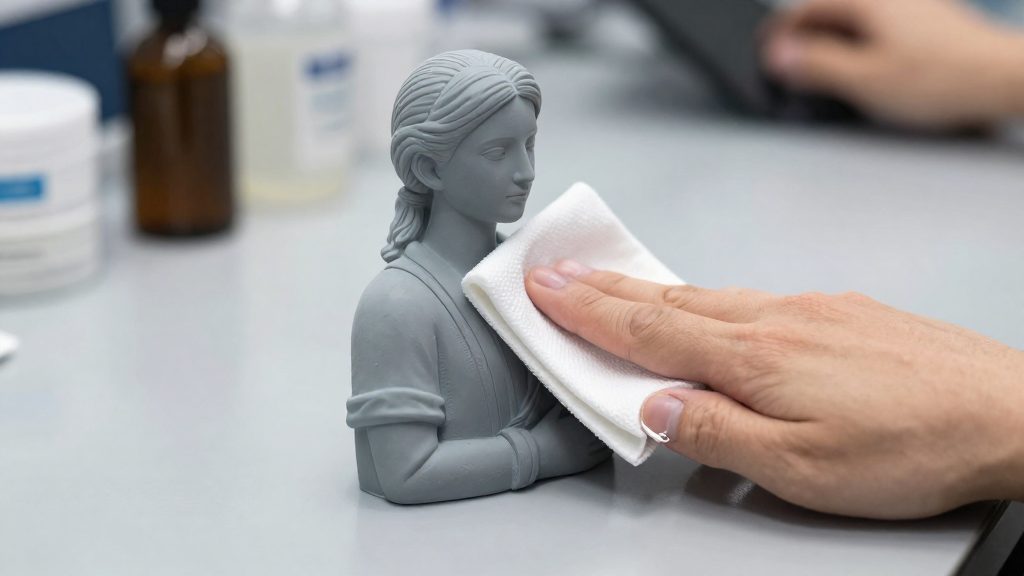
Primer bonds evenly only to a surface that is clean and dry. Sanding leaves a fine powder on every face, and any dust, oil or resin residue left behind sits between the primer and the printed part. According to Formlabs (2025), the dust is removed with water and a soft brush, and the part is wiped with a tack cloth once it is dry.
Rinse off the sanding dust
Wash the sanding dust off with water and a soft brush before priming. Use the brush on recessed areas, edges and any remaining support marks, where powder collects, and rinse the part so the loosened dust leaves the surface.
Let the part dry completely
The tack cloth step comes only after the part is dry. Because the rinse wets the surface, check that no water remains in recesses or along edges before moving on. Wait until the part is dry to the touch throughout.
Wipe with a tack cloth
Once the part is dry, wipe it with a tack cloth. This picks up the fine dust that the water rinse leaves behind, and it is the last step before the primer goes on.
Confirm the surface is clean
The surface must be free of oil, resin residue and dust before priming. Resin prints need the most attention here, because resin residue is one of the contaminants the surface must be free of. Inspect the surface after the tack cloth, and if any residue remains, repeat the cleaning before the first coat.
Spray or brush primer?
Spray and brush-on primers suit different jobs. According to Formlabs (2025), spray primer gives an even coat, which makes it the better choice for covering a whole part. Brush-on primer is better for small touch-ups, such as a single spot that needs filling after the surface has been prepared.
Applying the first spray coat
The first coat should be thin. Hold the can 6 to 8 inches (about 15 to 20 cm) from the part, and rotate the part while you spray. Turning the part lets the primer reach every face evenly instead of building up on the side facing the can. Keeping the first layer light also leaves room for the coats that follow.
Knowing when to stop
Stop spraying once the color is opaque. Each extra coat thickens the layer, and past that point the primer starts to fill in fine details such as small text, edges and texture. The goal of the first coat is to cover the surface, not to build thickness, so it is better to add a second light coat later than to overspray the first.
Choosing between the two methods
Use spray primer when the whole part needs an even base, and use brush-on primer when only a small area needs attention. Because brush-on primer is suited to touch-ups, it works best on localized spots rather than broad surfaces.
Fixing flaws after the first coat
Once the first primer coat is on, flaws such as small pits or faint layer lines become easier to see on the matte surface. Fix them by sanding lightly and then applying a second, light coat, rather than piling on thick primer. Formlabs (2025) specifies paper finer than 600 grit for this stage, which smooths the rough texture of the first coat without cutting deep into the part.
Sanding flaws with paper finer than 600 grit
Sand only the flawed area, using light, even strokes. Stop once the flaw sits level with the surrounding primer. Sanding past that point exposes bare plastic or resin, and you then have to prime that spot again. Wrap the paper around a firm block or a flat tool when working on flat faces, because loose paper rounds off edges and fine detail.
Cleaning the part again before respraying
Sanding leaves a fine dust layer that will settle under the next coat if you leave it. Check the surface under a bright light before you spray, and wipe again if any grey powder remains in the recesses.
Letting the primer dry fully
Do not respray or sand again until the primer has dried through, which Anycubic (2025) describes as full drying before adding another coat or sanding further. Follow the drying time printed on your primer’s label. Sanding primer that is still soft clogs the paper and smears the coat, so give the layer its full time before you go back to the part.
Safety and ventilation at home
Sanding and priming each call for different protective equipment, so the gear you need depends on the stage you are in. Sanding releases fine particles, so wear gloves, goggles and a respiratory mask, especially on resin. Priming and painting call for a NIOSH-approved respirator (per Formlabs), nitrile gloves and good airflow.
Protective gear for priming
Formlabs (2025) recommends a NIOSH-approved respirator (a US approval, so check that the model you buy is also approved for use in Canada), good ventilation and nitrile gloves whenever you prime or paint. Put the gloves on before you handle the part, so that primer and any surface residue stay off your skin. Keep the respirator on for the whole coating session, not only for the moments when you are spraying or brushing.
Protective gear for sanding resin prints
Anycubic advises gloves, goggles and a respiratory mask when sanding resin prints, because sanding releases fine particles. Sanding FDM parts also makes fine dust, so protect your eyes and lungs there as well. Anycubic (2025) advises wearing gloves, goggles and a respiratory mask, because sanding releases fine particles. Wear the goggles and mask from the first pass to the last, including when you switch to finer grit.
Ventilation during priming and painting
Good ventilation is the requirement that covers the whole operation, not only your own protection. Work in a space where air can move freely, and keep the primer and painting setup away from enclosed areas. Keep the area ventilated until the primer has dried fully.
Frequently asked questions
Do I need to clean a sanded part before priming?
Yes. Rinse off the sanding dust with water and a soft brush, then let the part dry completely. Once it is dry, wipe it with a tack cloth to pick up the fine particles that water leaves behind.
Should I use spray primer or brush-on primer?
Spray primer gives the more even coat on most parts. Brush-on primer suits small touch-ups better. For spray, hold the can 15 to 20 cm (6 to 8 inches) from the part, rotate the part, and stop once the colour is opaque so fine details are not filled in.
What protection do I need when sanding and priming?
Wear a respirator, work in a ventilated space, and use nitrile gloves when priming and painting. Formlabs recommends a NIOSH-approved respirator, which is a US standard, so check that your respirator meets the equivalent standard where you live. For resin prints, Anycubic also advises goggles, because sanding releases fine particles.