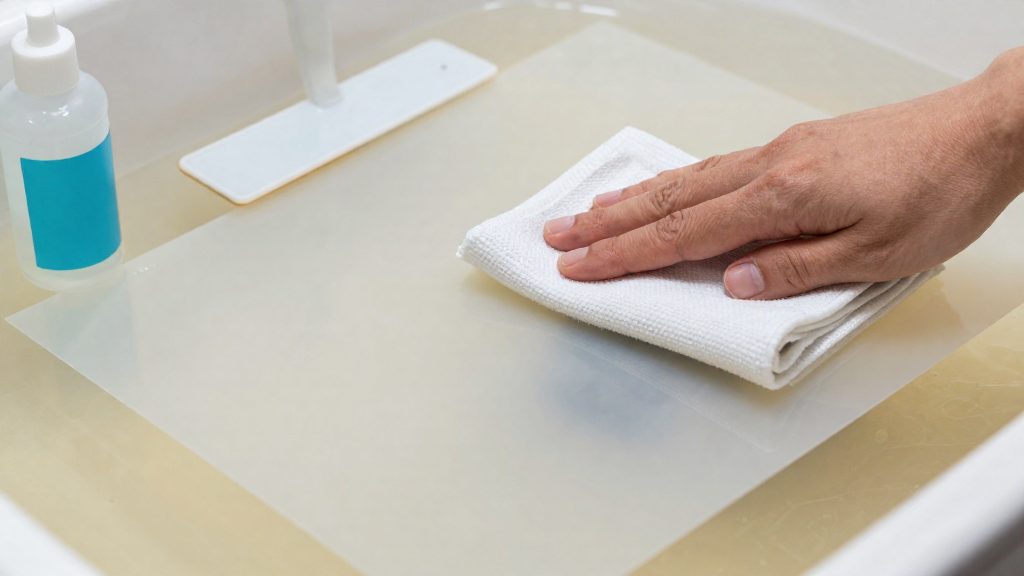
Cured resin left on FEP film, or haze that builds up on it, can interfere with the next print. Debris can cause layer failures, cloudiness reduces how clearly the film transmits light, and residue that stays on the film carries over into later jobs. Keeping the film clean protects print quality, and avoiding damage to the film keeps it usable for longer.
Why does FEP film need cleaning?
Cured debris and print failures
Cured resin left on the film is solid material sitting where the next layer has to form. Fragments that stay in the vat can cause a print to fail at that spot. According to Mango 3D (2024-04-04), the FEP should be cleaned after every print, unless you check the film with a silicone spatula before each print.
Cloudiness and clarity
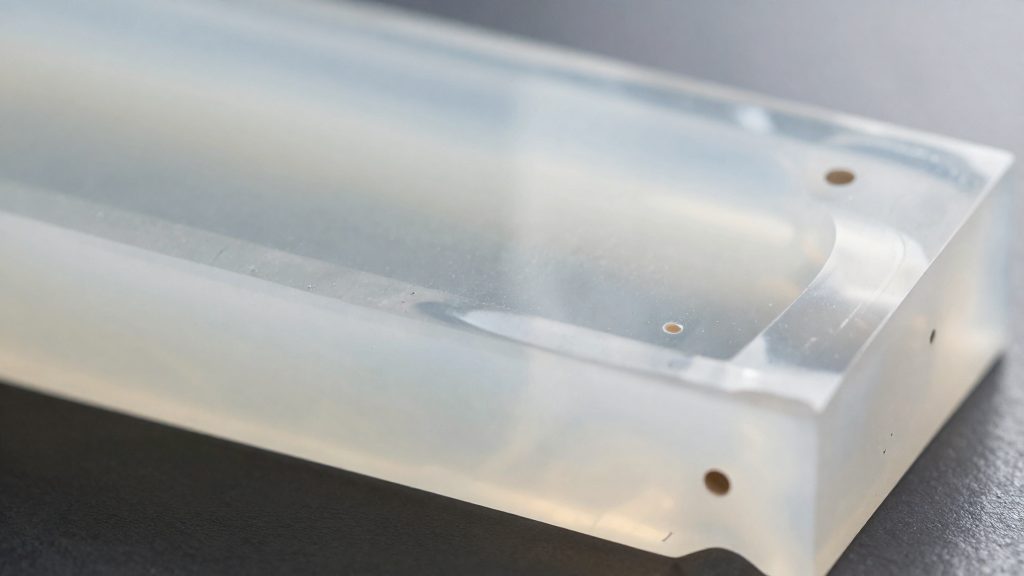
Haze on the film reduces the clarity of the film and makes it harder to see what is happening in the vat. Haze is often a cleaning issue rather than a sign of permanent wear.
Residue carrying over between prints
Residue that is not removed after one print stays on the film and can affect the next. Repeated scraping also wears the film, so removing residue gently matters for lifespan.
Tools and safety gear you need
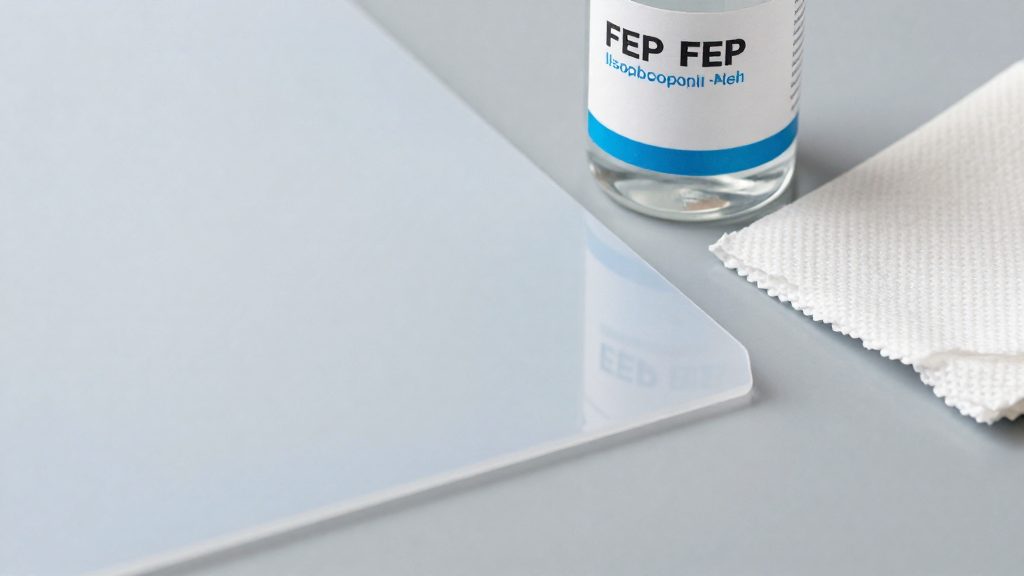
Clearing a resin vat takes only a few simple tools, and the material of each tool matters more than the force you apply. Anycubic’s guide recommends a plastic or silicone scraper rather than a metal one, and 3D Printerly advises limiting how often you use a scraper on the FEP to extend the film’s life.
Plastic and silicone tools cover most situations. Mango 3D uses a silicone spatula to stir the resin and check the film before each print.
| Item | Purpose | Note |
|---|---|---|
| Plastic or silicone scraper | Lifts cured resin from the film | Preferred over metal |
| Silicone spatula | Stirs the resin and checks the film before printing | Mango 3D’s method |
| Soft tissue or microfibre cloth | Wipes the vat and film | Lint-free, non-abrasive |
| Non-abrasive paper towel | Blots leftover resin | Keep it away from the film’s surface |
For protection, uncured resin is toxic, so wear a mask and gloves before opening the vat. Anycubic also specifies that you work in a well-ventilated area. Keep the workspace clear of unrelated items so that spilled resin is easy to spot and contain.
How do you clean FEP film after a print?
The routine clean is a short sequence that removes the cured residue before it can spread across the film. According to Anycubic (2023), a quick clean starts by curing the leftover resin in the vat, which hardens it so it lifts off as a single piece. The cured piece then comes away from the FEP without the film being scratched by hard tools.
- Cure a thin resin layer in the vat with an exposure of about 20 seconds.
- Peel the cured piece off the vat gently with a plastic or silicone scraper.
- Filter the excess resin back into its container.
- Blot any remaining resin with non-abrasive paper towels.
The order matters because the scraper works on a hardened layer, not on liquid resin. Lift the piece slowly and evenly so the scraper separates the cured material from the film instead of prying at it. Filtering the unused resin before blotting keeps the bottle clean and avoids mixing debris into stock you plan to reuse.
For the blotting step, dab the paper towels rather than rubbing, since rubbing can abrade the film. Used towels contain uncured resin and should be cured under UV for about 5 minutes before disposal.
Removing cured resin stuck to the film
When routine peeling leaves a cured layer bonded to the FEP film, three targeted techniques can release it. Each one loosens the bond at a specific point so the cured piece lifts away instead of tearing. None of them requires a metal or sharp tool.
Spray a little IPA and press from underneath
Spray a small amount of isopropyl alcohol onto the stuck area, then press the film from underneath so the resin pops off. Anycubic’s guidance describes this as the fix when cured resin sticks to the film. Pressing from below flexes the film away from the cured piece, which breaks the bond at that point.
Press a saved support raft against the film
Take a saved support that still has its support raft attached and press the raft lightly against the FEP film near an edge or corner of the vat. Starting at an edge or corner, rather than the middle of the film, gives you a point where the cured sheet can begin to separate. Mango 3D describes this as a no-scraper method, which avoids putting a tool on the film.
Run tank-clean, then pull toward the centre
With the raft still pressed against the film, run the printer’s tank-clean function for about 10 seconds. Then pull the support toward the centre of the vat. As the raft moves across the film, the cured resin sheet peels off with it.
Push stubborn resin with a gloved finger
If a cured layer remains on the underside of the film, push it off with a gloved finger. 3D Printerly’s author found a plastic spatula ineffective on a stuck print and found fingers safer for the film.
Is isopropyl alcohol safe for FEP?
For a deep clean of a resin printer’s FEP film, Anycubic recommends isopropyl alcohol (IPA) at 95% or higher, applied with a soft tissue or microfibre cloth (Anycubic, 2023-04-18). Stick to 95% and above for this step.
Choosing the concentration
The 95% figure is a floor, not a target range. Any IPA labelled below 95% falls outside the recommendation, so check the percentage on the bottle before use.
Applying the IPA
The guide names a soft tissue or microfibre cloth for the deep clean.
Light wiping to clear cloudiness
Wiping the film lightly with IPA can clear cloudiness. Keep pressure light and stop once the haze is gone. The sources do not give a number of passes or a pressure level.
Signs your FEP film needs replacing
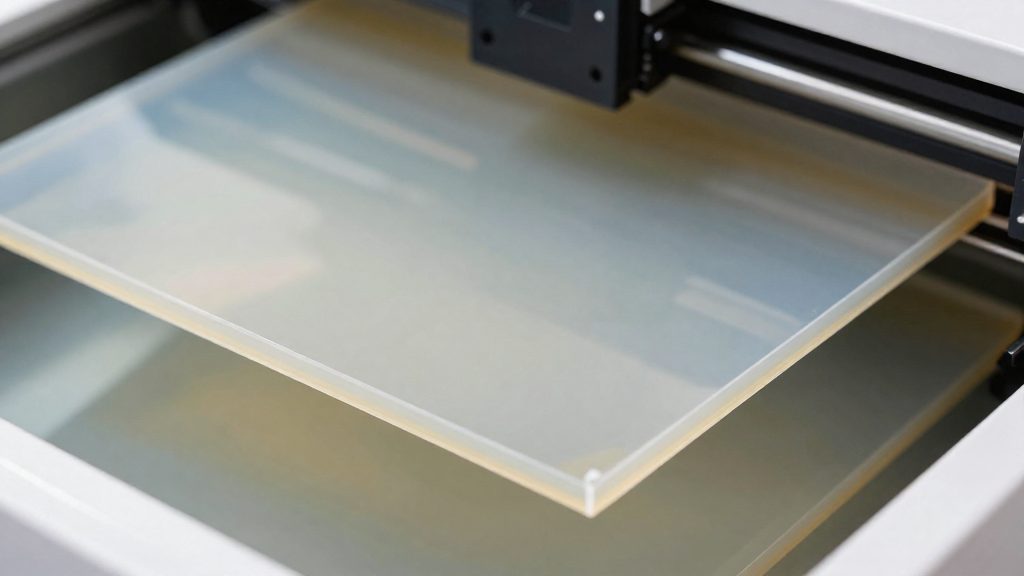
The FEP film at the bottom of the vat wears out with use, and the clearest sign that it has reached the end of its usable life is visible film damage. According to Anycubic (2023), if scratches, cracks or other damage are found on the film, it should be replaced. Inspect the film each time you empty and clean the vat, while the vat is empty and the film is clean.
Scratches, cracks and other visible damage
The replacement rule is simple: any scratch, any crack, or any other visible damage to the film means it is time to replace it.
- Scratches: surface marks on the film, which the guidance treats the same as cracks.
- Cracks: breaks in the film, which indicate the film has failed structurally.
- Other damage: any visible deformation or wear that is not a scratch or crack.
Inspect the film regularly for the damage described above rather than relying on a set print count.
Damage that reduces adhesion and causes print failures
Damage to the film affects adhesion. Cured layers need to bond to the film in a controlled way, and a damaged surface can disrupt that bond. When adhesion drops, prints can fail. If you see a print that no longer stays on the film as it should, check the film for scratches or cracks before changing other settings.
Damage that can lead to resin leaks
A damaged film can also leak. Leaks are a safety issue as well as a print issue. If you find a leak or a crack near the edge of the film, replace the film rather than continuing to print.
Disposing of waste resin in Canada
The steps below cover the general handling method. Check your municipal or regional rules for disposing of cured resin before putting any resin waste in the bin, because requirements vary by locality.
According to Anycubic’s guide (2023), the core sequence is to collect waste resin and used tools in a container, cure them in direct sunlight, and then dispose of them under local regulations. Curing turns liquid waste into a solid, so the material you throw away is no longer uncured.
| Waste item | Handling before disposal |
|---|---|
| Uncured resin and used tools | Collect in a sealed container, then cure in direct sunlight |
| Used paper towels | Cure under UV for about 5 minutes |
| Peeled cured resin sheets | Finish curing the sheet before disposal |
Keep each item type separate in the container so that uncured resin does not spread onto other waste. Non-abrasive paper towels that have absorbed resin go into the same curing step, and a UV source works for them as well as sunlight. For bulk resin, judge when curing is complete by checking that the material has fully hardened before disposal.
Cured resin sheets lifted off the vat are the one item that needs extra attention. Mango 3D’s method requires finishing the cure on each sheet before it goes into the bin. Once a sheet is fully hard, dispose of it according to your local rules for cured resin.
Frequently asked questions
Can I scrape stuck cured resin off the FEP with a metal tool?
No. Anycubic advises against metal or sharp tools, because they can ruin the film. Use a plastic or silicone scraper, and if cured resin is stuck on the underside, 3D Printerly found that a gloved finger is a safer way to push it off.
What should I use to clean the film after a deep clean?
Use isopropyl alcohol (IPA) at 95% or higher on a soft tissue or microfibre cloth. If cured resin is stuck, spray a little IPA and press the film from underneath so the resin releases. A light IPA wipe also helps clear cloudiness.
How do I know when to replace the FEP film?
Replace it if you find scratches, cracks or other damage. Damaged areas affect adhesion and can cause leaks, so a film that still looks usable may need replacing if it has been scored by repeated scraping.