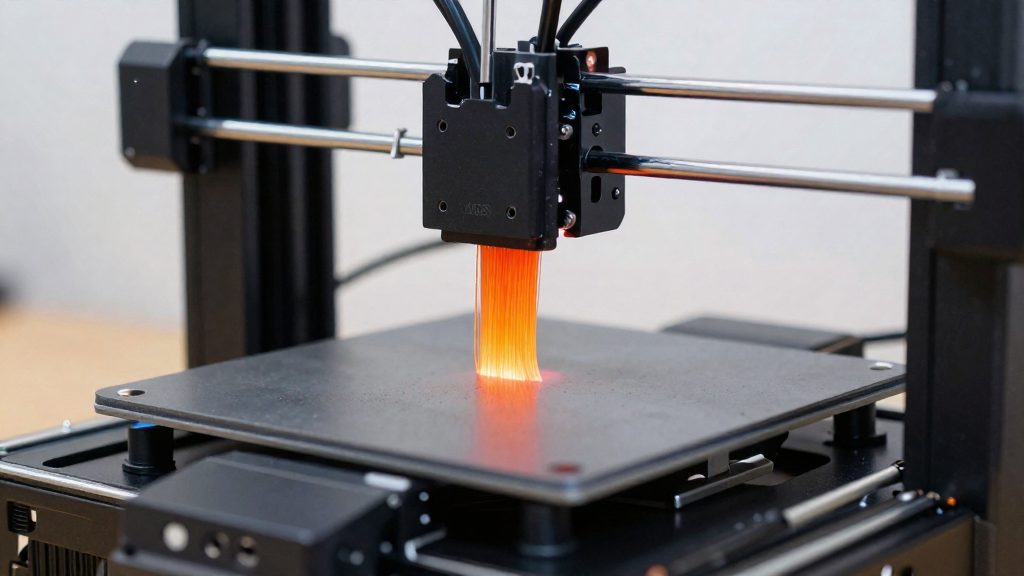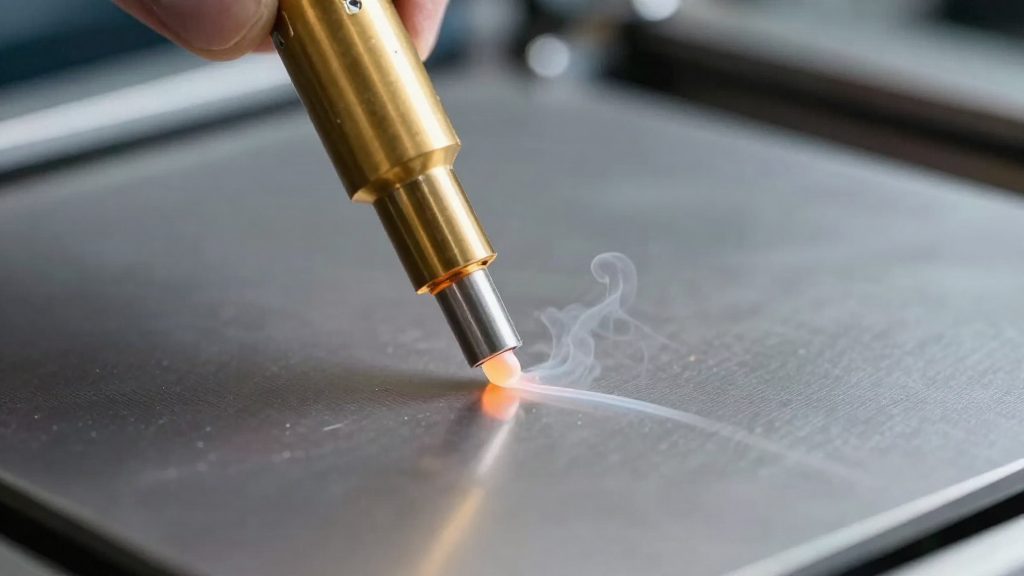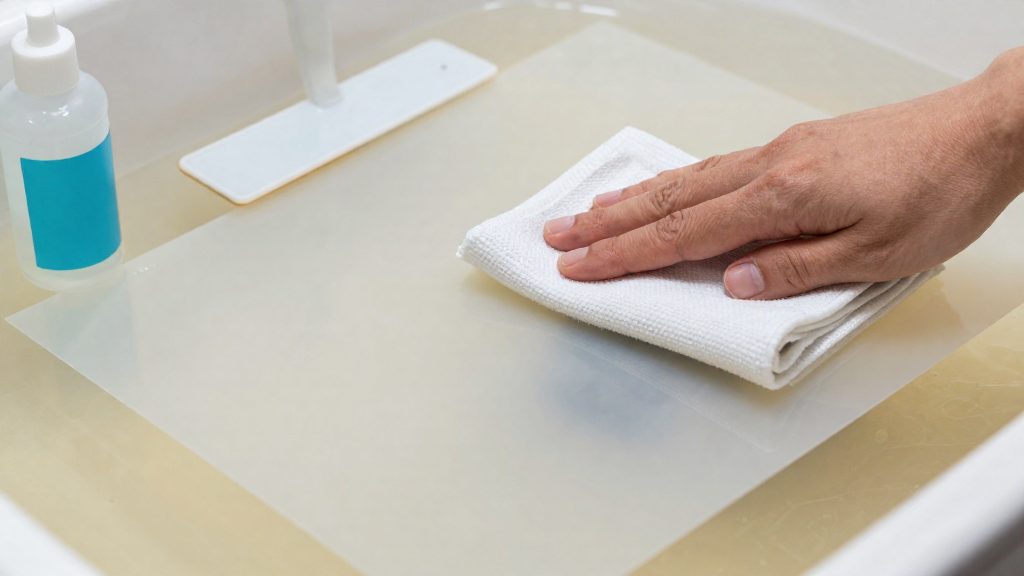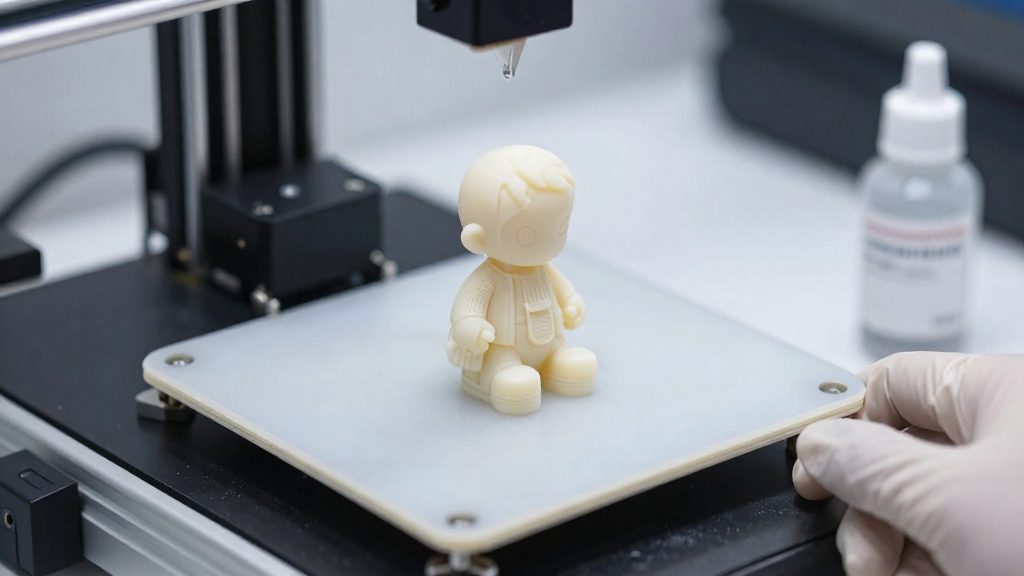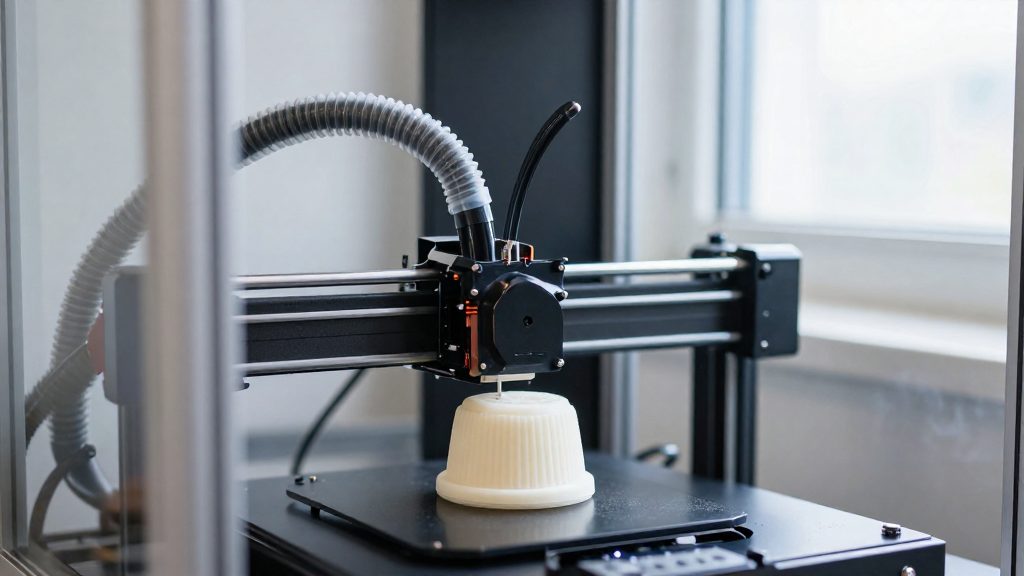
Resin printers smell because the liquid photopolymer in the vat, and the parts pulled out of it, release volatile organic compounds into the room while the resin is handled and cured. Odour shows that some vapour is present, but it is not a reliable measure of how much you are exposed to. The practical handling points below address where the smell comes from.
Why resin printers smell
Curing hardens the resin under light, but the liquid that remains in the vat stays exposed to air for the whole print.
| Odour source | Why it smells | Practical handling |
|---|---|---|
| Open vat | Uncured resin stays exposed to air during and between prints | Keep the lid closed when the printer is idle |
| Print removal | Parts leave the build plate coated in liquid resin | Lift parts over a tray and handle them with gloves |
| Residue on tools and surfaces | Drips and smears keep releasing vapour after the print ends | Wipe residue up promptly and seal the waste |
Why odour persists after printing finishes
The smell often lingers because the print is not the only source. Uncured resin left on the build plate, scrapers, and the washing station keeps evaporating after the job is complete. Parts still wet with resin continue to emit odour until they are cleaned and cured, so a finished print can still smell noticeably. Removing residue at each stage, instead of at the end of a session, shortens the period of exposure.
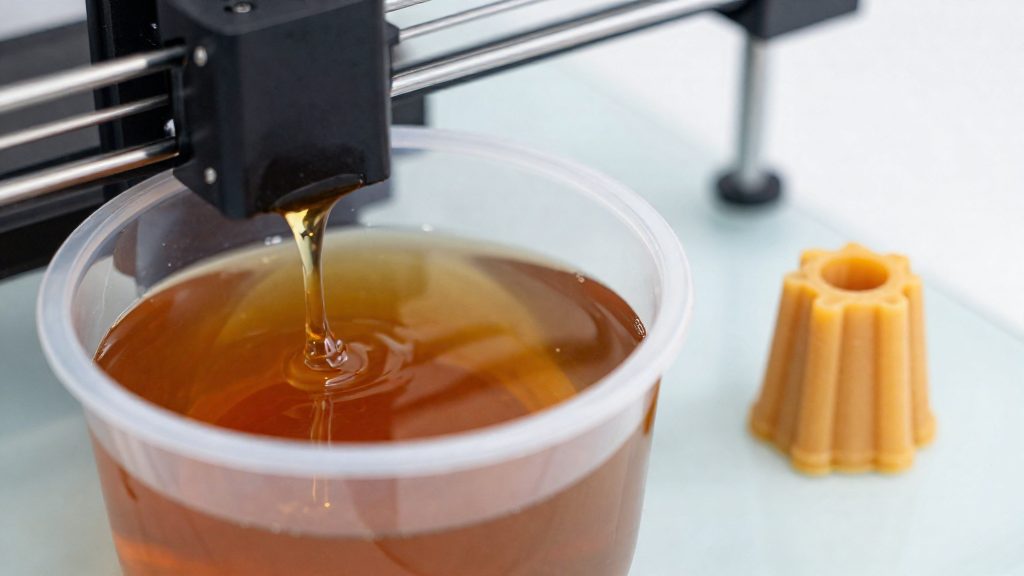
Is resin odour harmful?
Canadian guidance does not treat resin odour as a proven consumer hazard, but it does not clear it either. According to 3Dnatives (2025), which summarises Health Canada and ESDC guidance, no credible report of consumer injuries from 3D printing had reached Health Canada. The absence of reports does not by itself tell us why the official position is measured. It is not an exposure study, and it does not show that fumes are harmless at every dose or over long periods.
The open gaps matter more. Canada sets no specific exposure limits for ultrafine particles, and Health Canada is still researching volatile organic compounds (VOCs) and ultrafine particles from 3D printing. Without a published threshold, there is no official benchmark against which a home printer’s emissions can be judged. Anyone who wants to be cautious therefore has to rely on controlling the source rather than on a numeric safety limit.
The most concrete lever is the material. Health Canada advises home users to choose lower-emission materials and to follow the safety data sheet (SDS) for the printing media. In practice, this means:
- Read the SDS for each resin before its first use, paying attention to its hazard and handling sections.
- Compare the emission profile of available resins when buying, and prefer lower-emission options where the manufacturer provides that information.
- Keep the SDS of every resin you own, so the handling guidance is available when you open a new bottle.
- Follow the printer manufacturer’s instructions for operation and maintenance.
Where should you put a resin printer at home?
Health Canada advises home users of 3D printers to operate them in well-ventilated areas, as summarised by 3Dnatives in 2025. Placement is therefore about choosing a space where fresh air moves through the room, not simply a space with a free table. The same guidance asks users to follow the manufacturer’s instructions and the safety data sheet for the printing media, so the printer’s own installation requirements take priority over general advice.
Choosing the room
Pick a room where air can be replaced, such as one with a window that opens or a working ventilation fan. Avoid small, closed spaces with no airflow, because the guidance specifically calls for well-ventilated areas. Judge ventilation by how the room actually handles air, not by a figure.
Placement relative to occupants
Position the printer so that the people using the room are not sitting or sleeping directly beside it. The emission source should be kept away from living areas, and the printer should not be placed where its exhaust or fumes drift toward a seating area. Use the room layout to create as much separation as possible.
Following the manufacturer’s installation location
Check the manual for the required installation location before choosing a spot. Manufacturers often specify clearances around the machine, surface requirements and whether the printer should be used with its enclosure closed. Those instructions apply regardless of the room you choose.
Home and workplace guidance differ
| Context | Guidance from 3Dnatives summarising Health Canada and ESDC (2025) |
|---|---|
| Home users | Use in well-ventilated areas; follow manufacturer instructions |
Placement advice is qualitative, so treat good airflow and separation from occupants as the working standard.
How do you vent resin fumes outdoors?
Venting a resin printer outdoors means moving air from the printer’s enclosure through a duct to the exterior, so exhaust does not return into the room. The steps below cover the routing method.
Ducting exhaust through a window or wall
Run the duct from the printer’s vent outlet to the exterior by the shortest, straightest path possible. Sharp bends restrict airflow, so route the duct around them rather than through them. Where the duct passes through a window, use a panel sized to the duct and secure the duct so it cannot shift or sag under its own weight. Check with your landlord or a qualified contractor before cutting into a wall.
Sealing gaps around ducts and window openings
Seal every gap between the duct and the window frame or wall opening with weatherstripping, foam or flexible sealant. Untreated gaps let exhaust drift back indoors and let outside air enter around the duct. Check the seal by eye and by touch, and re-seal any gap where you can see daylight through.
Keeping exhaust away from windows used for intake
Place the exhaust outlet on a different wall or window from any opening used for fresh air intake, so exhaust is not pulled straight back in. If the same window must serve both purposes, mount the duct at one edge of the sash and leave the intake at the opposite side, giving the exhaust a clear path away from incoming air. Keep the outlet away from doors and neighbouring windows as well.
Do carbon filters and air purifiers help?
Air purifiers and carbon filters are a common add-on for resin printers. The most specific guidance concerns HEPA filtration. According to 3Dnatives (2025), summarising ESDC guidance, HEPA filtration is named as ideal in workplaces. That guidance is written for workplaces, so a home printing room should be judged on its own conditions.
Enclosed printers and ventilation
For workplaces, ESDC prefers printers with covers, ventilation systems and low-emission designs. At home, the practical equivalent is to choose a resin printer with an enclosure or lid that stays closed during printing, then to ventilate the room while it runs.
Handling IPA, waste and spills
Resin printing produces three streams that need handling at home: isopropyl alcohol (IPA) used to wash parts, uncured resin in the vat and on build plates, and cured waste such as supports and failed prints. The points below are general handling practice.
Isopropyl alcohol wash
- Store IPA in a sealed, clearly labelled container, kept away from heat and open flames.
- Use a closed wash container rather than an open bowl to limit evaporation into the room.
- Let washed parts dry fully before handling them further, so residual alcohol does not transfer to other surfaces.
- Replace the wash liquid as the resin manufacturer’s instructions advise, for example when it looks cloudy with suspended resin.
Disposing of resin waste
Keep uncured and cured waste separate. The table below summarises the general approach for each type.
| Waste type | Handling |
|---|---|
| Unused uncured resin | Follow the resin’s SDS and the manufacturer’s instructions; if disposal is needed, take it to your local hazardous-waste collection rather than the household bin |
| Cured parts and supports | Cure fully according to the manufacturer’s instructions, then check your municipality’s rules before putting them in household waste |
| Rags and paper towels with resin | Let them cure fully in daylight or under a UV lamp before disposal |
| Spent IPA | Store sealed and dispose of it through your local hazardous-waste collection |
Cleaning spills before they cure
Liquid resin cures when exposed to light, so a spill left on a surface becomes much harder to remove. Work quickly:
- Put on disposable gloves before touching the spill.
- Absorb the liquid with paper towels, pressing rather than rubbing so it does not spread.
- Wipe the surface with a cloth dampened with IPA to remove the film that remains.
- Lay the used towels and cloths out to cure fully in daylight or under a UV lamp, as described above, then dispose of them following local rules.
Keep the printer and build area clear of spare towels during cleanup so that waste stays contained.
What Canadian guidance says
Canadian guidance does not put a government approval gate in front of consumer 3D printers. According to 3Dnatives (2025), Health Canada does not pre-approve 3D printers before they reach the market. Product safety instead falls on the companies that sell them. Under the Canada Consumer Product Safety Act, suppliers are responsible for the safety of what they sell. The same summary notes that Health Canada had received no credible report of consumer injuries from 3D printing, but it does not give a count or time period for the reports reviewed.
Workplaces face a stricter expectation. According to 3Dnatives (2025), the Employment and Social Development Canada (ESDC) expects an employer to carry out a hazard analysis before printing, and to put ventilation controls in place.
| Audience | Approval | Duty or expectation | Controls named |
|---|---|---|---|
| Suppliers | No pre-approval | Product safety under the Canada Consumer Product Safety Act | Not specified in the guidance consulted |