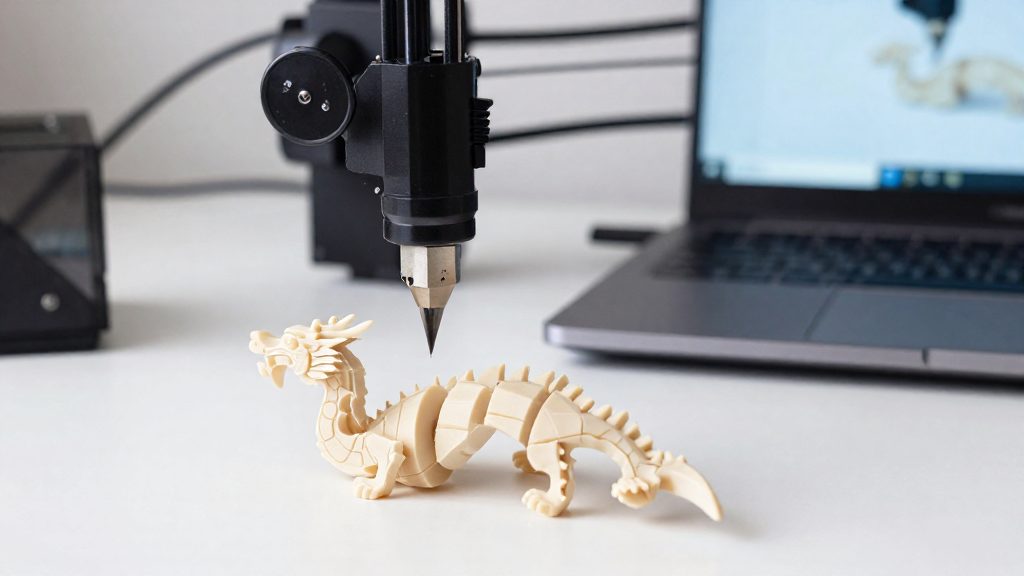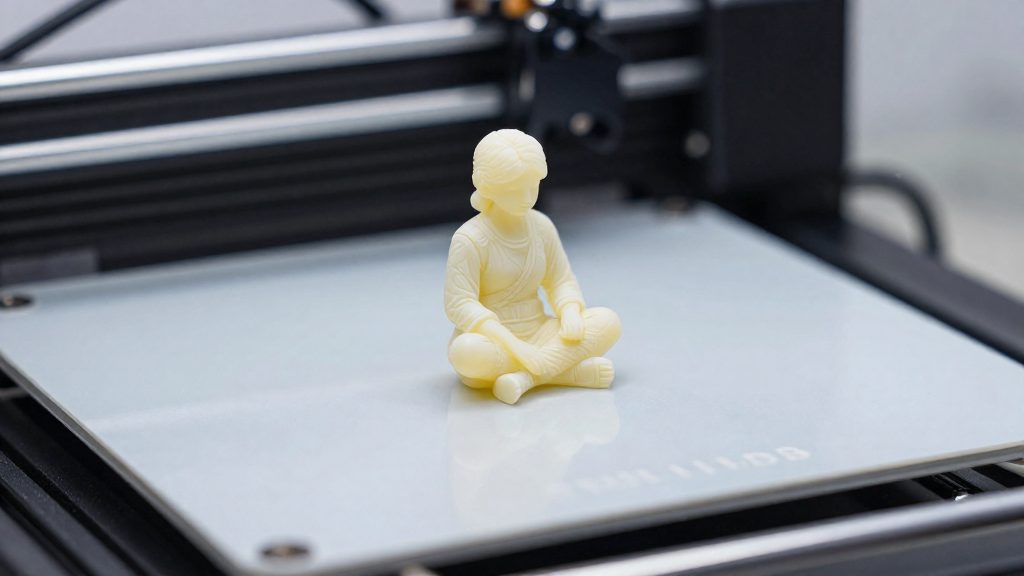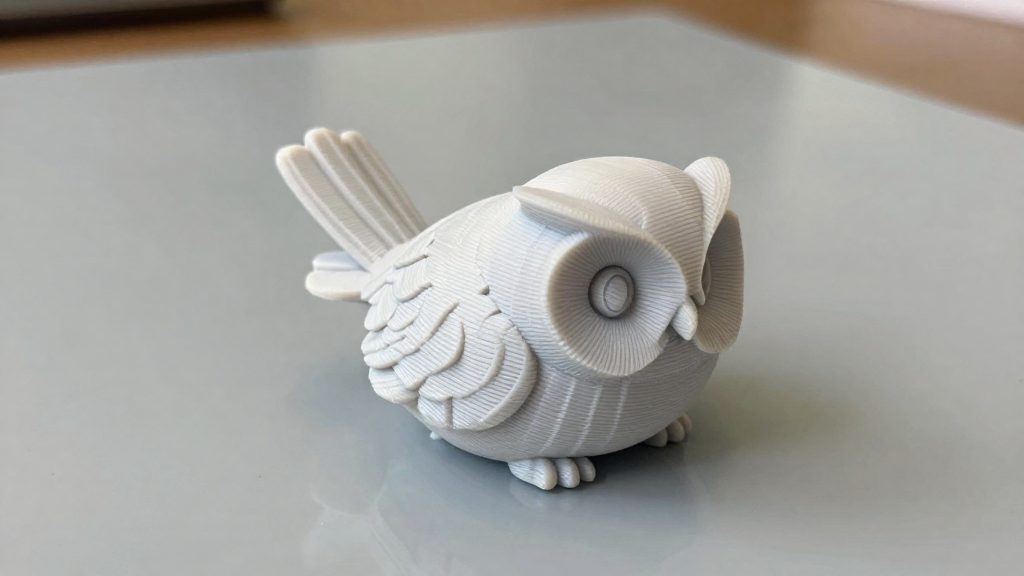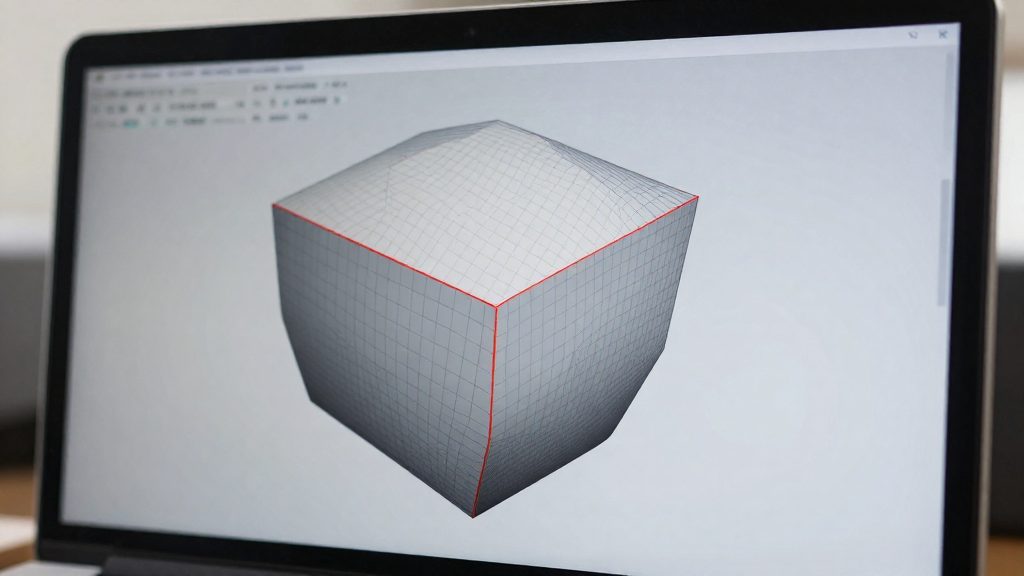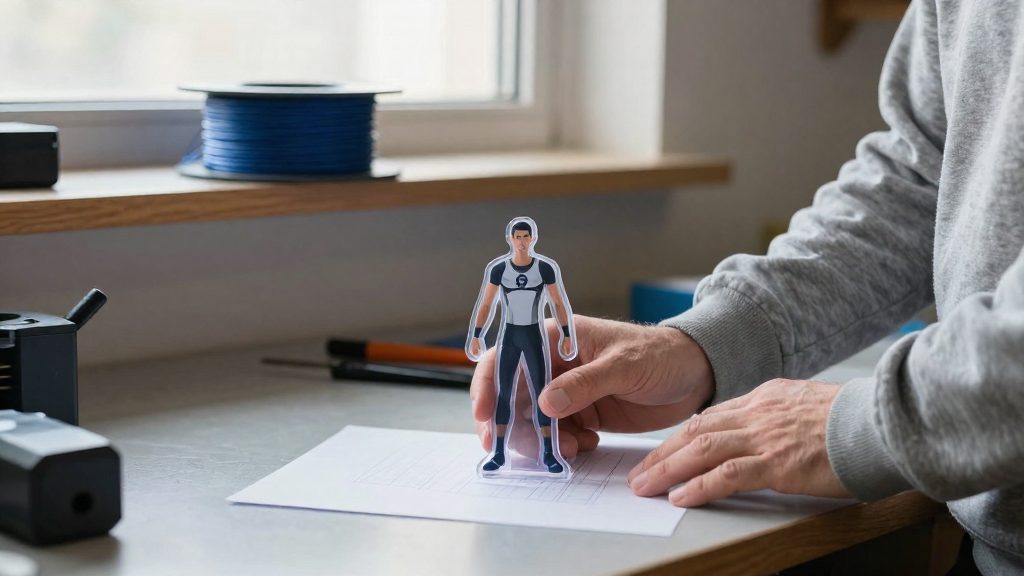
Beginners can find free STL files through collections such as NASA’s 3D Resources and community platforms such as Printables. Check each asset’s usage terms rather than assuming that every government-hosted file is in the public domain. Before downloading from any source, check the listing’s price and licence text, and confirm which platform hosts the file. Free models should not require a purchase step.
Where Can Beginners Download Free STL Files?
Government and public-domain archives
NASA’s 3D Resources collection offers assets free to download and use, and it includes some printable models. To narrow the results, use its 3D Printable filter, which removes assets that are not designed for printing.
Community repositories
Printables is the main example in the niche of a free repository. Each model page lists the creator, so you can open the creator’s other uploads to judge how complete and consistent their files are.
Free files versus paid marketplace listings
Compare the listing’s price field and its licence text before clicking download. A file that is genuinely free will not ask for payment at any step of the download. If a page mixes free and paid versions of the same model, use only the version whose price field reads zero.
Identifying the file source
Confirm that the file comes from the platform’s own model page and not from a copy posted elsewhere. Then check the file itself, because a free download is not guaranteed to be print-ready.
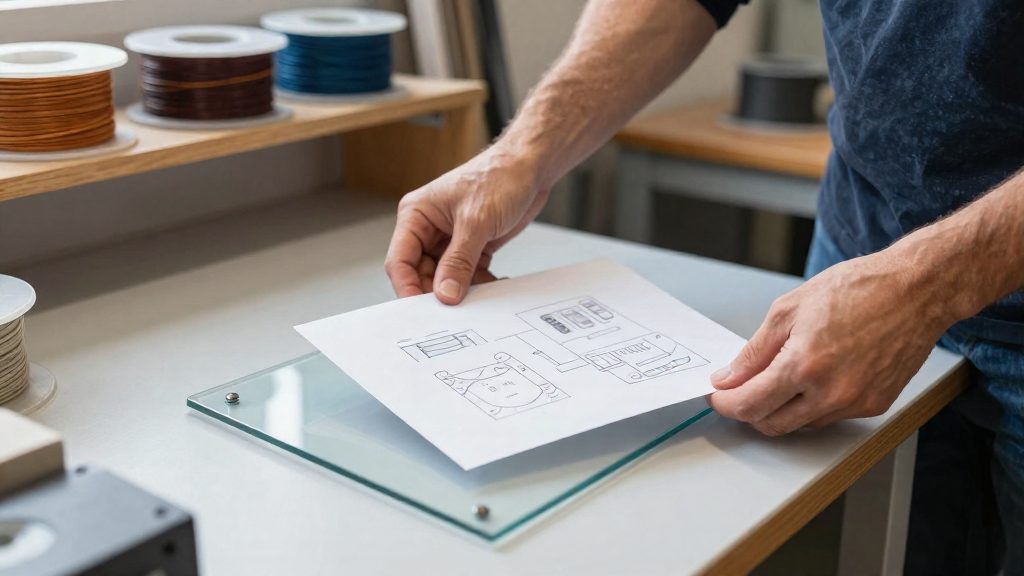
Free Model Libraries to Explore
Several free libraries cover different needs, from public-domain assets to community-driven catalogues. The most useful starting point depends on whether you want ready-to-print objects or downloadable assets you will need to prepare yourself.
NASA 3D Resources
Some of the collection’s files are printable models, and the site provides a “3D Printable” filter that narrows the catalogue to those files. Use the filter first if you want objects designed for printing rather than general 3D assets that may need heavy editing.
Printables
According to Prusa Research, Printables offers free models that can be downloaded without an account.
Library Focus and Category Comparison
- NASA 3D Resources: government-produced assets with a dedicated printable filter; the catalogue is aimed at space and science subjects.
- Printables: a community model library.
Whichever library you use, check each downloaded file before slicing.
How Do You Choose a Printable Model?
Before you press print, a free STL file should pass a few simple checks against your printer and your skill level. Start with the physical size of the model, then look at its overhangs and support needs, and finally weigh the level of detail against the print time you can afford.
Model Size Versus Build Volume
Compare the model’s dimensions with your printer’s build volume before you download anything you plan to keep. If a model does not fit your printer’s build volume at its intended size, try changing its orientation. If it still does not fit, you can scale it down if its dimensions are flexible, or split it into parts and assemble them afterward. Measure the model in your slicer after importing it, since the file itself does not tell you its real size in your chosen units.
Support Needs and Overhang Geometry
Look at the shape of the model for overhangs, which are parts that extend outward with nothing printed beneath them. Overhangs that stick out far from the body usually need supports, and supports add material, print time and cleanup work. Models with flat bases, few horizontal bridges and features that rise straight up tend to be easier for a beginner. Whether a specific overhang needs supports depends on your printer and settings, so check the preview in your slicer before you commit to a print.
Detail Level and Print Time
Fine detail takes longer to print and is more likely to fail on a beginner machine, because small features need precise layers and stable extrusion. A model with simple geometry and large, solid features usually finishes faster and gives you a cleaner first result. Compare the estimated print time shown by your slicer against the time you have available to supervise the print, and follow your printer manufacturer’s safety instructions.
Easy Projects for Your First Print
Three model types suit a first print: calibration test objects, single-part small items, and simple tabletop holders. Each has few overhangs, small footprints, and features that show clearly whether the printer, slicer settings, and material are working.
Calibration cubes and temperature towers are the usual first prints because they test the machine rather than produce a useful object. A calibration cube shows whether dimensions match the model in each axis, which helps you judge the printer’s steps-per-millimetre and shrinkage. For FDM printing, a temperature tower compares surface finish and stringing at different nozzle temperatures. Configure temperature changes at the corresponding heights in your slicer; the downloaded STL alone does not contain those instructions.
Single-part keychains and cable clips fit a first print because they are small, print quickly, and usually need no supports. Their flat bases stick well to the build plate, and a failed print costs little time or material.
Simple tabletop organisers and holders are a step up in size and give you a practical result. Pen holders, small trays, and phone stands use a wide, stable base and a few walls, so they test bed adhesion and layer consistency on a larger surface.
| Model type | Why it suits a first print |
|---|---|
| Calibration cube | Checks dimensional accuracy on each axis |
| Temperature tower | Compares nozzle temperatures on one print |
| Keychain or cable clip | Small, quick, usually support-free |
| Tabletop organiser or holder | Tests bed adhesion and wall consistency on a larger base |
Check Mesh Integrity Before Slicing
Before you send a downloaded STL to a printer, check that the mesh describes a closed solid. Formlabs advises confirming that a model encloses a solid, watertight volume, because disconnected faces or vertices can produce unintended gaps or holes in the print. Two checks cover most problems: mesh closure and minimum feature thickness.
Watertight solid volume and disconnected faces
A watertight model has no open edges, so the slicer can tell inside from outside. Look for these warning signs:
- Holes or gaps visible in the preview where faces should meet.
- Loose shells or floating vertices that do not connect to the main body.
- Errors reported by the slicer or the resin preparation software on import.
If the model has disconnected faces, return to the source and download another version, or repair the mesh in a dedicated tool before slicing. Reimporting the same broken file rarely fixes it.
Zero-thickness surfaces and minimum wall thickness
Zero-thickness surfaces cannot physically be printed. Formlabs recommends giving every model feature solid thickness, so thin fins, sheets and flat walls with no depth must be thickened in the design before printing. Check the preview for paper-thin parts that appear as single lines or disappear when you rotate the model.
PreForm automatic repair limitations
Formlabs PreForm attempts to repair model integrity issues on import. Automatic repair can, however, reconstruct an area incorrectly, so the repaired surface may not match the original design. After PreForm repairs a file, inspect the repaired regions in the preview before you start a resin print, particularly around holes, thin features and joins.
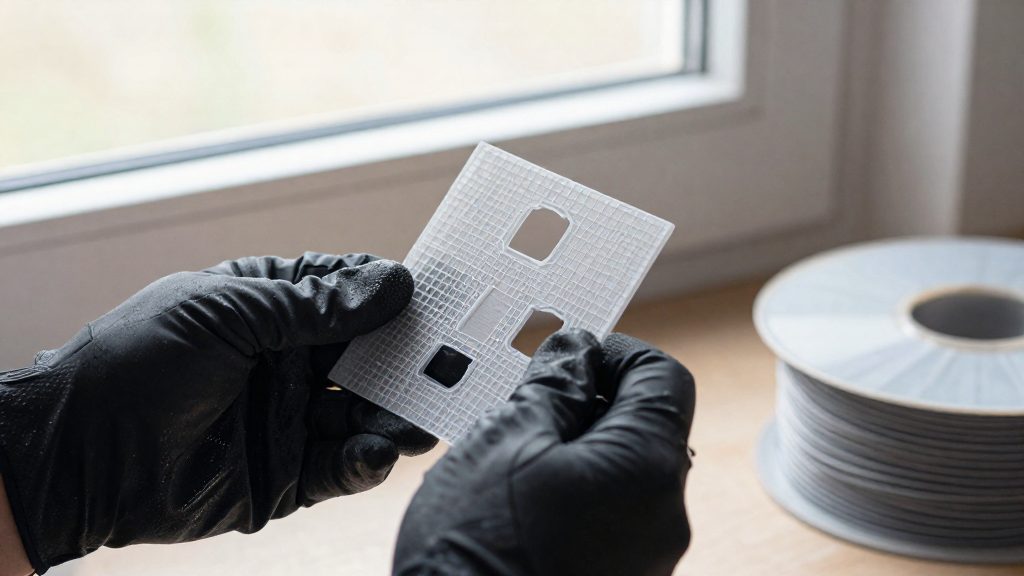
Prepare Your Download in a Slicer
Downloaded STL files open in a slicer, the software that converts a 3D model into printer instructions. Recent versions of PrusaSlicer can handle the whole process without leaving the application.
Browsing Printables in PrusaSlicer 2.9.0
Starting with PrusaSlicer 2.9.0, the Printables repository is built into the slicer. You can browse models, then download STL files or 3MF projects directly, according to Prusa Research (2025).
Importing STL and 3MF Files
Whether the file came from the slicer’s browser or from a website, the import step is the same:
- Drag the file onto the build plate, or use the import command in your slicer.
- Use STL files for plain geometry, and 3MF files when the download includes a full project with saved print settings.
- Check the object’s placement and orientation on the plate before slicing.
Printer-Matched G-code Sending
The Printables integration can send G-code directly to a printer only under two conditions: the registered printer must match the printer the file was sliced for, and you must be logged into the relevant Prusa Connect account, according to Prusa Research (2025). If you are not logged in, sign in to the relevant Prusa Connect account. If the G-code was sliced for a different printer, download the model and slice it using settings for your own printer before transferring the newly generated file.
Can You Sell Prints From Free Files?
Whether you can sell a printed object depends on the licence attached to the model, not on whether the file was free. Free access and free use are separate from the rights to sell a printed copy, so the licence text decides that question.
Reading the licence before you sell
- Open the model page on the hosting platform and locate the licence or usage statement.
- Look for explicit wording on commercial use and on modifying or redistributing the file.
- Check for an attribution requirement, such as keeping the creator’s name or a link with each print.
- If no licence is visible, do not assume commercial rights. Ask the creator for written permission.
Personal printing versus selling
Printing for your own use and selling prints are separate questions. Downloading is an access fact, not a grant of selling rights.
Open the model page in a browser to read the licence before slicing for sale.
| Source | What it offers | Step before selling |
|---|---|---|
| NASA 3D Resources | Government-produced assets | Read the terms on the individual asset page |
| Printables (web) | Community-uploaded models | Check the licence on each model page |