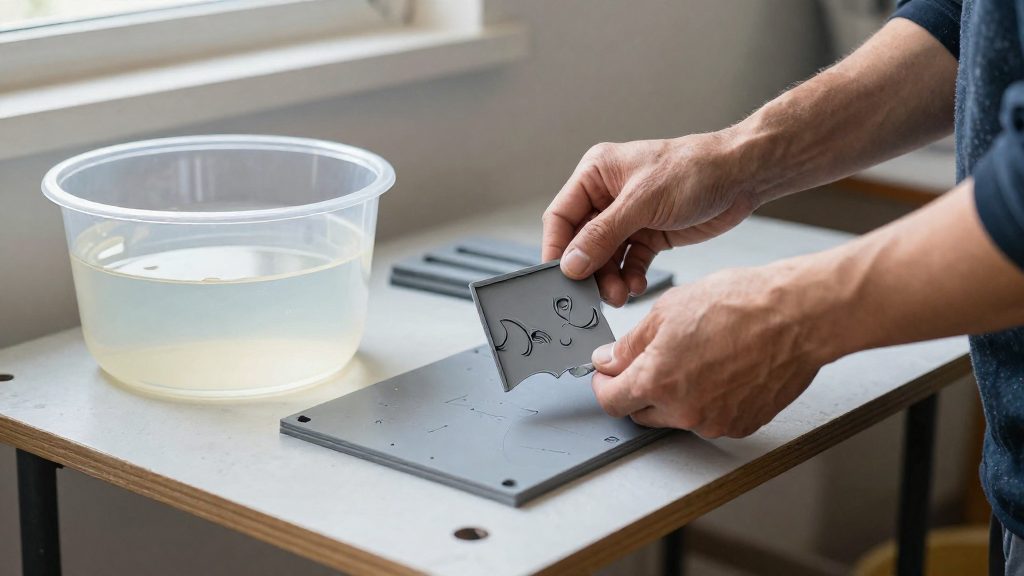
Yes, direct sunlight can post-cure resin prints, but its light is uneven and inconsistent, which can cause uneven curing and discoloration if the print is not handled carefully. Post-curing with light and heat improves the mechanical properties of a fresh print, which remains in a partially polymerized state until it is cured. Sunlight can supply that light, provided the print is clean and dry and is turned during exposure. Sunlight does not offer the controlled output of a curing station, so exposure times vary with conditions.
Can You Cure Resin Prints in Sunlight?
Recommended Sunlight Exposure Times
Recommendations differ by source, and none is a universal guarantee:
| Source | Recommendation | Condition |
|---|---|---|
| Tom’s Hardware (2022) | 2 to 8 hours of sun | Source-specific recommendation |
| Phrozen (2024) | At least one day | Source-specific recommendation |
Tom’s Hardware also suggests outdoor curing above 70°F, but this is not established as a universal minimum temperature. No universal curing duration has been established for light through window glass or on cloudy days.
Mechanical Gains from Light and Heat
Formlabs describes post-curing with light and heat as the step that improves the mechanical properties of a fresh print. The optimal post-curing time and temperature are resin-specific, and excessive post-curing can cause brittleness or warping in certain resins. Prolonged sun exposure can also make Formlabs prints more brittle and change their color.
Formlabs advises against extended direct UV exposure for functional or load-bearing parts because prolonged sunlight exposure can increase brittleness and change color. The brittleness risk makes the post-curing duration a design decision rather than a default.
Wash and Dry Before Curing
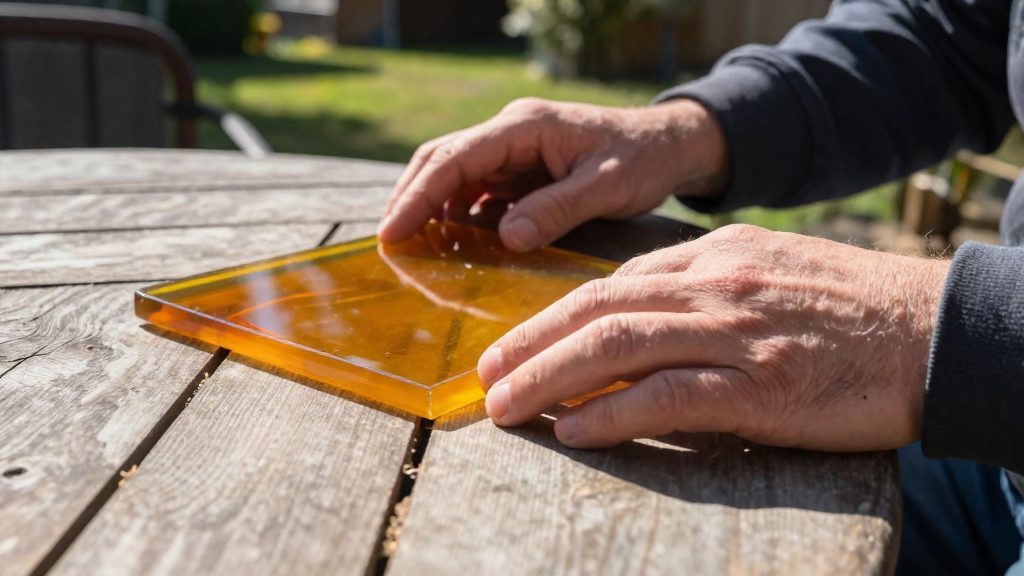
Sunlight can post-cure a resin print, but only after the part is clean and completely dry. Tom’s Hardware (2022) recommends cleaning the print and letting it dry fully before exposing it to sunlight. Washing and drying are separate steps, and the drying step is required even after the surface looks clean.
Drying Hollow Prints
Hollow prints need to dry internally as well as externally before curing (Phrozen, 2024). Drying only the outer surface leaves liquid inside closed cavities, so check the inside of the part before it goes into the sun. This applies to any model with enclosed voids, including hollow shells and parts with internal channels.
Handling Resin Safely
Raise3D (2025) advises wearing nitrile gloves and eye protection, and providing ventilation, whenever you handle resin. These precautions apply both before and during curing, so they cover the washing and drying steps as well as the time the print spends in sunlight. Follow the safety instructions on the resin’s label and the manufacturer’s documentation.
How to Cure Resin Prints in Sunlight
Sunlight curing is a practical way to finish resin prints without a dedicated UV station. Phrozen notes that direct sunlight can post-cure resin prints, but its light is uneven and inconsistent, which is why the handling routine below matters. The core of the method is to place every surface of the part in direct sun and to turn the part during exposure so that no face stays shielded.
Positioning prints for full exposure
Place the print on a flat, sun-facing surface so that its faces are reached by direct sunlight rather than diffuse light. Arrange multiple prints so they do not shade one another.
Rotating prints during exposure
Phrozen recommends turning prints every few hours during sunlight curing so that different surfaces receive exposure. Each rotation brings a shadowed face into the sun, which reduces the risk of uneven curing. Sunlight position changes through the day, so a rotation schedule also compensates for the moving light angle.
Handling during curing
Raise3D (2025) advises wearing nitrile gloves and eye protection, and providing ventilation, when handling resin before and during curing.
How Long Does Sunlight Curing Take?
Sunlight curing time depends on three variables, not a fixed schedule: resin color and opacity, print size and geometry, and light intensity. Two prints in the same sun can need different exposure times if their resins differ in color or opacity, or if one is larger or more complex. Published guidance also varies: Tom’s Hardware (2022) suggests 2–8 hours, while Phrozen (2024) recommends at least one day. Treat these figures as source-specific starting points, not guaranteed durations.
Over-curing and resin-specific limits
More exposure is not always better. For this reason, the correct duration comes from the manufacturer’s instructions for your specific resin, not from how many hours of sun are available in the day.
Why Is the Print Still Sticky?
Persistent tackiness can result from insufficient light exposure, inadequate washing or drying, or oxygen inhibition at the surface. Check cleaning, drying, and the resin manufacturer’s post-curing instructions before adding exposure; tackiness alone does not identify the cause.
Tackiness can also come from uncured resin left on the surface. Residual resin from inadequate washing can contribute to surface tackiness; wash the part according to the resin manufacturer’s instructions and dry it completely before post-curing.
Exposure itself can cause patchy results. Sticky patches often sit on the side facing away from the sun.
| Likely cause | What to do |
|---|---|
| Green state under-exposed | Continue sunlight exposure and check again |
Avoid Uneven Curing and Sun Damage
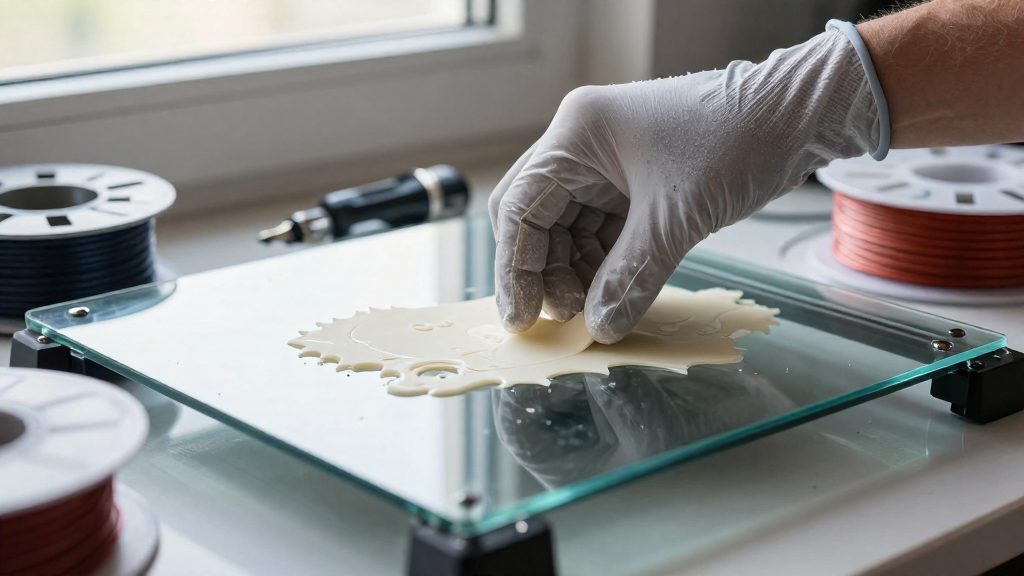
The three risks, uneven curing, discoloration and loss of toughness, have different triggers, so each needs a different precaution.
Uneven Curing and Discoloration
Light that varies in direction and intensity can leave some areas of a print less cured than others. Prolonged direct sunlight exposure can also change a print’s color, which means the surface you see after curing may not reflect how evenly the part has cured. Check every face of the print after curing, not only the one facing the sun.
Preparing the Print to Limit Uneven Results
Hollow cavities need openings that allow trapped resin to drain and the interior to be washed and dried completely before post-curing. Interior surfaces also need access to curing light; a dry exterior does not establish that enclosed surfaces have been cleaned or cured.
Brittleness on Functional Parts
Use the time and temperature in the manufacturer’s instructions for your specific resin, not a single routine for every resin.
When to Use a Curing Station
A dedicated curing station makes more sense than sunlight when you need the same result every time. Two prints left in the same spot can receive different exposure. A station provides controlled light, which removes that variable. A fixed, known light intensity makes timing repeatable from one batch to the next.
Biocompatible resins are the clearest case for a station. Formlabs states that its biocompatible materials require adherence to their validated printing, washing, and curing processes for the finished device to be considered biocompatible. Following that validated process means controlling each step, including the light, rather than relying on whatever conditions the weather provides.