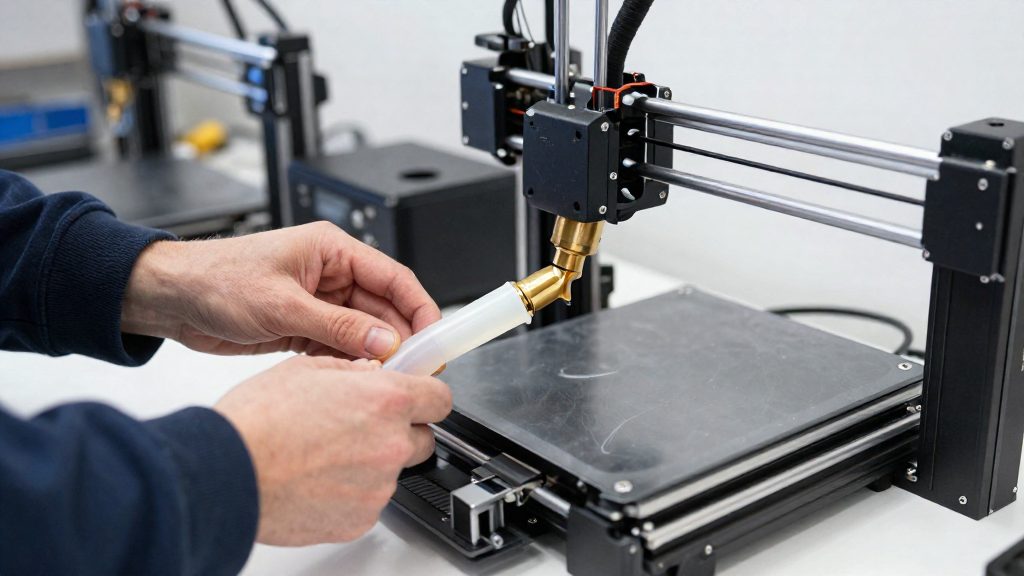
When should you replace the PTFE tube?
Replace the PTFE tube if a clog or its removal has permanently damaged it. If a blockage persists after replacing the nozzle, locate the blockage and inspect the tube before deciding whether replacement is necessary. Identifying the location first shows whether the tube is the part to replace.
Permanent damage after a clog or removal
Prusa Research advises replacing a PTFE tube that a clog or its removal has permanently damaged. A tube that has been pulled out of a clogged hotend should be treated as a replacement candidate, not as a part to clean and reinstall.
Persistent blockage after a nozzle swap
Prusa notes that a hotend blockage can occur in the PTFE tube or elsewhere above the nozzle. If the clog returns after a new nozzle is fitted, the nozzle is not automatically the cause. The tube sits directly in the filament path above the nozzle, so it should be inspected before the nozzle is replaced again.
Blockage location: PTFE tube or above the nozzle
| Location | Action |
|---|---|
| Above the nozzle, outside the tube | Identify the part in your hotend’s manufacturer documentation; a new nozzle may not clear it |
No universal replacement interval or PTFE temperature limit is established.
Which replacement tube fits your hotend?
Before ordering a PTFE tube, identify your printer model and extruder generation. Prusa’s replacement guide covers the MK3S+, MK3S, MK2.5S and MMU2S. According to Prusa Research (2026), that guide does not apply to MK3 and MK2.5 extruders, which need a different guide.
| Printer model | Guide to follow |
|---|---|
| MK3S+, MK3S, MK2.5S, MMU2S | Prusa’s MK3S+/MK3S/MK2.5S/MMU2S replacement guide |
| MK3, MK2.5 | A separate guide for MK3/MK2.5 extruders |
Checking the product label and manufacturer instructions
Start by reading your printer’s model designation, usually on the machine or in its documentation. Then check the packaging or product label of the replacement tube for the printers it is sold for. Match that information against the manufacturer’s instructions for your exact printer and hotend.
The supplied sources do not establish a universal tube length, bore, chamfer or installation depth; verify the specifications for your exact printer and hotend. Verify these values for your specific printer and hotend before installing. Prusa’s detailed procedure is written for its own printers and should not be assumed to apply to Ender, Bowden, direct-drive or all-metal hotends. If the label or instructions do not clearly match your setup, contact the manufacturer or the retailer before disassembling anything.
Tools and preparation before disassembly
For the Prusa MK3S+, MK3S, MK2.5S and MMU2S, Prusa Research (2026) specifies three steps before the extruder is opened to replace the hotend PTFE tube: unload the filament, let the printer cool, and unplug the printer. Doing them in this order keeps filament, heat and mains power out of the work area.
Unload the filament
Remove the filament from the extruder before opening it, so that no filament remains in the path while the tube is handled.
Let the printer cool completely
The source gives no cooldown duration or safe temperature. Confirm on the printer’s display or firmware that the hotend has returned to ambient temperature before touching it.
Unplug the printer
Disconnect the power cable before any disassembly, so the heater and motors cannot energise while your hands are near the hotend.
Remove the old PTFE tube
On the covered Prusa models, the old tube is released by the black plastic collet on the hotend. According to Prusa Research (2026), you press the collet to release the tube and then remove it. First release the hotend from the extruder using Prusa’s model-specific disassembly instructions, taking care not to strain or bend its cables.
- Locate the black plastic collet at the top of the hotend fitting.
- Press the collet down to release its grip on the tube.
- Keep the collet pressed and pull the old tube out of the hotend.
- Check that the tube is fully removed and that no fragment remains in the hotend before you fit the replacement.
Step 4 matters because a leftover fragment can keep the new tube from seating. Inspect the removed tube as well.
Prepare and orient the replacement tube
Before fitting the new tube, check its two ends. The Prusa replacement tube is not symmetrical:
- The rounded outer edge goes inside the hotend.
- The internally conical filament entrance faces outward, toward the extruder.
Orienting the tube this way means the conical opening catches the filament as it comes down from the extruder, while the rounded end sits inside the hotend body.
These orientation rules come from the Prusa design.
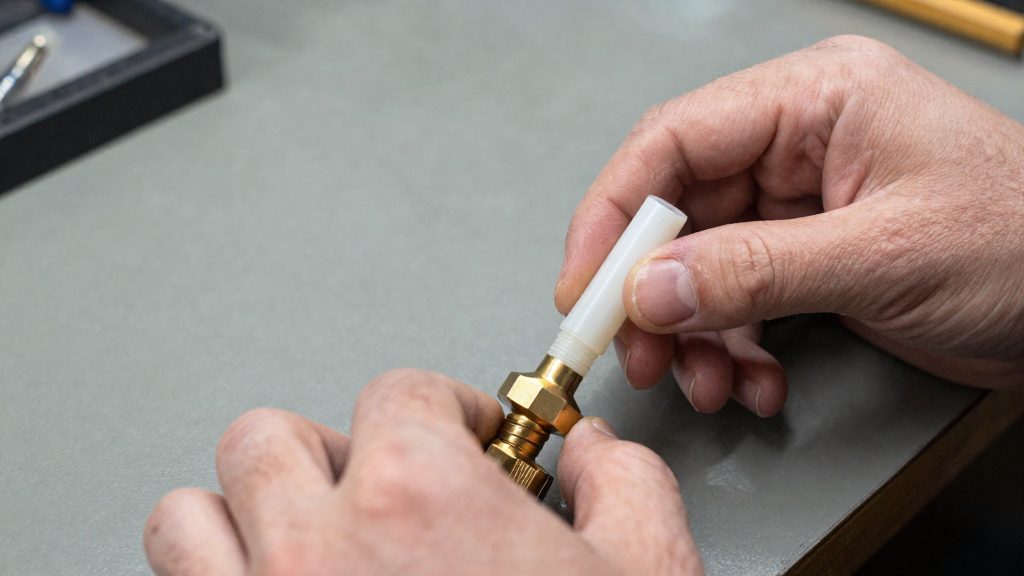
Seat the tube and lock the collet
Once the old tube is out, the new one must sit fully inside the hotend and be locked in place. On the Prusa MK3S+, MK3S, MK2.5S and MMU2S, Prusa Research (2026) describes this step as the one that keeps the tube from backing out during printing.
Follow this sequence:
- Push the tube fully inward. Insert the replacement PTFE tube into the hotend until it stops, and hold it firmly in that position.
- Pull the collet outward while holding the tube. Keep the tube pressed in with one hand and pull the black plastic collet outward with the other. The collet grips the tube when it locks.
- Release the tube once the collet has locked. Let go of the tube only after the collet is engaged, then check that the tube does not move when pulled gently.
Prusa Research (2026) warns that failing to secure the tube can cause clogging, so a tube that slides back even slightly should be reseated before printing.
Reassemble, calibrate, and test extrusion
Reassembling the extruder
Reinstall the hotend in the extruder according to Prusa’s illustrated reassembly instructions. Ensure it fits the extruder body correctly, with the hotend cables on the left and the thermistor cable above the heater cables. Check the heater-block orientation and that the nozzle sits slightly below the fan shroud. Then bring the extruder parts together carefully, stopping if significant resistance occurs. When tightening the screws, check that no cable is pinched between the parts. If you encounter significant resistance while reassembling, stop and find the cause before continuing.
Recalibrating the printer
For the printers covered by its troubleshooting article, Prusa recommends recalibrating after any extruder or hotend disassembly, in this order:
- Full XYZ calibration
- First Layer Calibration
Checking extrusion before printing
Extrusion problems can come from outside the PTFE tube. If filament still fails to extrude after reassembly and calibration, inspect the path above the nozzle rather than replacing parts at random.