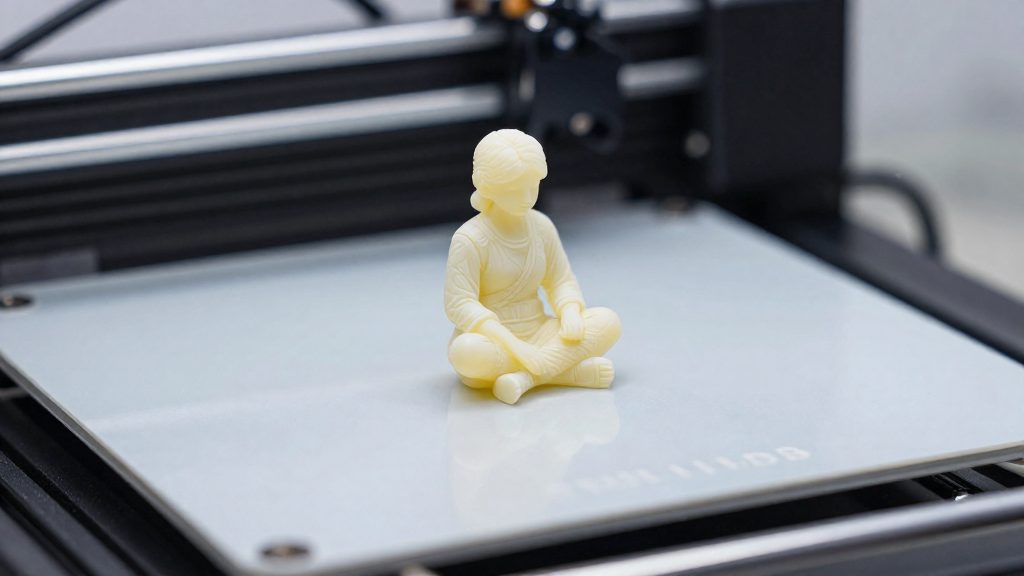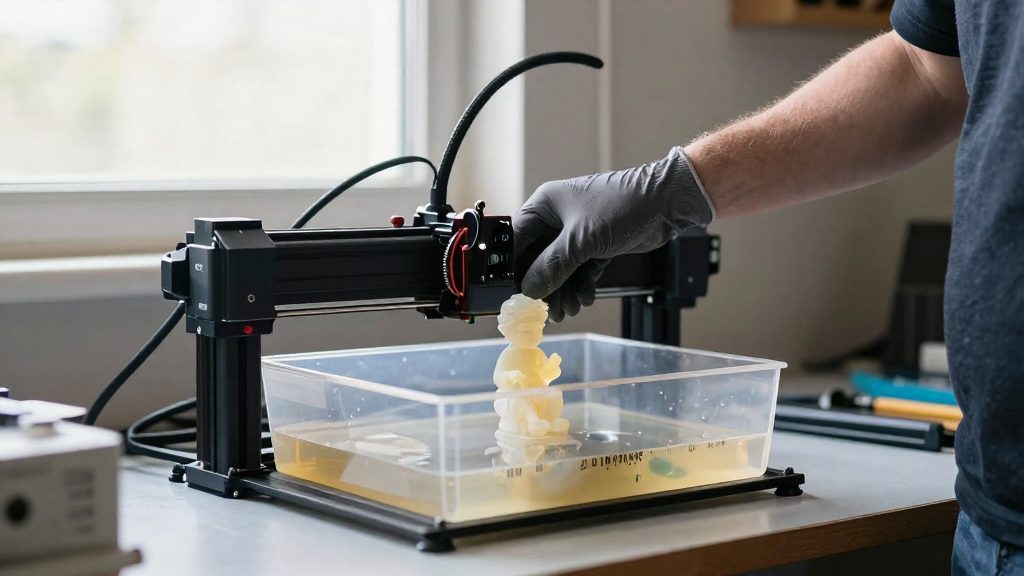
An SLA printer is a resin printer. SLA (stereolithography) machines harden liquid photopolymer with light, and manufacturers use the two labels interchangeably. According to Formlabs, stereolithography is an umbrella term covering laser SLA, DLP and MSLA/LCD machines, so the names overlap rather than mark separate product types. A label on a box therefore does not confirm which optical system is inside.
Is SLA Already a Resin Printer?
Yes. “SLA” describes a family of resin printers, not one specific design. The same photopolymer principle is marketed under several names, and the label alone does not identify the machine.

Why Manufacturers Name the Same Technology Differently
Naming depends on the manufacturer. Prusa separates laser SLA from MSLA. Consumer listings often use “resin printer”, “SLA” or “LCD” for machines built on the same curing principle.
Vat photopolymerization is the broader process name for curing liquid resin held in a vat. It is generic, so it does not identify a specific machine type.
| Label | What it refers to |
|---|---|
| SLA | Umbrella term for laser SLA, DLP and MSLA/LCD machines |
| Laser SLA | Traces each layer with a UV laser |
| MSLA | LCD mask with UV LEDs that exposes a full layer at once |
| DLP | Projector using an array of micromirrors |
Checking the Spec Sheet to Identify the Technology
Read the specifications for the light source, not the headline name. Look for the following terms:
- Laser: the machine is laser SLA.
- LCD or mono mask: the machine is MSLA.
- DLP projector: the machine is DLP.
If the listing only says “SLA” or “resin”, search the spec page for the light source. If it is still missing, ask the manufacturer directly before comparing models.
Laser SLA, MSLA, and DLP Explained
Formlabs uses SLA as an umbrella term covering laser SLA, DLP and MSLA/LCD resin printers; other manufacturers distinguish laser SLA from MSLA. Laser SLA, MSLA and DLP differ in how each layer receives its light.
Laser SLA: point-by-point scanning
Laser SLA traces each layer with a UV laser, so the cured area is built up one point at a time.
MSLA and DLP: whole-layer exposure
MSLA typically uses UV LEDs and an LCD mask to expose an entire layer simultaneously. DLP cures the resin with a projector that uses an array of micromirrors, so the layer image is projected as one exposure.
| Technology | Light source | How a layer is exposed |
|---|---|---|
| Laser SLA | UV laser | Traces each layer point by point |
| MSLA | UV LEDs with an LCD mask | Exposes the whole layer at once |
| DLP | Projector with a micromirror array | Projects the whole layer at once |
Why whole-layer exposure still faces separation limits
Exposing a full layer at once does not remove separation and resin-flow constraints. In inverted resin printers, each cured layer must separate from the vat bottom, and fresh resin must flow into the gap before the next exposure. These limits apply to MSLA and DLP as well as to laser SLA.
The light source alone does not determine print quality. Light uniformity, optical behavior, resin characteristics, and layer height also matter, so a DLP or MSLA label does not guarantee a better result than a laser machine.
Which Produces Better Detail and Surfaces?
Resin printers generally produce finer features and smoother surfaces than FDM printers, whose layer lines tend to be more visible, according to Formlabs. Within resin, though, the result depends on the specific machine, its resin, and its settings, so the technology label alone does not settle the question.
How XY pixel size affects fine features
On MSLA and DLP machines, the XY pixel size describes the nominal dimensions of a projected or masked pixel at the build plane. Pixels are not necessarily square, and their dimensions alone do not establish the smallest printable feature. It comes from the screen or projector resolution spread across the build area, so a larger build area at the same resolution gives larger pixels. Small text, thin edges and pin-sized details are the features most affected when their size approaches the pixel size.
Laser SLA traces each layer with a UV laser instead of projecting a pixel grid, so comparing its detail with MSLA on pixel count alone is not like-for-like.
Pixel size is not the whole story. According to Formlabs, pixel size alone does not establish print quality: light uniformity, optical behavior, resin characteristics and layer height also matter. A fine pixel grid still needs even light and a resin that holds small details.
Layer lines and surface finish
Surface finish on curved and angled faces depends mainly on layer height. Stepping between layers is what makes a surface look ridged, and FDM layer lines are typically the most visible of the two families. Resin layer height is adjustable on most machines, so a resin print can look very different at two settings on the same printer.
To compare surface finish fairly, print the same curved test model on each machine at the same layer height, then inspect it under a raking light, such as a desk lamp held at a low angle. Differences in ridging become easier to see this way than under direct overhead light.
Why no universal quality winner exists
There is no established universal winner between laser SLA and MSLA for home use.
Published pixel counts for individual consumer models are not covered here, so check the manufacturer’s specifications for each printer you compare.
Print Speed and Batch Printing
Resin printing cures one layer at a time, so a batch’s duration depends on the number of layers and the exposure time for each one. How a technology exposes a layer determines whether adding parts to the plate adds time. Per-layer exposure is the key difference between laser SLA and MSLA.
Per-layer exposure timing
| Technology | How a layer is cured | Effect on a batch |
|---|---|---|
| Laser SLA | A UV laser traces each layer | Exposure time depends on the cured area, so more cross-section per layer means longer exposure |
| MSLA | An LCD mask and UV LEDs expose the entire layer at once | All parts sharing a layer are cured in the same exposure |
| DLP | A projector with an array of micromirrors cures the resin | Each layer is projected onto the resin in a single image |
Filling the build plate with multiple parts
With MSLA, each added part shares the exposure of every layer it occupies, so filling the plate usually costs less time per part than printing parts one at a time. With laser SLA, each part’s cross-section adds to the area traced on every layer, so the exposure time per layer rises as the plate fills.
To fill the plate efficiently:
- Measure each part’s footprint and confirm the arrangement stays within the build volume listed in the manufacturer’s specifications for your printer.
- Arrange parts so the total cross-section of each layer stays within the plate’s capacity.
- Check the sliced job’s total layer count and time estimate: the tallest supported, oriented part determines build height, while layer height, exposure, separation and resin-flow timing also affect duration.
Parts per build and throughput
Throughput depends on build volume and nesting. A larger build area holds more parts per job, and the job’s layer count is set by the tallest part on the plate. Adding parts to a job with MSLA leaves the per-layer exposure unchanged, which is why MSLA batches scale more favorably than laser SLA batches with large cross-sections. No single technology is established as faster for home use across consumer models, so compare the specific printers’ build volumes and exposure settings before choosing.
Printer Costs, Materials, and Maintenance
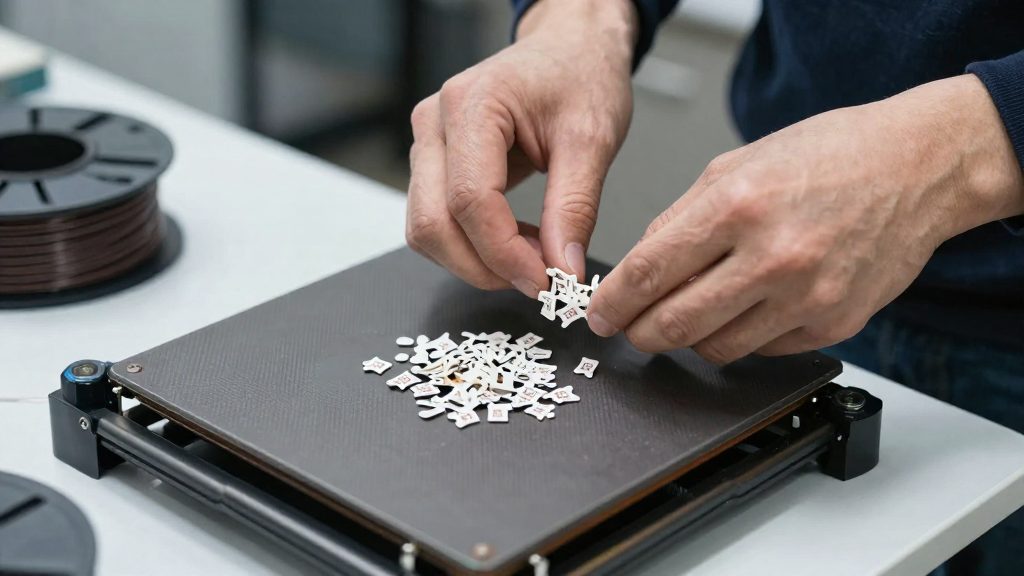
A resin printer’s cost per part is more than the resin it uses. Formlabs’ cost-of-ownership white paper, written for dental labs, defines total cost per part as equipment, material, consumables and, potentially, labor, and states that resin volume alone is insufficient. The same breakdown applies to home printing, so the price of a litre of resin understates what each part actually costs.
| Cost item | What it includes | How to verify it |
|---|---|---|
| Equipment | Printer purchase price, spread across the parts it prints | Current list price for your exact model |
| Resin | Volume consumed per part | Price per volume on the resin’s product page |
| Vat film | Replacement film in the resin tank | Replacement interval in the printer manual |
| Build plate | Replacement platform parts | Part number and price from the manufacturer’s parts list |
| Labor | Setup, supervision and removal of parts | Your own time at your hourly rate |
Replacing Vat Film and Build Plate Parts
Vat film is a consumable that may need replacement as it wears or becomes damaged. Maintain the build plate according to the manufacturer’s instructions, and budget for replacement only when required for your specific model or its condition. Replacement intervals and prices differ by printer model and are not covered by the sources used here, so the manufacturer’s manual and parts list are the reliable references. Add the cost of these parts to the per-part figure as a recurring maintenance line rather than treating them as a one-off purchase.
Labor Time in the Cost
Labor is the component most often left out. Count the time for loading the build plate, starting the print, removing finished parts from the platform and checking the vat before each job. If you sell or deliver parts, add the time spent on any handling that follows. Valuing this time at your own hourly rate turns it into a figure you can compare with the resin and parts costs.
Exact purchase prices, running costs and maintenance intervals vary by printer and material, so confirm them for your specific model.
Washing, Curing, and Home Safety
Resin parts need two post-print steps that FDM parts do not: washing away uncured resin and, for most materials, curing under UV light. Both steps create contact and airborne exposure points, so the same workflow needs basic protective measures. The steps and their requirements differ by material and by the equipment used.
Washing Parts Still on the Build Platform
According to Formlabs (2017), compatible washing equipment can wash parts while they remain attached to the build platform. This means the parts do not have to be detached before washing. The workflow can therefore keep resin handling to a single station, since the platform and parts move together from printer to wash unit.
Post-Curing Depends on the Material
Post-curing requirements vary by resin and application. The table below lists the workflows described in the reviewed material.
| Workflow | Washing | Post-curing |
|---|---|---|
| Standard SLA (3D Systems workflow) | Solvent cleaning to remove uncured surface resin | UV-oven curing |
| Castable Wax Resin, casting workflow (Formlabs, 2019) | Not specified in this workflow | Not required |
Always check the manufacturer’s instructions for the specific resin before assuming a curing step is needed or skipped.
Exposure Points Across the Resin Workflow
According to CDC/NIOSH (2025), exposure opportunities occur throughout the resin workflow, not only during post-processing. Key points include:
- Uncured resin contact: Uncured printing resin contains acrylates and other chemicals that can cause asthma, allergic dermatitis, or irritant dermatitis.
- Printing emissions: Particles and gases can escape the printer cover during printing.
- Curing emissions: UV and heat curing also generate airborne emissions.
Protective Measures
CDC/NIOSH recommends the following exposure controls:
- Ventilation, or effective particulate and gas filtration, in the printing and curing area
- Appropriate protective equipment
- Gloves resistant to acrylates and isopropyl alcohol
Verify the glove material and ventilation requirements in the resin manufacturer’s safety data sheet and printer manual.
When Should You Choose FDM Instead?
Choose FDM when your parts do not need resin-level detail, or when you want to avoid handling liquid photopolymer. FDM prints do not require resin washing or UV curing, although support removal and surface finishing may still be necessary. For many home workshops, that difference in workflow decides the question.
Matching Part Requirements to the Technology
- Fine detail and smooth surfaces: resin is the better match.
- Functional parts where strength is the main requirement: do not choose resin on mechanical performance alone. The sources do not establish that resin always outperforms FDM mechanically.
- Parts where layer lines are acceptable: FDM is the simpler route, provided you can manage support removal and finishing.
Decision Checklist Before Buying a Resin Printer
- Does the part need fine features? If not, FDM covers the job with fewer steps.
- Will you handle liquid resin? If you prefer to avoid it, choose FDM.
- Can the room be ventilated or filtered? Check this before purchase.
- Do you have protective gear?
- Have you verified the running costs?
Applications Where FDM Fits the Workflow Better
- Shared or enclosed spaces: FDM avoids liquid-resin handling, but heated filament also releases particles and gases. Assess ventilation and appropriate emission controls for the specific printer, material and room before choosing either process.
- Prints that do not need resin-level detail: when layer lines are acceptable, FDM produces usable parts without a liquid handling step.