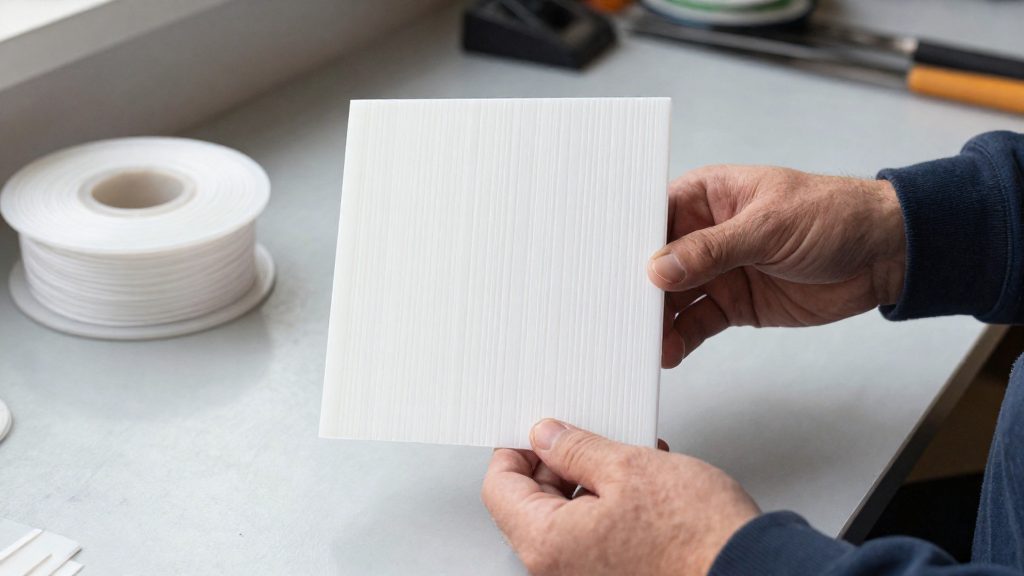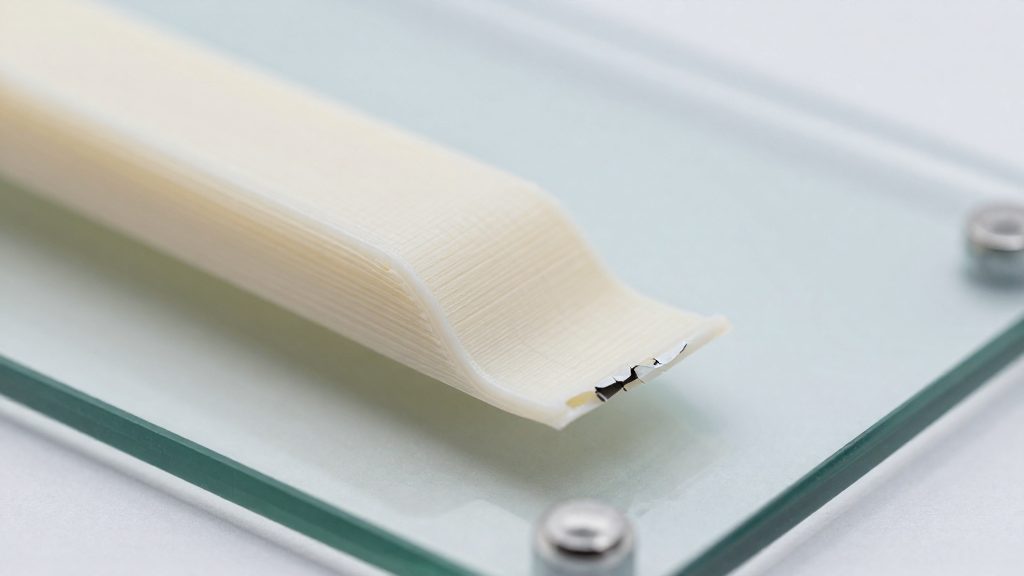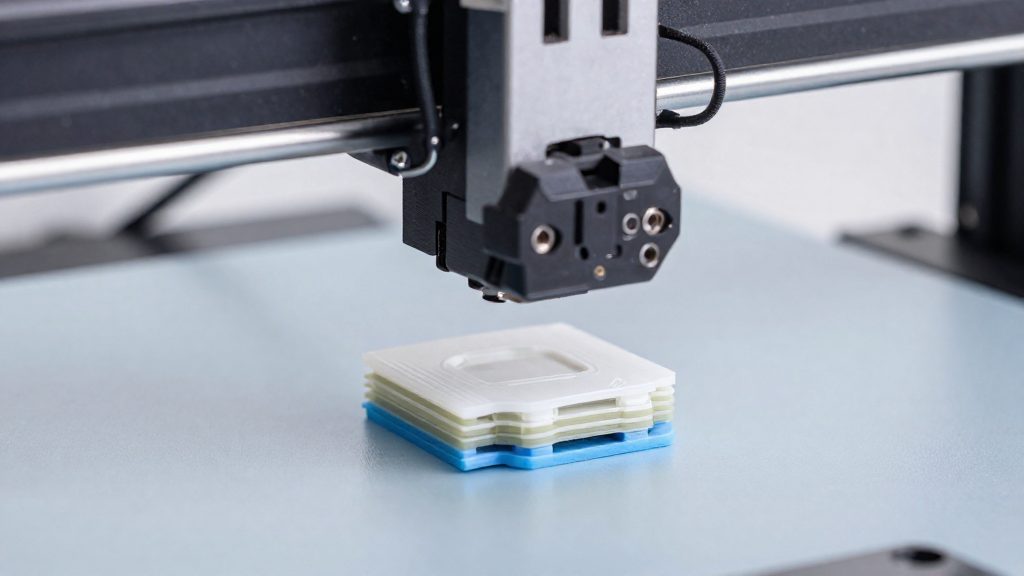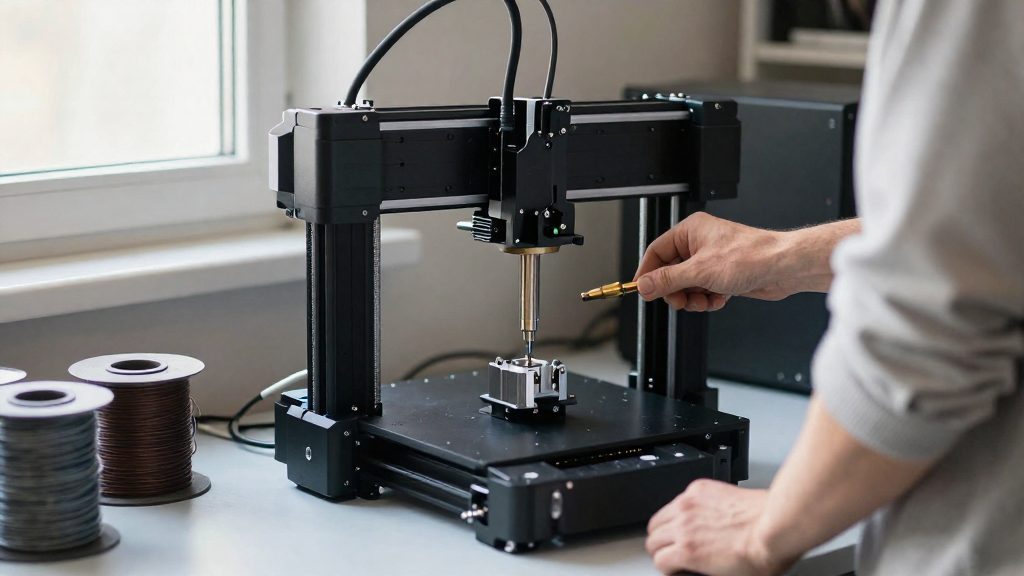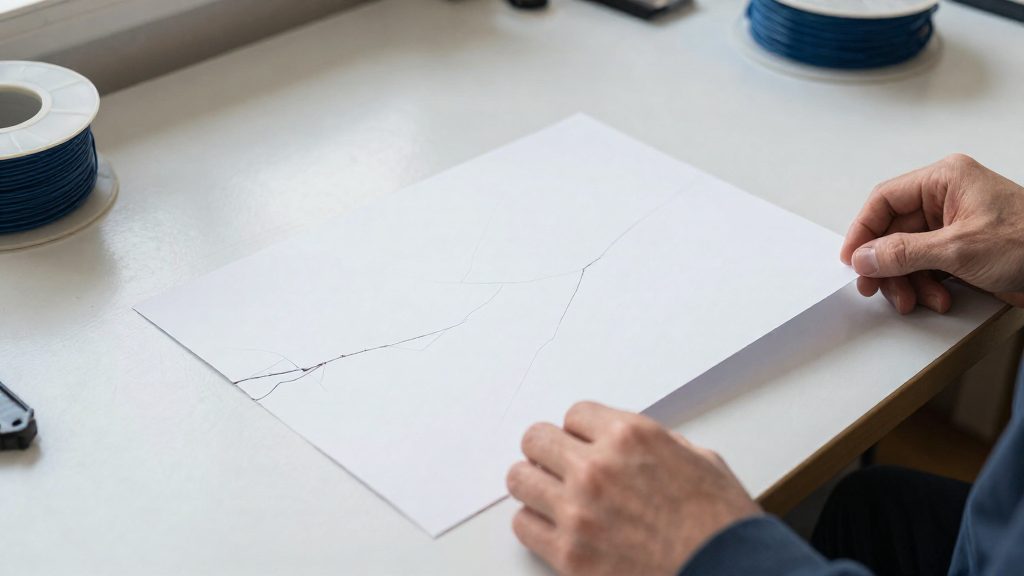
FDM prints split between layers when successive layers do not bond adequately, so the crack follows a layer line instead of cutting across the part. Bambu Lab reports that interlayer cracking is commonly encountered when printing ABS, ASA, PC, PET-CF, PA-CF and high-shrinkage filaments. Two other contributors are under-extrusion and excessive cooling, and both weaken the bond between layers.
Why do my prints crack between layers?
Interlayer cracking has one root cause: insufficient interlayer bonding. Each new layer has to fuse with the one beneath it, and anything that lowers the temperature of the plastic at that contact point, or reduces how much of it reaches the nozzle, weakens the joint. The causes fall into four groups, and each one has a different place in this guide.
High-shrinkage filaments
Bambu Lab lists ABS, ASA, PC, PET-CF, PA-CF and other high-shrinkage filaments as materials where interlayer cracking is commonly encountered. If you print one of these and see splits along the layer lines, check cooling and bonding settings before changing anything else.
Under-extrusion and cooling
Under-extrusion can contribute to cracking. Bambu Lab recommends clearing nozzle blockages, increasing nozzle temperature appropriately, or reducing print speed.
Excessive cooling works in the opposite direction. The sources do not establish a universal fan percentage, chamber temperature or print speed that prevents cracking.
Where each cause is covered
| Cause | Effect on bonding | Where it is covered |
|---|---|---|
| Layer height too large | Impairs bonding; Simplify3D suggests keeping layer height about 20% below nozzle diameter | Layer height ratio section |
| Nozzle temperature too low | Weakens interlayer bonding; check the temperature on the filament spool label | Nozzle temperature window section |
| Under-extrusion | Insufficient plastic reaches the layer | This section |
| Excessive cooling | Layers cool before they fuse | This section |
Diagnosing cracks versus other defects
To confirm an interlayer split, check whether the crack runs along a layer line. Resin printing uses a different test: Formlabs defines delamination as cured layers separating from one another and distinguishes it from a print detaching from the build platform. Resin causes are covered in the resin delamination section, so FDM and resin cracks should be diagnosed separately.
Is nozzle temperature too low?
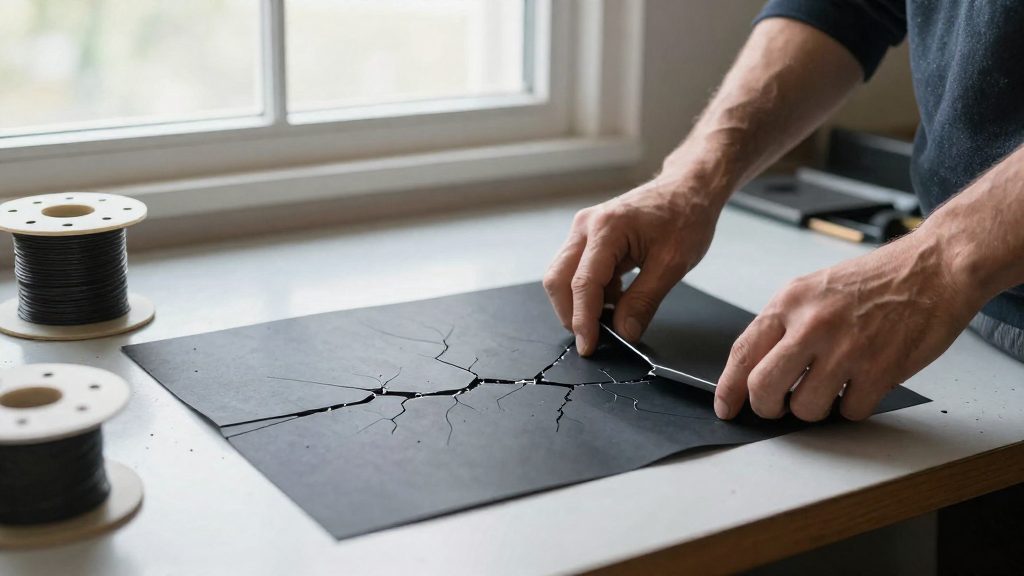
Printing below the temperature range of a filament is one of the causes of weak interlayer bonding. When the nozzle deposits plastic that is too cool, each new layer does not fuse properly with the one beneath it, and the print can split along the layer lines. Simplify3D recommends checking the temperature specified by the filament manufacturer for the spool you bought, and comparing your slicer setting against that value before changing anything else.
Weak bonding from printing below the filament range
Interlayer cracking is a symptom of insufficient bonding between successive layers. Simplify3D notes that FDM prints can split between layers when those layers do not bond adequately, and that printing at too low a temperature can weaken this bond.
If the nozzle temperature is at the low end of the filament’s range, or below it, the top surface of the previous layer may not be hot enough to melt into the new layer. The result is a joint that looks intact but separates under load.
Checking the temperature specified by the filament maker
Use the printing temperature on the filament manufacturer’s data sheet or spool label as your starting point.
- Find the nozzle temperature range printed on the spool label or in the manufacturer’s data sheet for your exact filament.
- Compare the value in your slicer’s filament profile with that range.
- If the slicer value sits at or below the bottom of the range, raise the nozzle temperature in steps.
Filament-specific temperature choice for bonding strength
Temperature is not a universal fix, so a nozzle temperature change should be tested on its own before combining it with other adjustments. No single nozzle temperature that prevents cracking across all filaments is established by these sources, so the correct value depends on the material you are printing.
Check layer height against nozzle size
When the layer height is too large for the nozzle diameter, successive layers may not bond properly, and the part can split between layers. Simplify3D gives a rule of thumb of keeping layer height approximately 20% below the nozzle diameter, which is about 0.32 mm for a 0.4 mm nozzle. Simplify3D also notes that an excessively large layer height can impair bonding, so this ratio is the first value to check when cracks follow layer lines.
How to run the check
- Confirm the nozzle diameter installed on the printer, for example 0.4 mm.
- Multiply the diameter by 0.8 to get the Simplify3D target. For a 0.4 mm nozzle, the target is 0.32 mm.
- Compare this value with the layer height in your slicer profile. If the profile is above the target, lower it and reprint the same test part.
- If the splits remain at a lower layer height, that adjustment alone has not resolved the problem; check extrusion, nozzle temperature and excessive cooling as well.
The ratio is a starting point, not a fixed limit. Simplify3D’s approximate 80%-of-nozzle-diameter guideline and the H2D manual’s 30%–70% range are different recommendations, not a universal threshold, so test within the range that your printer and material tolerate.
Reduce excessive cooling and drafts
Part cooling is one of the settings that most directly controls how well a new layer fuses to the one beneath it. When the fan blows too hard, the newly extruded plastic solidifies before it has fused with the previous layer, and the joint between layers is weak. Bambu Lab lists excessive cooling among the causes of interlayer cracking, alongside under-extrusion and low temperature, so the fix is to rebalance fan output against the heat already in the part and its surroundings.
Excessive part cooling and interlayer cracking
If excessive cooling is suspected, test a modest reduction in part-cooling fan speed while keeping other settings unchanged.
Reducing fan speed on H2D printers
For the H2D, Bambu Lab recommends appropriately reducing fan speed. The manufacturer does not give a universal percentage that prevents cracking, so lower the part-cooling fan in modest steps and print a test part after each change. Stop lowering the fan once the cracks disappear, because too little cooling causes its own defects such as sagging and stringing.
Closing the enclosure and raising bed temperature
For the same printer, Bambu Lab recommends increasing bed temperature and closing the enclosure. A closed enclosure keeps the air around the part warmer, which slows the cooling of each layer and gives it more time to bond. Combined with a lower fan speed, these two changes reduce the temperature difference between the new layer and the one below it.
| Adjustment | Effect on interlayer bonding |
|---|---|
| Lower part-cooling fan speed | Slows solidification of the new layer |
| Close the enclosure | Keeps air around the part warmer |
| Raise bed temperature | Keeps lower layers warmer while the next layer is deposited |
Check extrusion before changing print speed
Before adjusting print speed, temperature or layer settings, confirm that filament is flowing fully through the nozzle. Under-extrusion can contribute to interlayer cracking, and a partial flow means each layer lays down less material than the slicer expects, which weakens the joint with the layer beneath it.
Under-extrusion as a contributor to interlayer cracking
Bambu Lab lists under-extrusion among the causes of interlayer cracking, a problem it associates with insufficient bonding between layers.
Clearing nozzle blockages first
Nozzle blockages restrict flow, so clear them before touching any other setting. Bambu Lab lists nozzle unclogging, an appropriate nozzle-temperature increase and reduced print speed as possible remedies for under-extrusion. If a blockage is suspected, follow the printer manufacturer’s unclogging procedure and confirm steady extrusion before continuing calibration.
Raising temperature or reducing speed
Once the nozzle is clear and flow is confirmed, Bambu Lab recommends either appropriately increasing the nozzle temperature or reducing print speed to address under-extrusion. Raise the temperature within the range printed on the filament spool label, because printing at too low a temperature can also weaken interlayer bonding.
Why are resin layers separating?
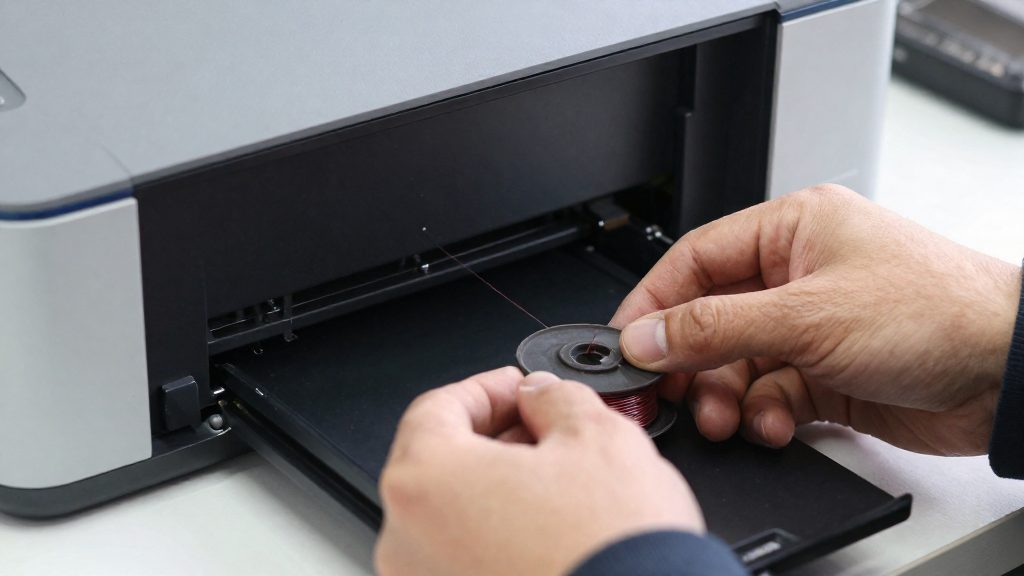
In resin printing, delamination means cured layers separate from one another inside the part. According to Formlabs, this is different from a print detaching from the build platform, so check where the separation occurs before changing settings. A separation between layers points to the bond between cured layers, while a print that lifts off the plate points to the first layer’s adhesion to the build platform.
Delamination causes listed by Formlabs
Formlabs lists several possible causes of delamination:
| Cause | What the source says |
|---|---|
| Pause of an hour or longer | Listed as a possible cause |
| Older resin tank | Listed as a possible cause |
| Loose build platform | Listed as a possible cause |
| Contaminated optical surfaces | Can diffuse or weaken the curing light |
| Damage or debris in the resin tank | Can obstruct the curing light |
Peel forces from changes in cross-section
On Formlabs printers, peel forces can also separate layers. This happens where adjacent cross-sectional areas change substantially. A model that forms suction cups can produce the same separation. This is a geometry-driven cause, so it appears on parts with abrupt shape changes between consecutive layers rather than on every print.
Inspect resin supports, tanks, and optics
Formlabs links layer separation in resin prints to peel forces, which appear where adjacent cross-sectional areas change substantially, where supports are inadequate, or where the model creates suction cups. Each cause has a matching fix, so identify which geometry is involved before changing the setup.
Match the fix to the cause
| Cause | Fix |
|---|---|
| Large change in cross-sectional area between adjacent layers | Reorient the model so the area changes more gradually |
| Inadequate supports | Add supports to the affected areas |
| Suction cup geometry | Add drainage holes so trapped resin can escape |
Reorientation is the first option for the first cause. Tilt wide, flat sections that would otherwise come off the tank in a single layer, and check the model for abrupt jumps in cross-section.
Check the resin tank and optics
Formlabs recommends inspecting the resin tank and the optics before adjusting print settings:
- Tank damage and debris: damage or debris in the tank can obstruct the curing light.
- Contaminated optical surfaces: these can diffuse or weaken the light reaching the resin.
- Tank age: an older resin tank is listed among the possible causes of delamination.
Clean the tank and optical components using the procedure specified for your model, rather than a generic method.