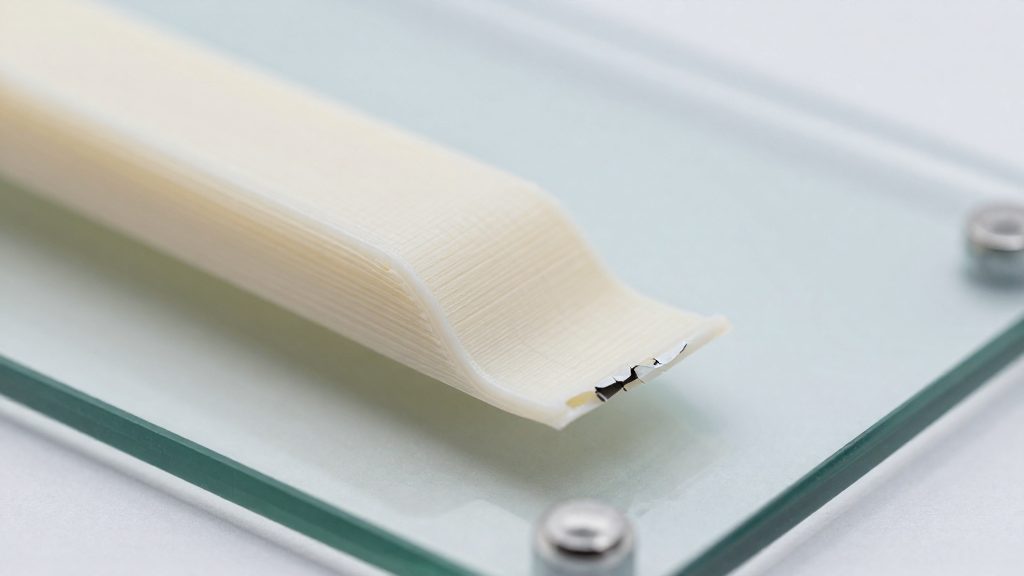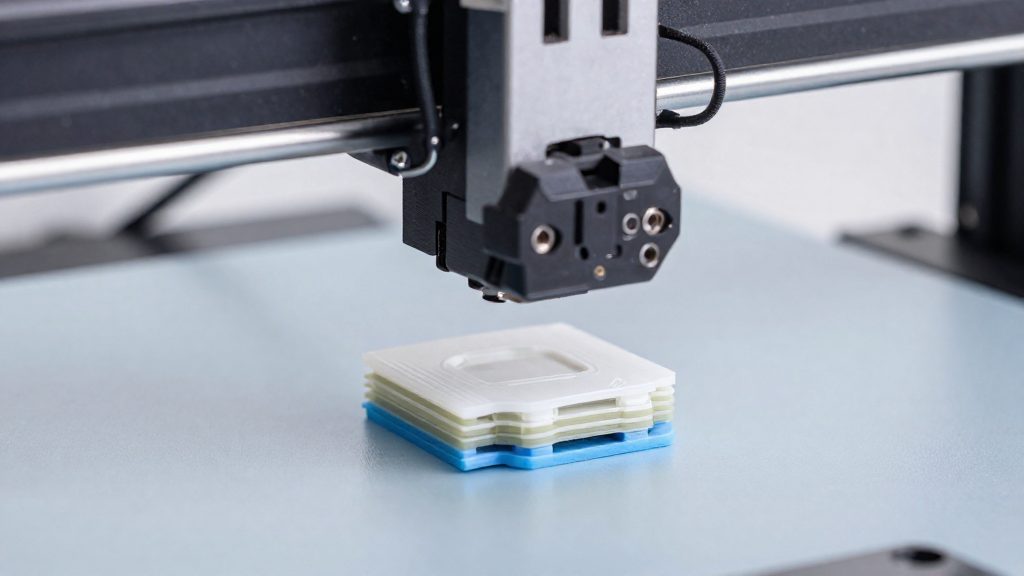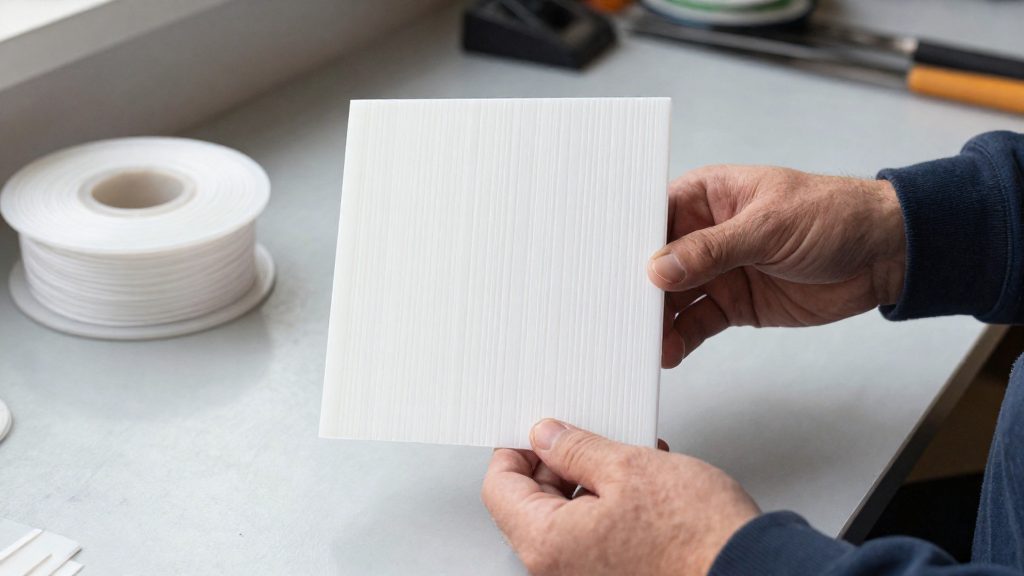
Ghosting rings, also called ringing, are repeated waves or echoes that appear immediately after a sharp edge on a printed model. They come from mechanical vibration. When the print head changes direction abruptly, the printer’s frame, belts and moving parts can oscillate, and the oscillation is printed as a pattern on the surface beside the edge. The effect is typically seen on FDM (extrusion) printers, and the causes below apply to those machines.
Why Do My Prints Have Ghosting Rings?
The mechanism
At a sharp corner, the toolhead changes direction abruptly, which can excite mechanical vibrations. Rapid direction changes can excite mechanical vibrations that produce ringing.
The vibration is strongest when it matches a resonance of the machine. Changes to belt tension, frame stiffness, toolhead mass or a moving print bed can shift those resonance frequencies. This is why the same model can ring on one printer and not on another, or after a hardware change.
Contributing factors
The table lists the factors that the sources connect to vibration and ringing.
| Factor | Link to ringing |
|---|---|
| Flexible frame | Can excite mechanical vibrations; frame stiffness affects resonance frequencies |
| Loose or overly elastic belts | Can excite vibrations; belt tension affects resonance frequencies |
| Loose screws or broken brackets | Allow excessive vibrations that cause ringing |
| Insufficient belt tension | Reduces printhead positioning precision, which can contribute to ringing |
| Heavy moving components | Toolhead mass and a moving print bed can change resonance frequencies |
| Mechanical misalignment | Named as a contributor to vibration |
The direction changes at sharp corners remain the trigger in every case. The factors above determine how strongly the machine responds and how long the vibration persists.
Ringing is one of several causes of repeating ridges.
The specific checks and settings are covered in the sections that follow.
Is It Ringing or Horizontal Banding?
Ringing and horizontal banding can look similar at a glance, but they differ in where the pattern appears and how it is spaced. Horizontal banding shows up as repeated ridges running around the part at regular heights. The keyword alone cannot settle which defect you have, so compare the pattern against the checks below.
Ringing: Echoes Next to Sharp Edges
Ringing is tied to geometry. Look for a series of faint waves that start right after a corner or a sharp step and fade as the distance from the edge increases. Mechanical vibrations leave the echo pattern on the surface, according to Klipper.
- Check the surface beside outer corners and the edges of square or rectangular features.
- Compare the pattern on the walls that run parallel to the axis of fast movement with the walls that run perpendicular to it.
- If the ripples appear on one axis only, note which axis it is, because that points to the moving part responsible for the vibration.
Horizontal Banding: Ridges Without a Sharp-Edge Trigger
Horizontal banding appears as evenly spaced ridges that circle the model at repeated heights, including on smooth, curved or gently sloped surfaces where no sharp edge exists. Simplify3D lists several causes for repeating horizontal ridges that are not ringing: inconsistent extrusion, cyclic nozzle-temperature variation, print-bed movement, and Z-axis positioning problems.
Visual Checks That Separate the Two Defects
Use these checks on the printed part:
| Observation | Points to ringing | Points to horizontal banding |
|---|---|---|
| Location of the pattern | Starts immediately after a sharp edge | Runs around the part at repeated heights |
| Behaviour on curves | Absent on smooth curves | Present on smooth or curved surfaces |
| Spacing | Fades with distance from the edge | Repeats at regular heights up the wall |
| Direction | Follows the axis of fast movement | Follows the horizontal plane of the layers |
If the pattern matches the left column, the defect is most likely ringing. If it matches the right column, look first at extrusion consistency, nozzle temperature stability, bed movement and Z-axis positioning, as listed by Simplify3D. A photograph of the part and your printer details are needed for a reliable individual diagnosis.
Check Belts and Loose Hardware
This guide starts with mechanical checks. Simplify3D presents speed and acceleration adjustments first, while Klipper recommends correcting mechanical problems before tuning input shaping. Loose or overly elastic belts are one of the listed contributing factors, according to Klipper. Each belt should be firm along its run, and any belt that has stretched or come loose from its clamp should be replaced or re-clamped.
Belt tension matters because insufficient tension reduces the precision of printhead positioning and can contribute to ringing, according to BCN3D. The sources give no universal tension value, since the correct setting depends on the printer. Check and adjust belt tension using your printer manufacturer’s procedure; do not use the absence of deflection or spring-back as a universal tension criterion.
Loose screws and broken brackets can allow excessive vibration that causes ringing, according to Simplify3D. Walk the moving assembly and tighten every bolt, grub screw and bracket fixing, then inspect each bracket for cracks and replace any broken part. Re-check after the first few prints, since vibration can loosen fixings again.
Stabilize the Printer’s Support Surface
Ringing starts with mechanical vibration, and the surface under the printer determines whether that vibration stays contained. BCN3D advises placing the printer on a solid, level surface that fully supports it during fast movements. A base that moves or gives way under the printer’s motion lets the vibration spread beyond the frame, where it can reach the nozzle and show up as repeated waves after a sharp edge.
Check the Stand, Shelf or Desk for Flex
A support can look solid and still bend under load. To test it:
- With the printer switched off, press firmly on the top of the stand, shelf or desk where the printer sits, then on each corner.
- Watch for bending, sliding or a wobble that returns after you release pressure.
- Check that all four feet of the printer rest flat on the surface, and adjust the feet or the surface until nothing rocks.
- Use a spirit level on the printer’s top plate to confirm it is level.
If the surface moves when pressed, move the printer to a more rigid base before changing any print settings.
Fix the Surface Before Tuning
A surface that flexes under printer motion makes later adjustments harder to judge, because the vibration source keeps changing.
Reduce Print Speed and Acceleration
Ringing is usually tied to how fast the toolhead changes direction. Each sharp corner excites vibrations in the frame, and the faster the move, the stronger those vibrations get. Slowing the machine down is the most direct lever you have from the slicer side.
Lower the print speed
Reducing printing speed can reduce ringing, according to Simplify3D. Start by lowering the speed on outer walls, since they are the surfaces where ghosting is visible. Print a test model with a sharp edge, compare the result, and reduce speed in steps until the rings fade. No universal speed value exists, so the right number depends on your printer and model.
Check rapid X/Y travel speed
Simplify3D also recommends checking rapid X/Y travel speed, because both printing and travel movements can contribute to ringing. Travel moves are often set very high in default profiles. Lower the travel speed in your slicer and check whether the rings change.
Lower acceleration
Lower acceleration makes speed changes more gradual and can reduce ringing, according to Simplify3D. Acceleration controls how quickly the printer ramps up and slows down, so reducing it softens the abrupt direction changes that excite vibrations. Acceleration can be set in the slicer or in the printer firmware, depending on your setup.
Calibrate Input Shaping
Input shaping compensates for resonance vibrations, which reduces the ringing that remains after the machine’s mechanics are sound. According to Klipper, it can reduce ringing, but mechanical problems should be checked and corrected before tuning it.
Order of operations
- Confirm the mechanics first. Make sure the frame is stiff, the belts are neither loose nor overly elastic, and the printer sits on a solid, level surface that fully supports it during fast movements (BCN3D).
- Measure resonance if your firmware supports input shaping. Use its documented accelerometer routine when available, or its documented test-print method, then configure the input shaper according to those instructions.
- Measure again after changes that can affect resonance, such as adjustments to belt tension, frame stiffness, toolhead mass or a moving print bed.
- Balance acceleration against detail. Input shaping can smooth or round printed details at high acceleration, so the acceleration setting must account for both residual ringing and detail preservation.
| Change or symptom | Action |
|---|---|
| Acceleration raised and sharp corners look rounded | Lower acceleration and compare the edges |
| Ringing persists after mechanical fixes | Tune the input shaper |
Limits of this step
No universal input-shaper frequency, acceleration or belt tension has been established, so use the values your own measurements produce rather than a manufacturer example. Simplify3D presents speed and acceleration adjustments as the first troubleshooting step. Input shaping addresses only ringing. The cited sources cover extrusion printers; they do not establish causes or fixes for similar rings on resin prints.
Print a Test and Compare Results
A test print shows whether a settings change actually reduced ringing. The test model needs corners and steps that make the echoes easy to count. Print the model once at your current settings, change one value, print again, and compare the edges side by side.
Printing a Sharp-Edged Test Model
Use a sharp-edged test model with square corners and a clear vertical step, such as a rectangular block. Print it at your current settings and keep the orientation, filament and bed position the same for every run. Photograph each print under the same lighting and from the same angle so the ripples can be compared directly.
Comparing Before and After Prints
Label each print with the single value that changed. Compare the ripples after each sharp edge, looking at how many there are and how far they extend from the corner. A change counts as an improvement only if the ripples on the new print are visibly fewer or weaker than on the baseline print.
| Adjustment | Expected effect, per the sources | What to check on the test print |
|---|---|---|
| Print speed | Reducing it can reduce ringing | Ripple count after each corner |
| Acceleration | Lower values make speed changes more gradual and can reduce ringing | Spacing and extent of the ripples |
Isolating One Change at a Time
Test one variable per run. If speed and acceleration are lowered together, the result cannot show which change reduced the ringing. Restore the original value before testing the next adjustment, so each comparison starts from the same baseline.