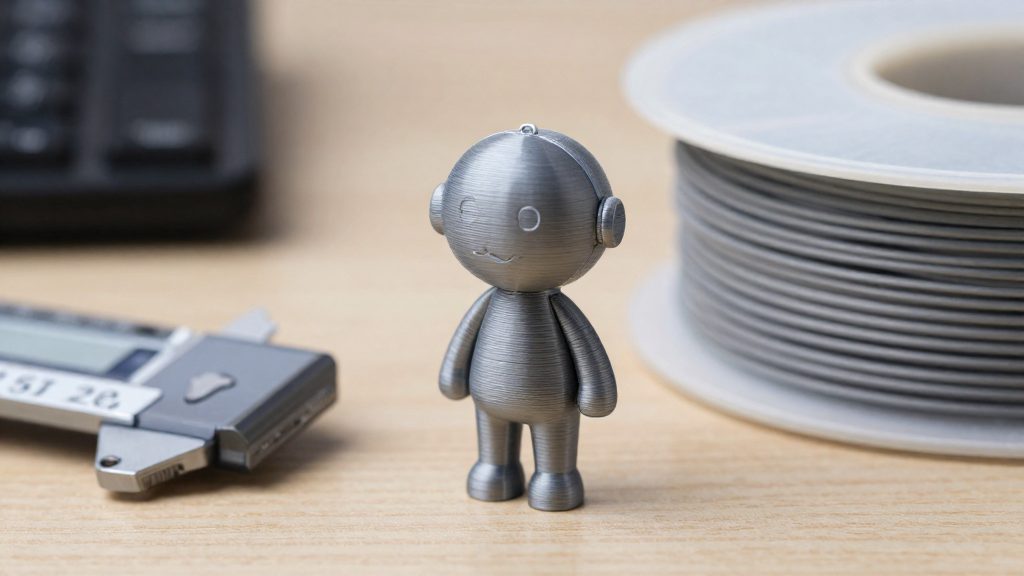
Why layer height matters for miniatures
Layer height is the thickness of each horizontal slice the printer deposits, and on a miniature it determines how much of the sculpt’s surface detail survives printing. Because every curve is built from stacked layers, thicker layers produce coarser steps and thinner layers produce finer ones.
Stair-stepping on curved surfaces
Miniatures are mostly curved: helmets, shoulders, cloaks, and rounded bases. On these surfaces, each layer ends at a slightly different outline, so the curve reads as a series of small steps. The steps are larger at higher layer heights and smaller at lower ones. This is the main reason a miniature printed at a thick setting looks faceted under a light source, even when the model file is smooth.
Fine detail on faces and weapons
Faces, fingers, buckles, and blade edges are small features where layer height decides whether detail is captured or smoothed over. Features thinner than a layer cannot be rendered accurately in the vertical direction, so finer layers help preserve edges and relief. When a model has small features, reduce the layer height in the Quality tab and check the result on the face and weapon areas first.
Layer lines as a surface finish indicator
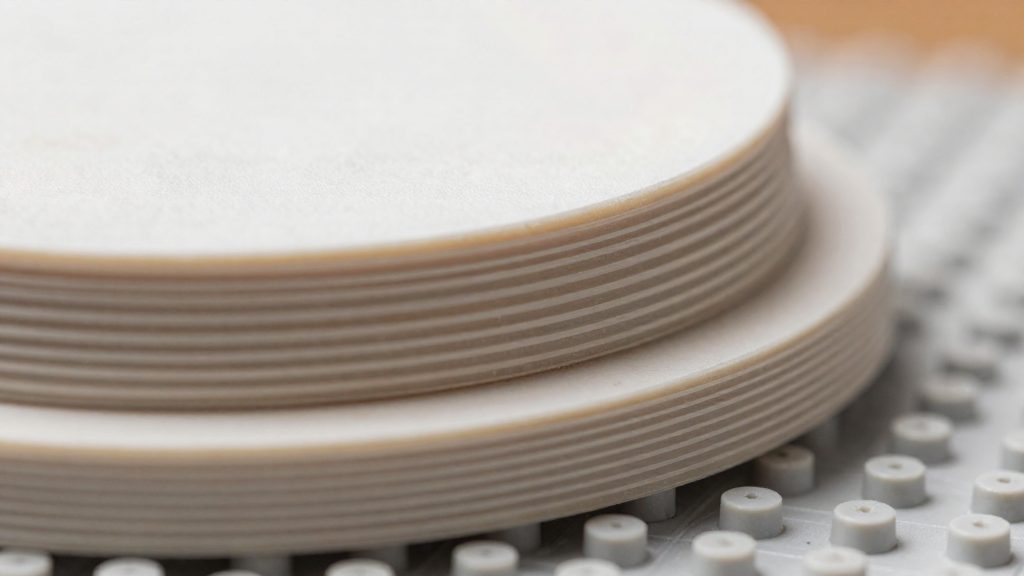
Layer lines are the ridges left by each layer, and their spacing follows the layer height you choose. Thicker layers leave wider, more visible ridges that show through paint, while thinner layers leave a smoother surface. To compare settings, print the same figure at two layer heights and inspect the flat areas of the base and the curved areas of the torso under raking light.
What is the best Cura layer height for miniatures?
For miniatures printed in Cura with a 0.4 mm nozzle, the recommended range is 0.12 to 0.16 mm. According to 3DPrinterly (2024), 0.12 mm is often the best choice for quality, so it is the default to start with for figures where surface detail matters most. Each layer is a thin slice of the model, and a smaller layer height produces more slices over the same height, which reduces the visible stepping on curved surfaces. The cost is a longer print.
Choose 0.16 mm when strength matters more than the finest surface finish. The same guide describes it as acceptable for that purpose, which makes it an acceptable option when strength matters more than the finest finish.
The 0.20 to 0.25 mm range is the standard medium-detail setting in Cura, according to the Boise State University Library MakerLab (2024). It suits prints where speed matters more than fine detail, such as test pieces or larger models where small surface steps are not visible at normal viewing distance.
| Layer height | Choose it when | Trade-off |
|---|---|---|
| 0.12 mm | Surface quality is the priority on miniatures | Finest layers, longest print time |
| 0.16 mm | Strength matters more than the finest finish | Slightly coarser surface, shorter print |
| 0.20–0.25 mm | Medium-detail prints where speed matters | Fastest of the three, lowest resolution |
Layer height and nozzle size
The nozzle diameter determines which layer heights are practical for a given print. Choose the nozzle first, then pick the layer height in Cura’s Quality tab.
For miniatures on a 0.4 mm nozzle, the guide’s recommended range starts at 0.12 mm. Going thinner changes the hardware requirement: the same guide states that reaching 0.08 mm requires a smaller nozzle, such as one at 0.3 mm. This is the 0.3 mm nozzle with 0.08 mm layers pairing, which trades print time for finer surface detail. The sources consulted do not give a lower layer height limit for a 0.4 mm nozzle.
Working through the change in order:
- Swap the nozzle first. Install the 0.3 mm nozzle before selecting 0.08 mm, as the guide states that this layer height requires a smaller nozzle.
- Update the nozzle size in Cura’s printer settings so the slicer’s extrusion calculations match the hardware that is actually installed.
- Set the layer height in the Quality tab. Cura’s typical range is 0.1 to 0.3 mm, so 0.08 mm sits below that default range and should be checked on a test print.
- Compare the output. Thinner layers improve detail, but a 0.08 mm print takes noticeably longer than a 0.12 mm print of the same model.
How to change layer height in Cura
In Cura, layer height is the first option under the Quality tab of the Print Settings panel, so it is usually the first field you reach when adjusting a profile. The value is entered in millimetres. Most printers range from 0.1 to 0.4 mm, according to Boise State University Library MakerLab (2024). If you enter a value outside that window, check your printer’s specifications before slicing.
To apply a new layer height:
- Open Cura and load the printer and filament profile you plan to use.
- Open the Print Settings panel. If only basic options appear, switch to custom settings so that every category is visible.
- Select the Quality category. Layer height is the first option listed.
- Enter the new value in the Layer Height field, in millimetres, using a decimal point (for example, 0.2).
- Click Slice, then review the preview before exporting.
Cura does not apply the new value to the model until it slices again. The preview, the estimated print time, and the exported G-code all reflect the most recent slice, not the value you typed. Always slice after any change to layer height, then check the preview layers to confirm the new height before saving the G-code to your printer or SD card.
Companion settings: speed, walls and initial layer
The 3DPrinterly guide (2024) does not present layer height on its own. The 3DPrinterly guide (2024) does not present layer height on its own. Alongside its fine 0.08 mm setup, it lists three companion values: a thicker first layer, a slower print speed, and a defined wall thickness. The guide describes the 0.24–0.32 mm initial layer as about double the normal height. That ratio does not match 0.08 mm layers, so treat these values as the guide’s starting points and check them on a test print.
| Setting | Guide value | Note |
|---|---|---|
| Initial layer height | 0.24–0.32 mm | About double the normal layer height |
| Print speed | 20–40 mm/s | Guide value |
| Wall thickness | 1.2 mm | Equals three lines |
Setting the initial layer
The initial layer is the first layer laid on the build plate. The guide sets it at 0.24–0.32 mm, about double the normal layer height. Anycubic (2024) notes that a thicker initial layer makes bed adhesion easier, which matters on small miniature bases where the contact area is limited. Keep the first layer in this range and let the rest of the model use your chosen layer height.
Keeping print speed within range
The guide specifies a print speed of 20–40 mm/s. Enter this range in Cura’s speed settings. The guide gives no reason for this range, so treat it as the starting point for the profile rather than a fixed rule.
Setting the wall thickness
The guide sets wall thickness at 1.2 mm, which it describes as three lines. In Cura, set the wall line count to three so the outer shell reaches that thickness. Three lines give the 1.2 mm wall thickness that the guide specifies.
Is a finer layer height always better?
No. A finer layer height improves surface detail, but it also lengthens the print, and on many parts the extra time produces no visible benefit. Cura frames the choice as a trade-off. According to Anycubic (2024), higher values give faster prints at lower resolution, while lower values give slower prints at higher resolution. The official sources consulted do not give a percentage for how much longer each step takes, so compare the time estimate Cura shows in its preview when you change the value.
Why print time rises as layer height drops
For a part of fixed height, the number of layers equals the part height divided by the layer height. Halving the layer height therefore doubles the layer count, and the printer must complete every pass again. Cura’s own description of the setting confirms that lower values produce longer prints.
When a faster, lower-resolution print is enough
Choosing a coarser value over a finer one shortens the job and reduces the number of layers the printer must lay down.
Use a coarser value for functional prints, large parts, and test pieces where surface finish does not matter. Reserve the finest settings for parts where small features and smooth surfaces are the goal.
FDM or resin for miniatures?
Cura’s layer height setting applies only to FDM printers, the machines that extrude melted filament through a nozzle. Lower values give finer detail but longer prints.
Resin printers fall outside this setting. They cure liquid photopolymer with light, and their layer thickness is defined in the slicer supplied for the machine, not in Cura. Cura values therefore do not transfer to resin prints, and you need to set the layer thickness in the resin slicer instead.
If your miniatures are FDM prints, reduce layer height in Cura when fine surface detail matters more than print time, and keep the default range for faster output. Resin printers use their own slicer, so their layer settings must be entered there.
Frequently asked questions
Can I go below 0.12 mm with a 0.4 mm nozzle?
The 3DPrinterly guide (2024) ties 0.08 mm to a smaller nozzle, such as 0.3 mm, so install that nozzle before selecting the value. The sources consulted do not give a lower limit for a 0.4 mm nozzle.
What does the 0.2 mm default mean for miniature detail?
Boise State University Library MakerLab (2024) describes 0.2–0.25 mm as the standard medium-detail setting. That is coarser than the 0.12–0.16 mm range the guide recommends for miniatures, so curved surfaces and layer lines will show more.
Should I change the initial layer height for small miniatures?
Anycubic (2024) notes that a thicker initial layer makes bed adhesion easier, which helps small bases stay attached. The guide’s 0.24–0.32 mm initial layer is described as about double the normal height, which fits 0.12–0.16 mm layers rather than 0.08 mm.