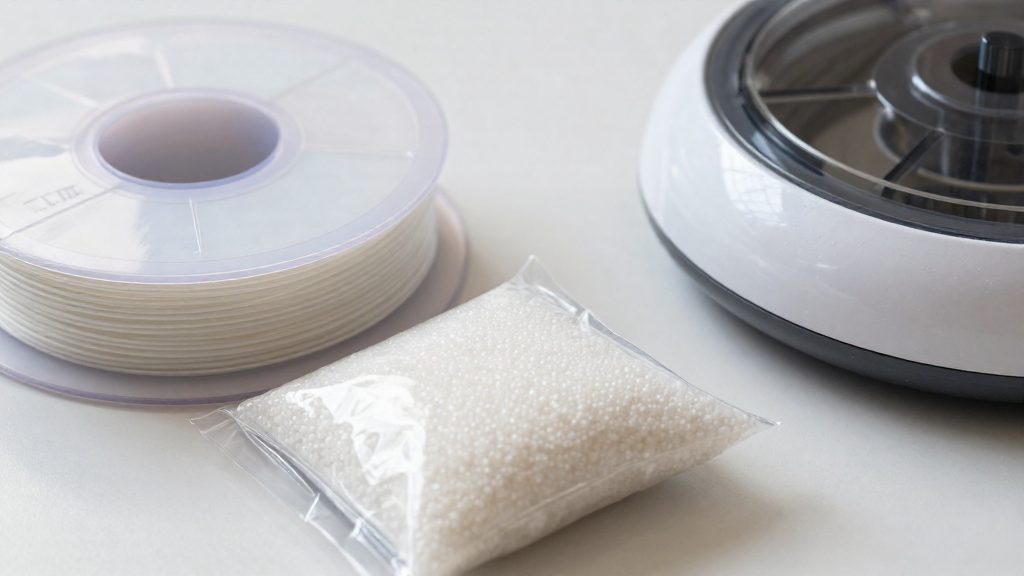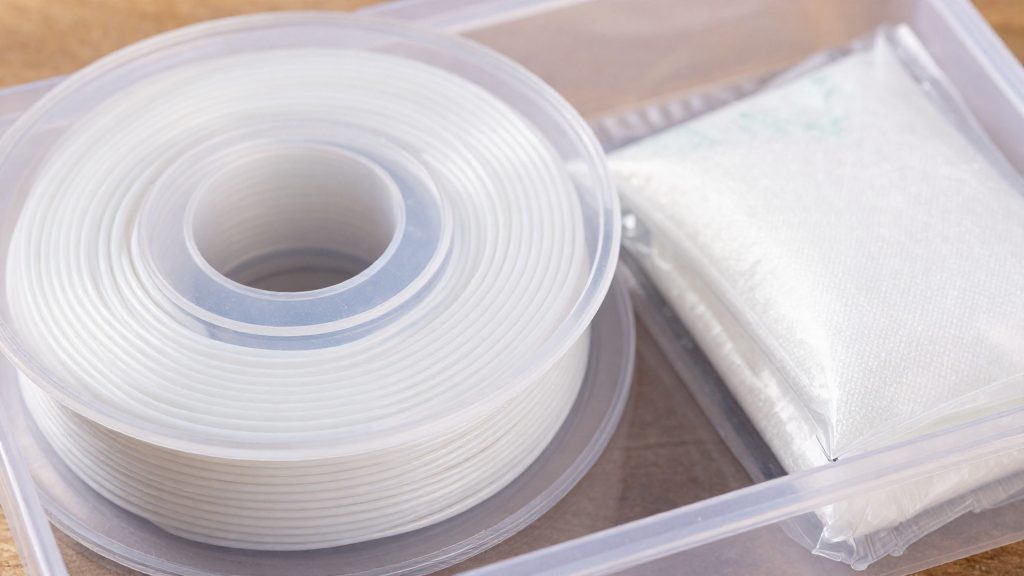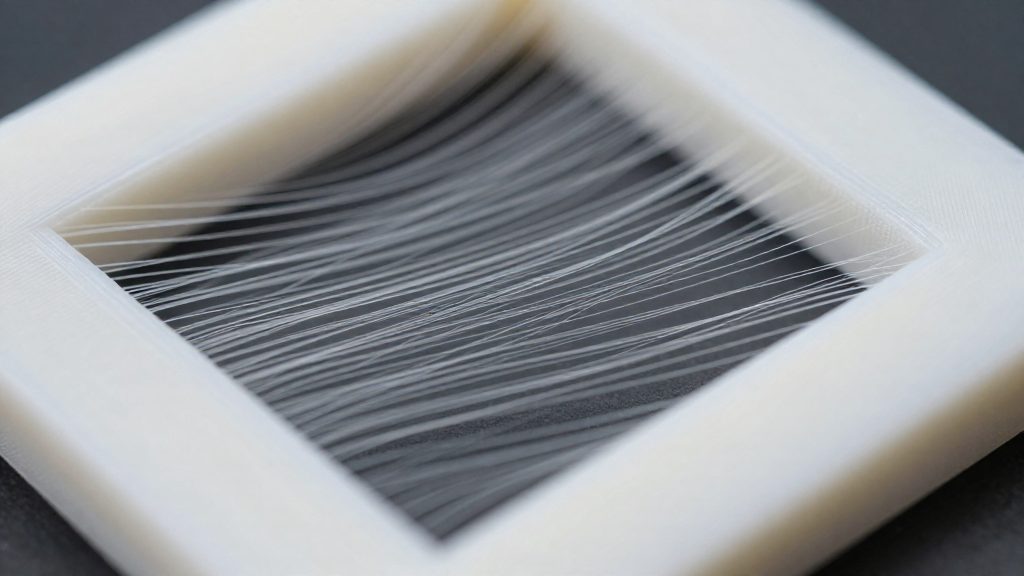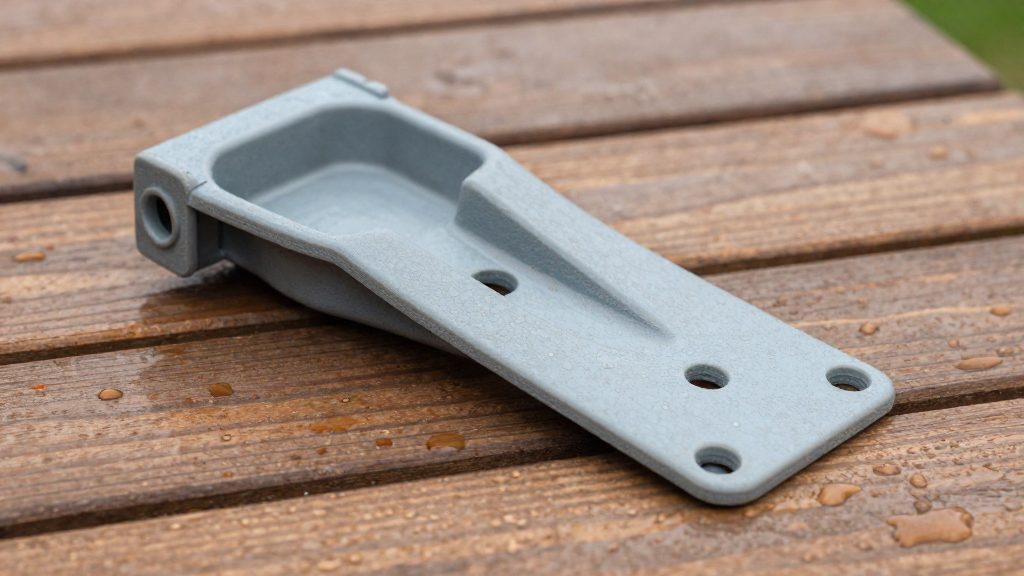
For outdoor mechanical parts, PETG is the better choice of the two. According to Prusa Research (2026), PLA is not suitable for technical and outdoor use. The practical rule is to choose the filament by the part’s job and its environment, not by which material you print most often.
PLA or PETG outdoors: the short answer
Many home users default to PLA because it is the filament they know best, and that habit causes problems outdoors. Brackets, clips and mounts printed in PLA and left in the sun are likely to lose shape and strength over time, because PLA softens above about 60 °C and degrades under UV light.
PETG is the stronger candidate for functional parts. It also handles moisture well, which matters for parts exposed to rain, irrigation spray or humid garages.
Choosing by application
To pick a filament, write down two things for each part: its function (does it carry a load, hold something in place, or only decorate) and its environment (indoors, outdoors, wet, or hot). A part that carries a load or holds a fixture outdoors points to PETG. A part whose environment will regularly exceed 80 °C falls outside the PETG guidance above. In that case, look at ASA, whose heat resistance is up to 93 °C, and compare the part’s maximum temperature with the table below.
Familiarity with a filament says nothing about whether it fits the part. Matching the material to the function and environment prevents most of the outdoor failures that come from using PLA where it was never meant to go.
How much heat can each filament take?
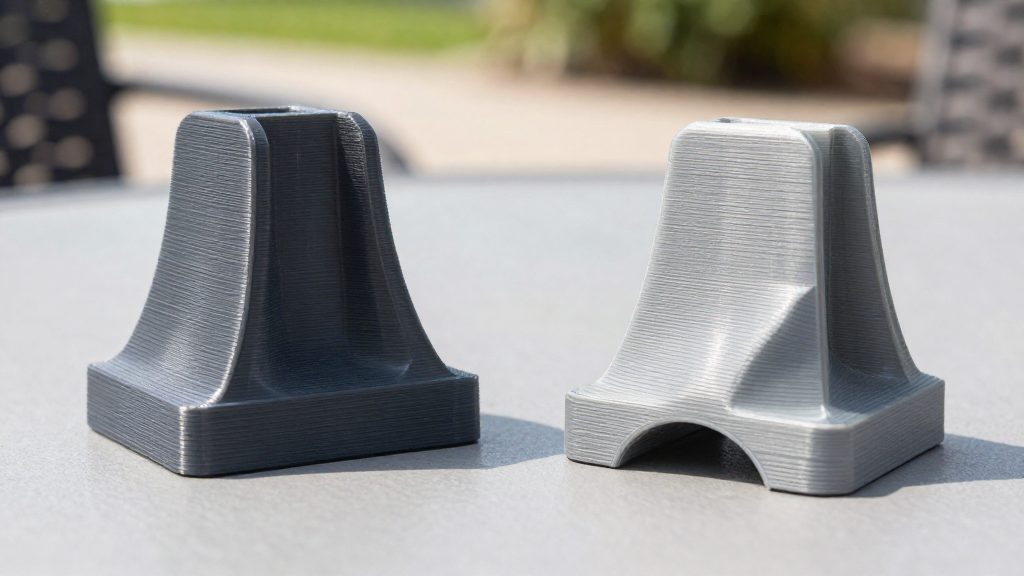
Heat resistance decides whether an outdoor part keeps its shape, so it should be the first check when choosing a filament. According to Prusa Research (2026), PLA begins to soften and deform above about 60 °C, the lowest limit of the three materials compared here. A PLA part therefore has a narrow thermal margin: it can warp in warm conditions well before PETG or ASA reach their limits.
PETG offers a higher ceiling. The same source states that PETG parts suit most exterior use at temperatures below 80 °C. This is a practical threshold for the typical range of outdoor conditions, not a melting point, so it does not guarantee performance in every environment.
ASA has the highest figure in this comparison, with heat resistance up to 93 °C (Prusa Research, 2026). That is 13 °C above the PETG threshold, which gives ASA the most room for parts that face hotter conditions.
| Filament | Temperature limit |
|---|---|
| PLA | Softens and deforms above about 60 °C |
| PETG | Suitable for most exterior use below 80 °C |
| ASA | Heat resistance up to 93 °C |
To apply these figures, identify the highest temperature the part will experience in service and compare it with the limit in the table. Keep a clear gap between the two. A part that operates close to its limit has little tolerance for hotter days or heat from nearby equipment.
Does UV ruin PLA and PETG?
Yes, for PLA. PLA degrades under UV light. A PLA part left in sunlight therefore loses properties over time, even if it looked fine when first installed.
The sources state that PLA degrades under UV light. Visible changes such as colour fading, chalking or cracks are signs to check for, and a degraded part may fail under a load it once handled.
ASA is the more UV-resistant option, ranking above ABS, which makes it the material to consider for sun-exposed parts.
Do not assume PETG will last in direct sun. Where UV exposure is the deciding factor, ASA is the UV-resistant option. Check the datasheet of the specific PETG filament for any UV information.
Practical rule: if a part will stay in direct sun, avoid PLA and select a material with a stated outdoor rating. Inspect outdoor parts periodically for surface chalking, colour fading and cracks, especially around screw holes and clips where stress concentrates.
Which one handles rain and moisture better?
For parts exposed to rain or damp air, PETG is the better choice of the two. Prusa Research (2026) describes PETG as having good water and humidity resistance and as especially suitable for mechanical parts used both indoors and outdoors. PLA is the weaker option whenever moisture is a factor.
| Material | Water and humidity behaviour | Outdoor suitability (Prusa Research, 2026) |
|---|---|---|
| PLA | No water or humidity resistance stated | — |
| PETG | Good water and humidity resistance | Suitable for most exterior use, especially mechanical parts |
For a mechanical part that lives outdoors, the practical approach is to choose PETG at the design stage and then check the part periodically. Focus on the load-bearing joints and any surface where water can pool or run into a gap. Look for warping, cracking, or a fit that has loosened, because these are the first signs that a part is no longer holding its shape under load.
When should you choose ASA instead?
Choose ASA when a printed part must stay outdoors in sunlight and keep its shape. Prusa Research (2026) describes ASA as suitable for outdoor use because of its UV and temperature resistance, so it is the option when UV exposure is the deciding factor.
ASA’s harder printing demands
ASA’s main drawback is warping, where the edges and corners of a print lift from the bed. Its print profile calls for a nozzle at about 260 °C and a bed at 105–110 °C, so it needs a printer that holds these temperatures reliably. Expect more failed first layers and lifted corners than with PLA or PETG, and check bed adhesion before committing to a long print.
Enclosure and ventilation
Prusa Research advises an enclosure and good ventilation when printing ASA. An enclosed printer keeps the air around the part warm and steady, which reduces the cooling that causes warping. Keep the enclosure door closed during printing to hold the temperature steady. Ventilate the room well, because ASA gives off fumes while printing, and do not stay in the room with the printer for long periods. Setting up the enclosure before the first print is more reliable than adding it after warping appears.
How to test an outdoor part before committing
Before you print a full outdoor part, print identical test samples in each candidate material and expose them to real conditions. Use the same geometry, colour and print orientation for every material, so any difference you see comes from the filament rather than the model.
Printing the test samples
- Print the same flat coupon or small bracket in PLA, PETG and ASA.
- Use one colour per material, so colour change is easy to judge.
- Keep one sample per material indoors as an unexposed control.
Exposing the samples
Place the outdoor samples where they face direct sun, where they receive rain, and where they experience temperature swings from day to night. In Canada, include a winter period with freezing temperatures too. Run the trial for a period that reflects how long the real part must last.
Inspecting the samples
Check each sample at regular intervals against its control:
- Warping: lay the sample on a flat surface and look for lifted edges or gaps.
- Cracking: inspect corners, thin sections and layer lines under good light for new lines or fractures.
- Colour change: compare the exposed sample side by side with its indoor control.
Keep a material in the candidate list only if its samples show no warping, cracking or colour change under the conditions your part will face.
Print settings for outdoor PETG
Getting the most from PETG depends on how the slicer and the printer are set up. Use the range printed on your filament spool and tune from there.
Temperature and bed settings
Set the nozzle temperature within the spool’s recommended range, then adjust in small steps. A temperature that is too low weakens layer adhesion, which matters most for parts that carry load. A temperature that is too high increases stringing and oozing, which can leave rough surfaces and small gaps between features. Use the bed temperature from the same spool guidance, and keep the first layer well adhered so that warping does not start at the base of the part.
Wall count and infill for load-bearing parts
For parts that bear weight or torque, the walls do most of the work. Increase the wall (perimeter) count before increasing infill density, because the outer shells carry most of the bending and impact loads. Infill then supports the walls and keeps the part stiff between them. Orient the part so the main load runs along the printed lines, not across layer boundaries, since layers are the weakest point of any FDM print.
| Setting | Approach for load-bearing outdoor parts |
|---|---|
| Wall count | Raise it above the default before raising infill |
| Infill | Use moderate density to support the walls rather than as the main strength source |
| Part orientation | Align the main load with the printed lines, not across layers |
Frequently asked questions
Can PETG handle direct sunlight, or should I switch to ASA?
If a part sits in direct sun, choose ASA, which is more UV-resistant than ABS.
What if my part will sit in hot conditions?
PETG is cleared for most exterior use below 80 °C. For parts that will see higher temperatures, ASA is the material the sources list as the heat-resistant option. Plan on enclosing the printer, since ASA is more prone to warping than PETG.
What print settings does ASA need compared with PETG?
Prusa Research (2026) recommends a nozzle temperature of about 260 °C and a bed temperature of 105–110 °C for ASA. It also advises an enclosure and good ventilation, because ASA gives off fumes and is prone to warping during printing.