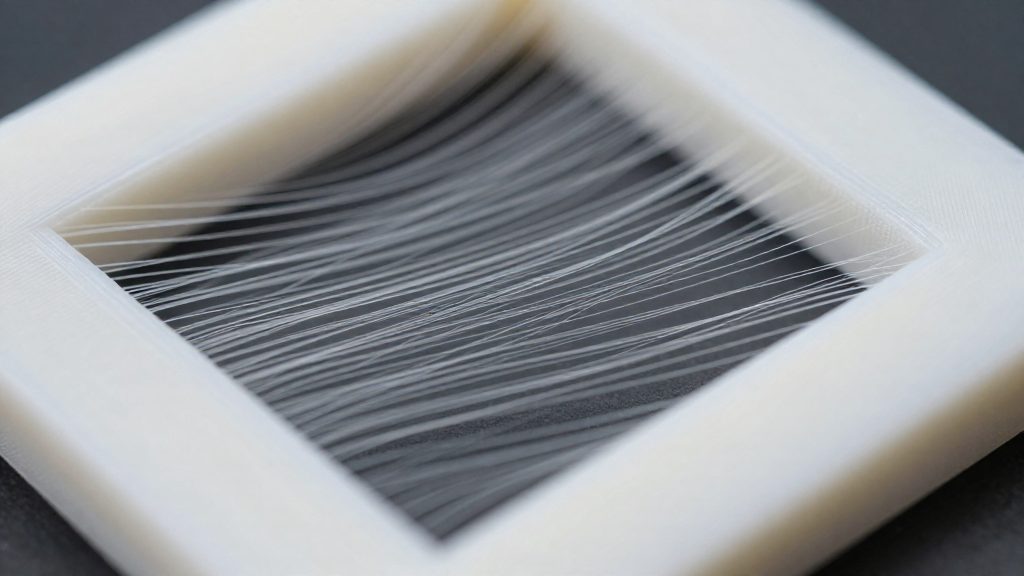
Why does PETG string between prints?
PETG strings between prints because molten plastic leaks out of the nozzle while it moves without extruding. Two mechanisms drive this: water trapped in the filament turning to steam, and pressure building in the hotend during travel. How fluid the melt is, which depends on nozzle temperature, makes both worse. Identifying which mechanism is active tells you which fix to apply first, so each later adjustment targets a known cause rather than a guess.
How trapped moisture turns to steam inside the nozzle
PETG takes on water from humid air while it sits on the spool. When that filament enters the hotend, the melt zone is far above the boiling point of water, so any absorbed moisture flashes to steam. The steam expands inside the nozzle and forces molten plastic out through the tip, even when the extruder is not feeding.
This explains why stringing can appear on a filament that prints cleanly when freshly opened. The defect depends on the water content of the spool at the moment of printing, not only on the slicer settings.
Pressure buildup during travel moves
During a travel move the extruder stops, but the melt already in the hotend stays under pressure. Filament upstream keeps pushing, and any steam adds to that pressure. With nothing to relieve it, the molten PETG seeps from the tip and forms a thread across the gap between two points of the model.
Pressure buildup is therefore a timing problem: the longer the nozzle spends travelling, the more time the melt has to ooze.
Telling moisture stringing from temperature stringing
Both causes produce the same visible thread, so the test is to change one variable at a time. Moisture is a property of the material, while temperature changes how fluid the melt is.
| Cause | What drives it | Which step addresses it first |
|---|---|---|
| Trapped moisture | Water absorbed by the PETG spool turns to steam in the nozzle | Dry the filament |
| Pressure buildup | Melt pressure during non-extruding moves pushes plastic out | Retraction and travel speed |
| Temperature | Melt runs more fluid than the print needs | Nozzle temperature |
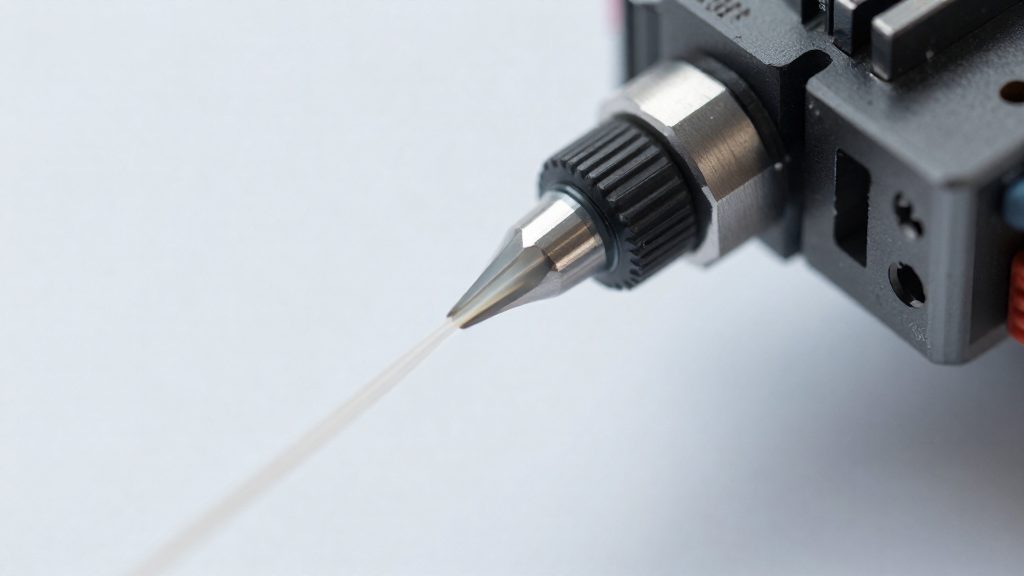
Dry the filament first
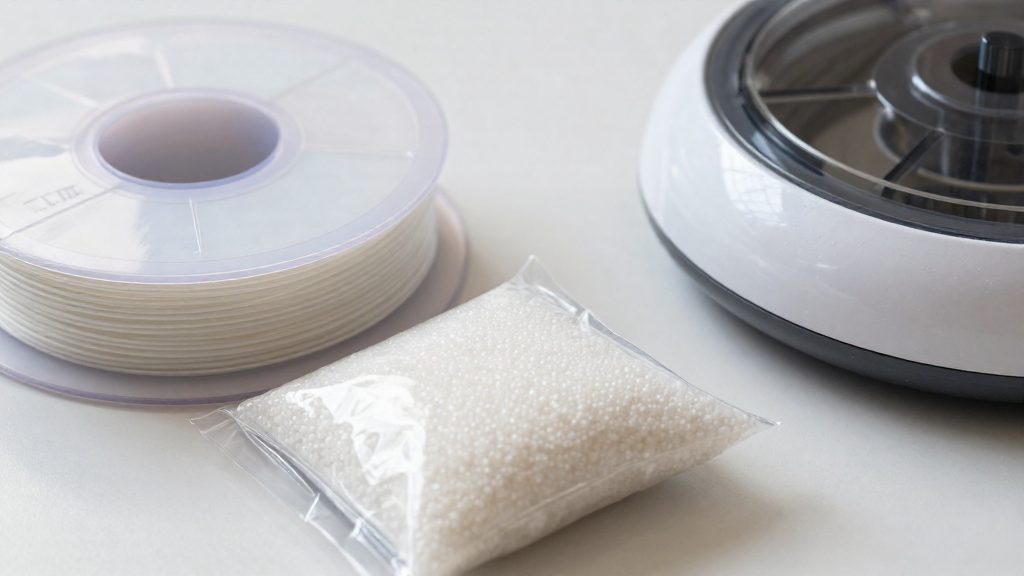
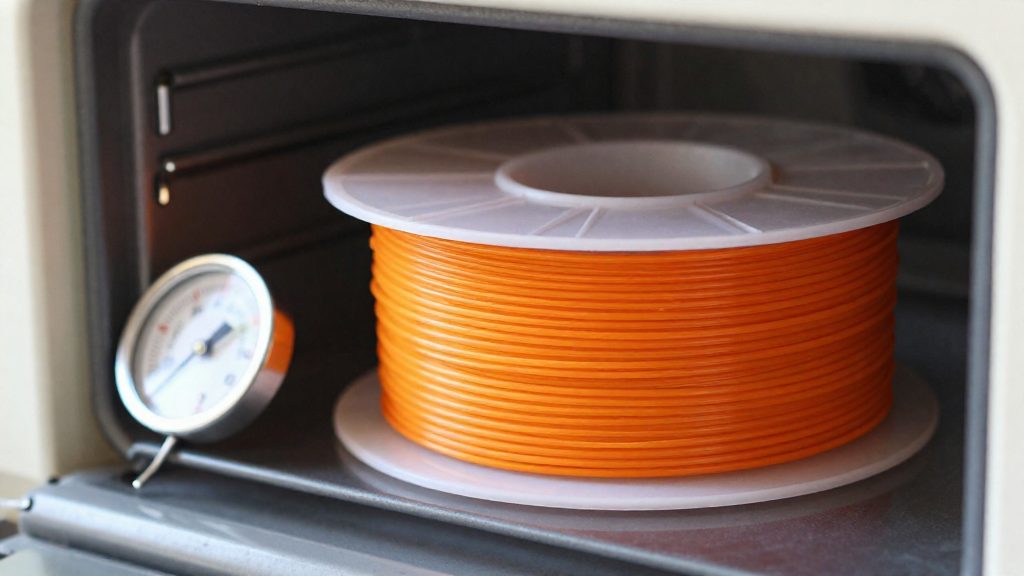
Moisture is the first thing to rule out when PETG strings between prints. According to Snapmaker (manufacturer blog, 2025-12-09), PETG absorbs water quickly, and the recommended fix is to dry the spool at 60–65°C for 6–8 hours and then store it in a sealed box. Changing slicer settings on a damp spool leaves the cause in place, so drying comes before any profile changes.
Why PETG picks up moisture
PETG takes up water from ambient air, and a spool left open on a shelf can absorb enough to affect printing. Treat any spool that has been left open as suspect until it is dried.
Drying and storage steps
- Set your drying equipment to 60–65°C.
- Dry the spool for 6–8 hours.
- Move the spool into a sealed box as soon as drying finishes.
- Keep the spool sealed between prints and open the box only when you load filament.
Lower the nozzle temperature
PETG is printed hotter than PLA, and the nozzle temperature controls how fluid the plastic is during travel moves, which is why it affects stringing. According to Snapmaker (manufacturer blog, 2025-12-09), the starting nozzle temperature should be 230–245°C. 3DSourced gives a wider window of 220–250°C as the range PETG prints at. The narrower band is the sensible first setting, and the wider range shows how far the temperature can be pushed in either direction. Start inside the 230–245°C band, then lower the temperature in 5°C steps if strings persist, checking layer bonding at each step.
| Reference point | Temperature | Role in testing |
|---|---|---|
| Snapmaker starting range | 230–245°C | Upper and middle test points |
| 3DSourced full PETG range | 220–250°C | Outer limits of the test |
Printing a temperature tower
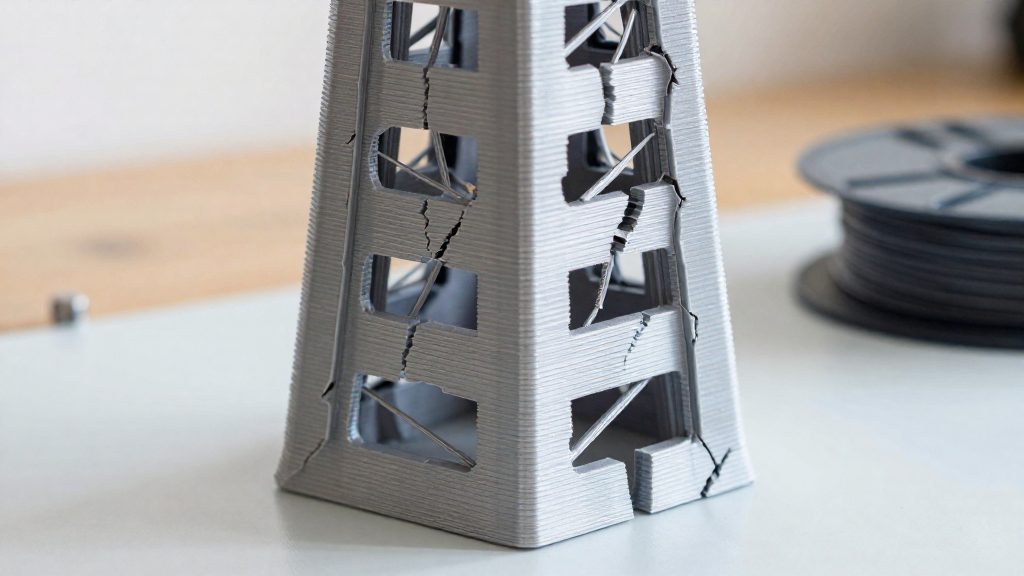
A temperature tower is a single test model with several blocks, each printed at a different nozzle temperature. Per 3DSourced (2023-10-26), the tower drops 5°C per block. For example, if the first block is 245°C, the next blocks run at 240°C, 235°C, 230°C and so on, down to the bottom of the window.
To keep the results readable:
- Change only the nozzle temperature between blocks. Other settings such as retraction and fan speed must stay fixed, or the blocks cannot be compared.
- Label each block with its temperature, either in the slicer’s custom G-code or on the printed part, so you can read the results afterwards.
- Print the tower from the top of the range downward, starting at 245°C, so the first blocks show the hottest, most fluid output. Continue below 230°C if the layers still bond firmly.
Judging layer bonding
The goal is the lowest temperature that still gives strong layer bonding, not the lowest temperature at which strings disappear. Check each block by pressing its sides and trying to separate the layers by hand. Blocks where the layers split or flake apart are too cold. Move down the tower and note the last block where the layers stay joined. That block’s temperature is your working setting.
How much retraction does PETG need?
Retraction is the short backward pull the extruder makes before a travel move, and its distance and speed depend on how the filament reaches the hotend. On a direct drive printer, the extruder sits on the print head and feeds filament over a short path. On a Bowden printer, the extruder is mounted on the frame and filament travels through a PTFE tube, so it needs a longer pull to reach the nozzle. The ranges below are starting points for PETG, not final settings.
For direct-drive printers, Snapmaker (manufacturer blog, 2025-12-09) recommends starting at 0.8–2 mm and adjusting in 0.2 mm steps. The sources differ on speed. Snapmaker gives 35–45 mm/s, while 3DSourced (2023-10-26) gives 1–2 mm and 25–35 mm/s for direct drive. Bowden printers use a longer distance and a similar speed window.
| Extruder type | Retraction distance | Retraction speed | Source |
|---|---|---|---|
| Direct drive | 0.8–2 mm | 35–45 mm/s | Snapmaker (2025-12-09) |
| Direct drive | 1–2 mm | 25–35 mm/s | 3DSourced (2023-10-26) |
| Bowden | 2–5 mm | 25–40 mm/s | 3DSourced (2023-10-26) |
Wevolver (2023-11-02) suggests adjusting retraction distance in 1 mm steps and retraction speed in 5 mm/s steps. That is a coarser sweep than the 0.2 mm steps Snapmaker recommends for direct drive, so it helps to pick one step size and change only one value per test print.
The sign that retraction speed is too high is grinding gears: the extruder makes a grinding or clicking noise as the drive gears slip on the filament. Snapmaker (2025-12-09) identifies this as the signal to lower the speed. Reduce speed first, then adjust distance if strings remain.
Speed up travel moves
Travel moves are the non-extruding jumps the nozzle makes between separate parts of a print. On PETG they are a common source of strings, because the nozzle crosses open air while the filament inside it is still molten. Raising the travel speed shortens the time the nozzle spends over that gap, which reduces oozing. According to Snapmaker (2025), raising the travel speed to 150–200 mm/s reduces oozing.
Where to start the increase
Do not jump straight to the target range. According to 3DSourced (2023), travel speed can start around 90 mm/s and go up in 10 mm/s steps until stringing stops.
| Setting | Value |
|---|---|
| Starting travel speed | 90 mm/s |
| Increment per step | 10 mm/s |
| Target travel speed | 150–200 mm/s |
Going from 90 mm/s to 150 mm/s takes six steps of 10 mm/s. Print the same test model at each step and compare the strings. Stop at the first speed where the strings disappear. If strings persist at 200 mm/s, the cause is more likely a different setting than travel speed.
Set the minimum travel distance
Strings can also come from short hops between nearby features. 3DSourced (2023) gives a starting value of 2 mm for the minimum travel distance setting. Reduce it by 0.1 mm at a time until the strings disappear. Change one value per test print so you can see which adjustment removed the strings.
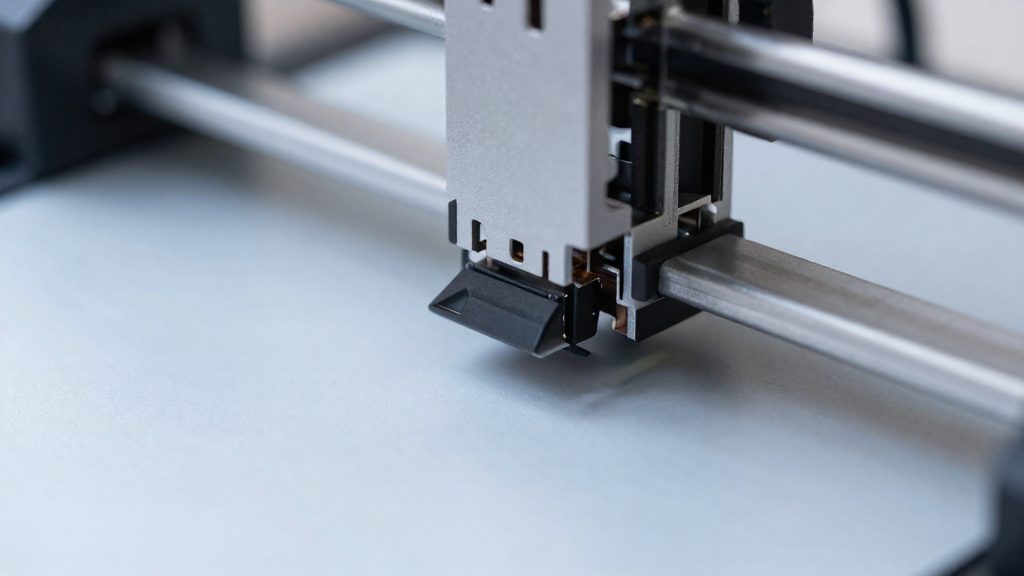
Z-hop, wipe and cooling settings
These three settings control how the nozzle moves between extrusions and when the part-cooling fan runs. For a baseline PETG test, Snapmaker recommends disabling Z-hop.
Disabling Z-hop for baseline testing
Z-hop lifts the nozzle vertically during travel moves. Turn it off for baseline testing so the results reflect the other settings you are changing rather than an extra vertical movement. Re-enable it only after the baseline is clean, because a fixed baseline makes it easier to see which change actually reduced the stringing.
Fan timing and speed
The fan should not run at full power from the first layer. Keep it off for the first few layers, then switch it on after layer 4 at a speed of 30–50%. Starting the fan late gives the first layers time to bond.
| Stage | Part-cooling fan | Z-hop (baseline) |
|---|---|---|
| Layers 1–4 | Off | Off |
| From layer 5 | 30–50% | Off |
Outer wall wipe in Cura
Outer Wall Wipe Distance is the Cura setting that controls how far the nozzle travels along the outer wall before a move. Set it to 0.4 mm or more. If you use another slicer, check its equivalent option before applying the same value.
How do you remove strings already on a print?
Strings that are already on a finished part are removed by hand, and Wevolver (2023-11-02) names four methods: tweezers, a heat gun on low heat, freezing the print, and sanding. Tweezers suit single threads: grip the string close to the surface and pull it away in one motion. A heat gun on low heat is another option for softening threads. Freezing the print is listed as a removal option, but the consulted sources give no freezing time or temperature. Sanding handles the marks that remain after the strings are gone, and the progression runs from 400 grit up to 800–1000 grit.
Cleanup should be limited to what remains once the print settings have already reduced stringing. Each sanding step removes material from the surface, so a part with only a few threads needs light trimming and a finer grit, not repeated passes across the whole model. Work from the most visible strings first and stop once the surface looks clean from normal viewing distance.
Quick fix order for troubleshooting
Fix PETG stringing in a fixed order and print a test after each change, so you can tell which adjustment worked. Snapmaker (2025) suggests moisture first, then temperature, retraction, travel speed and cooling. Moisture comes first because wet PETG makes every other setting harder to judge.
Decision checklist
- Moisture first. Check that the spool is dry before you change any printer setting.
- Temperature second. Run the temperature test before moving on, so the nozzle is not hotter than the print needs.
- Retraction third. Set the values for your printer type (see the table below).
- Travel speed fourth. The sources give different starting points. 3DSourced (2023) starts around 90 mm/s and increases in 10 mm/s steps until stringing stops.
- Cooling last. Adjust the fan only after the earlier steps have been tested.
Retraction values by printer type
The correct retraction range depends on whether your extruder is direct drive or Bowden.
| Printer type | Retraction distance | Retraction speed | Source |
|---|---|---|---|
| Direct drive | 0.8–2 mm | 35–45 mm/s | Snapmaker (2025) |
| Direct drive | 1–2 mm | 25–35 mm/s | 3DSourced (2023) |
| Bowden | 2–5 mm | 25–40 mm/s | 3DSourced (2023) |
Snapmaker (2025) recommends adjusting distance in 0.2 mm steps. Wevolver (2023) suggests 1 mm steps for distance and 5 mm/s steps for speed. Use whichever increment is easier to read on your slicer.
When to stop
Stop once the strings are gone and layer bonding is still firm. For nozzle temperature, keep the lowest setting that still bonds the layers firmly, as found with the temperature tower. For the other settings, keep the first value that removes the strings. Changing further values after that makes it harder to know which adjustment fixed the problem, and it can introduce under-extrusion or weaker layer bonding. Keep the settings from the successful test and note them for the next print of the same filament.