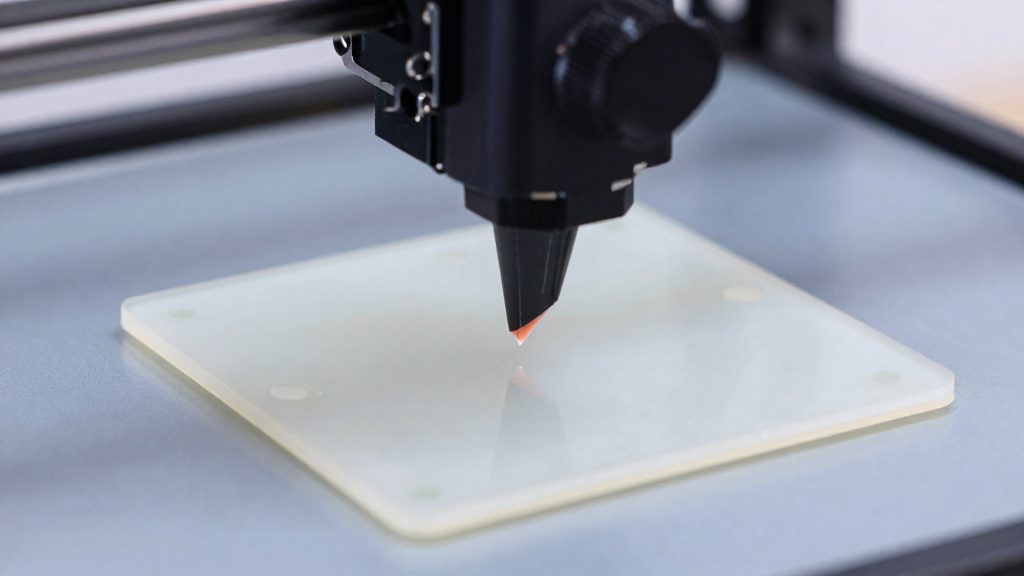
The silicone spacer upgrade for the Ender 3 S1 family replaces the metal springs under the heatbed with silicone spacers. It is not a change of build plate. According to 3D Print Beginner (2025), this keeps the bed level for longer. The author calls it a cheap upgrade that makes manual leveling much less of a chore. The swap changes only the support under the bed, while the heatbed, leveling knobs and flex plate stay in place.
What is a silicone build plate upgrade for the Ender 3?
The spring-to-spacer swap
On the Ender 3 S1, the heatbed sits on springs, and the leveling knobs compress those springs to set the height of each corner. The upgrade removes the springs and fits silicone spacers in their place, so the knobs still control the bed height. The source reports, as the author’s impression, that the bed holds its level for longer after this change, which would mean adjusting leveling less often.
Bed components overview
From bottom to top, the bed stack on the S1 family is the leveling knobs and springs, the heatbed, and the removable flex plate you print on.
Upgrade scope: which parts change and which stay
| Part | Status in the upgrade | Notes |
|---|---|---|
| Bed springs | Replaced by silicone spacers | Core change of the upgrade |
| Leveling knobs | Kept | — |
| Heatbed | Kept | Not changed by the swap |
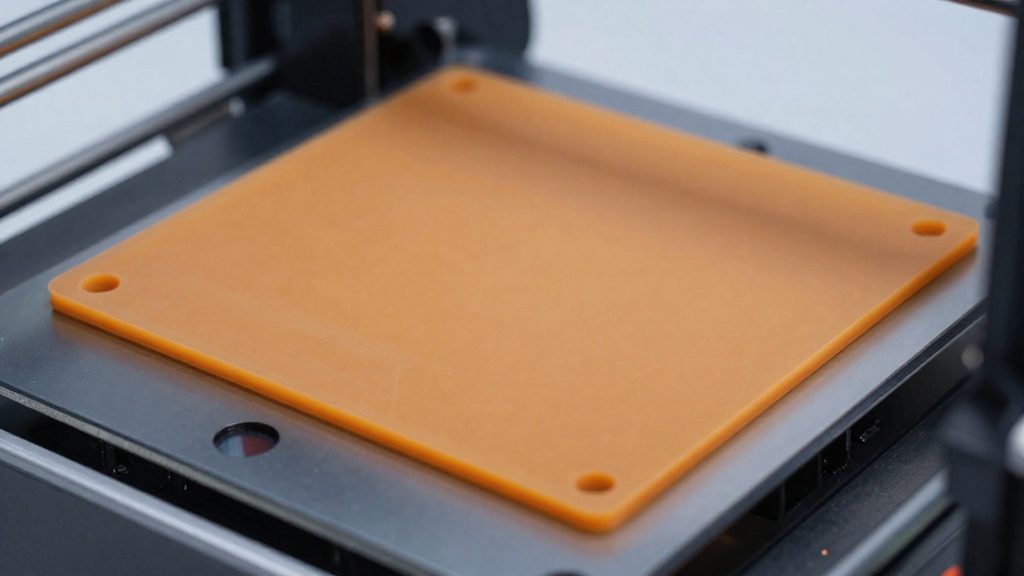
| Flex plate (S1 Pro) | Kept | PEI |
| Flex plate (S1) | Kept | PC |
Silicone spacers vs springs: does bed leveling really improve?
Springs and spacers sit under the heatbed at each leveling point. With springs, the leveling knobs compress or relax them to set the height of each corner. The source’s claim concerns bed level retention: if the bed stays level for longer, you re-level less often. The spacers are presented as the lower-effort option, and the springs are the stock setup the upgrade replaces.
What the claim does and does not establish
- Covered: the Ender 3 S1 family and the effort needed for manual leveling.
- Not covered: how many prints or how much time the bed holds level, and which spacer material or thickness was used.
- Not given: test conditions and measured figures. The source reports the author’s impression, not a controlled comparison.
Limits of a single author’s claim
The claim rests on one author’s experience, so it cannot be generalized to every Ender 3 variant, every bed surface, or every printer setup. Treat it as a reported improvement in leveling effort. Do not treat it as a measured gain in level retention.
Does heatbed insulation really cut power use?
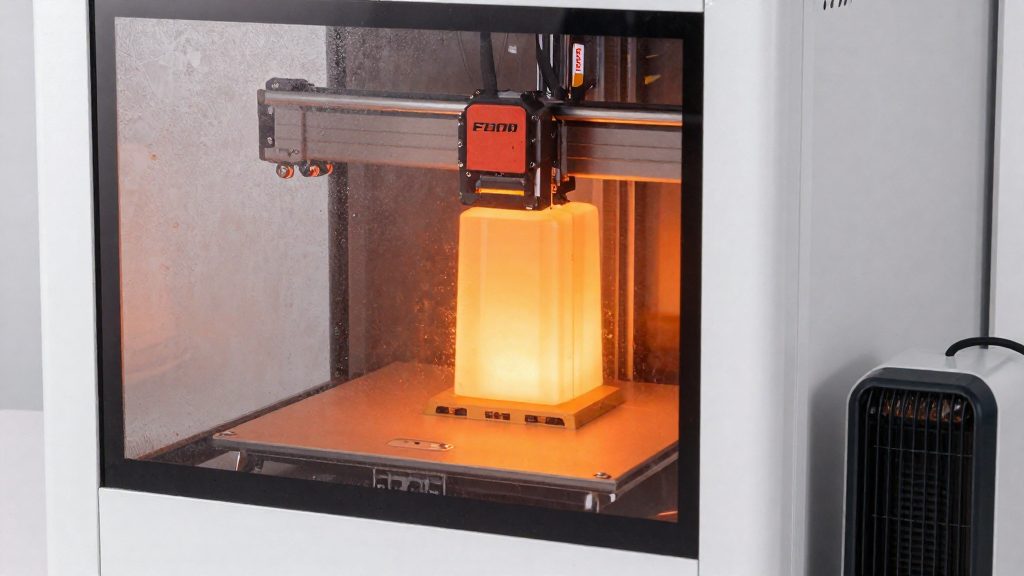
Insulating the underside of a heatbed is covered in the source with a single reported power figure. According to 3D Print Beginner (2025), adding heatbed insulation reduced power use by about 50% in the author’s own testing. The source does not explain why power use fell, and it is a single test, and it does not show how much faster the bed reaches temperature or whether first-layer quality changes.
The source leaves out the details needed to interpret that number. It does not name the printer model, the filament, the bed temperature, the room temperature, the insulation material or its thickness, or how power was measured. Without those conditions, the 50% figure cannot be carried over to another machine. A reduction measured under one set of conditions may be larger or smaller under yours.
Insulation reduces heat escaping from the bed; it does not add heat. Insulation cannot replace a heater pad if the pad is what brings the bed up to temperature.
Use the reported result to decide based on your own problem:
- If your bed already reaches its target temperature and holds it through a print, the reported result suggests insulation mainly addresses energy use.
- If your bed heats too slowly, the source offers no evidence that insulation fixes that. Check the bed’s power supply and heater wiring first, since those determine heating capacity.
- If you are upgrading for another reason, such as surface flatness or adhesion, the reported result does not address it.
Which build surface should you choose: PEI, glass or flex plate?
On the Ender 3 S1 family, the stock surface depends on the model. According to 3D Print Beginner (2025), the Ender 3 S1 Pro ships with a PEI flex plate, and the regular Ender 3 S1 ships with a PC flex plate. Both are removable flex plates, so you can flex the sheet to release a finished print.
| Surface | Stock on | Key point |
|---|---|---|
| PEI flex plate | Ender 3 S1 Pro | Described as the better surface for higher-temperature materials |
| PC flex plate | Ender 3 S1 | Stock option on the regular S1 |
Choosing between PEI and PC
Check your filament’s recommended bed temperature on its datasheet before you print, and decide on the PC plate by matching it to your filament rather than by assumption.
Glass plate
A glass plate is rigid and cannot be flexed. Prints therefore have to be released by removing the whole plate from the bed or by scraping the part off. Glass is a different build surface from the flex plates above, and the flex-plate workflow (bending the sheet to pop prints off) does not apply to it.
Swapping to a different flex plate
Any flex plate measuring 235 × 235 mm fits the Ender 3 S1 family, so you can change surfaces without changing the printer. Measure the bed or check the plate’s stated dimensions before ordering.
How do you install silicone spacers on an Ender 3?
Silicone spacers replace the compression springs under the heatbed.
Tools and parts needed
- A set of silicone spacers sized for the bed’s leveling positions
- A screwdriver or hex key matching the bed-mounting hardware
- A sheet of ordinary paper, which you will use as a feeler gauge when re-leveling
- A printed or written note of each corner’s leveling position before you start
Removing the springs and fitting the spacers
- Power off the printer, unplug it, and wait for the heatbed to cool completely.
- Lay the printer on its side or access the underside of the bed, depending on your setup.
- Note where each spring sits, so you can match the spacer positions later.
- Remove the leveling knobs as needed to free the springs, set the knobs aside, and refit them once the spacers are in place.
- Slide one silicone spacer onto each mount, seating it fully against the bed frame.
- Reattach the bed and check that the spacers sit flat and are not pinched.
Re-leveling the bed after the swap
The bed height relies on the spacers now, so leveling must be redone. Work through the corners in turn:
- Home the printer, heat the bed and nozzle to your usual printing temperatures, then move the nozzle over the first corner, taking care around the hot parts.
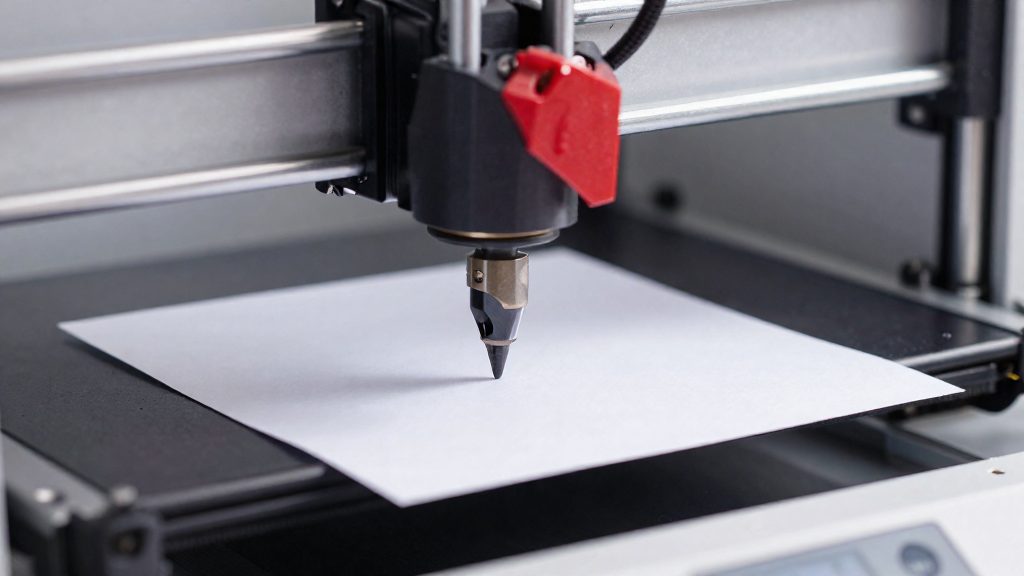
- Slide the paper under the nozzle and adjust the knob until you feel slight drag on the paper.
- Repeat at the remaining corners, then recheck the center.
- Print a single-layer test to confirm the first-layer height across the bed.
How to avoid adhesion and warping problems after the upgrade
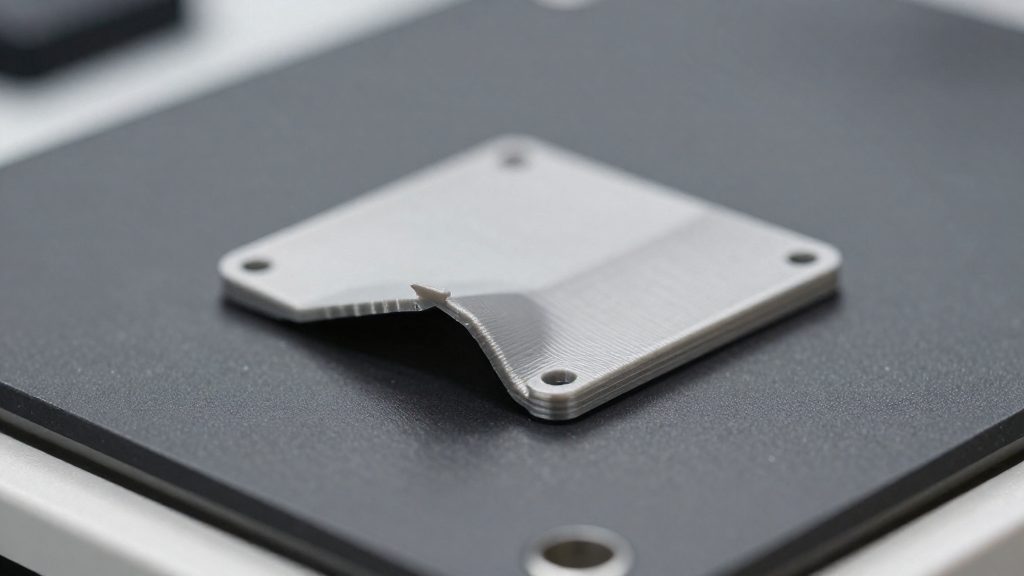
Changing bed hardware alters the geometry the printer was calibrated for. Once the bed sits on new parts, the nozzle-to-bed gap at each corner can differ from what it was before, and that difference is a common cause of both poor adhesion and warping. A nozzle set too high leaves the first layer loose and lets corners lift. A nozzle set too close scrapes the plate and pushes material out unevenly.
Re-level the bed at operating temperature
Heat the bed and hotend to the temperatures you normally print with before adjusting anything. Metal and plate materials expand as they warm, so a bed levelled cold can drift out of tolerance once it reaches print temperature. Check the four corners and the centre, then repeat the check, because adjusting one corner often shifts the others.
Clean the surface before the first print
Wipe the build surface with isopropyl alcohol on a lint-free cloth, and handle the plate by its edges. Skin oils left on the surface reduce adhesion and can cause a first layer to peel from one spot. Let the alcohol evaporate fully before starting the print.
Add contact area when corners lift
If corners lift on materials that shrink as they cool, add a brim in the slicer. A brim increases the contact area with the bed, which resists the pull that causes curling. A thin, even coat of glue stick can serve as an additional adhesion layer.
Block drafts around the printer
Keep the printer away from open windows and air-conditioning vents. Moving cold air cools the corners faster than the centre, which is a frequent trigger for warping.
| Symptom | Likely cause after the upgrade | Action |
|---|---|---|
| First layer lifts at corners | Nozzle too high at one or more corners | Re-level at temperature and check all four corners |
| Nozzle scrapes or plate is gouged | Nozzle too close to the bed | Raise the gap slightly and re-check |
| First layer peels from one spot | Oil or residue on the surface | Clean with isopropyl alcohol |
| Corners curl during the print | Cooling draft or too little contact area | Add a brim and block the draft |
Is the spacer upgrade worth it for frequent levelers?
For an Ender 3 S1 owner, the main benefit is less time spent on leveling. Compared with the stock spring setup, the upgrade targets one problem: a bed that drifts out of level between sessions and has to be readjusted by hand. It does not change the print surface, which is covered in the build surface section.
The upgrade suits users who level the bed often, for example after removing the plate, changing filament, or moving the printer. Owners who rarely adjust the bed have less to gain, because the stated advantage is that the bed stays level longer and needs fewer corrections.
Compare the price of a spacer kit at a local retailer with the leveling time you currently spend per month.
Frequently asked questions
Will any flex plate fit after the silicone spacer upgrade?
Yes. Any 235×235 mm flex plate fits the Ender 3 S1 family, so you can keep the stock plate or fit an aftermarket one of the same size. The source describes PEI as the better surface for higher-temperature materials (3D Print Beginner, 2025).
Do I still need to level the bed after the swap?
Yes. The leveling knobs stay in place and still set the height of each corner. The upgrade is reported to keep the bed level for longer, which means re-leveling less often rather than not at all. The source gives no installation procedure for the spacers.
Does insulating the heatbed reduce power consumption?
The author reported a power reduction of about 50% in their own testing (3D Print Beginner, 2025). The source gives no printer model, filament or test conditions, and it does not mention a heater pad, so treat the figure as a single unverified result.