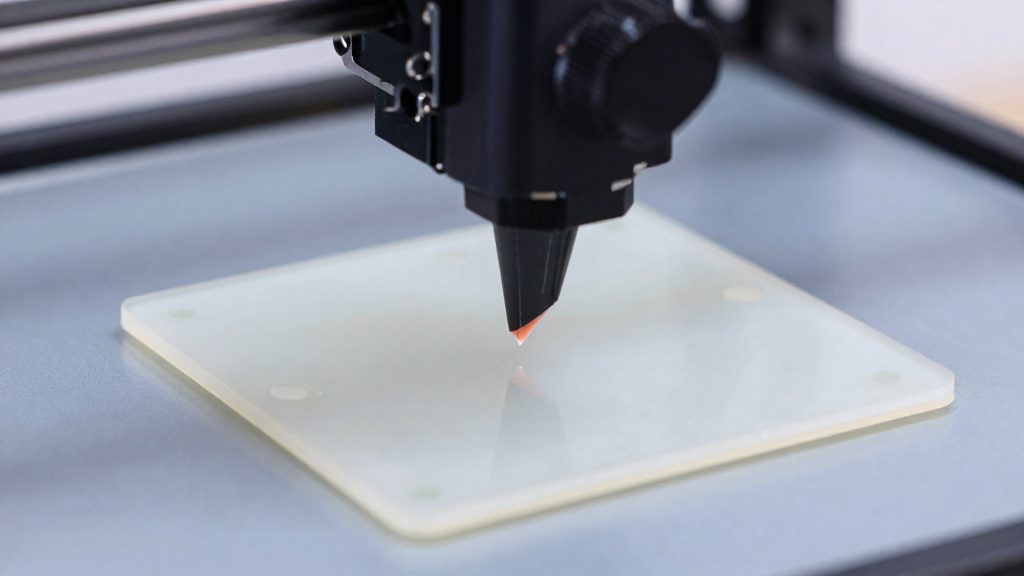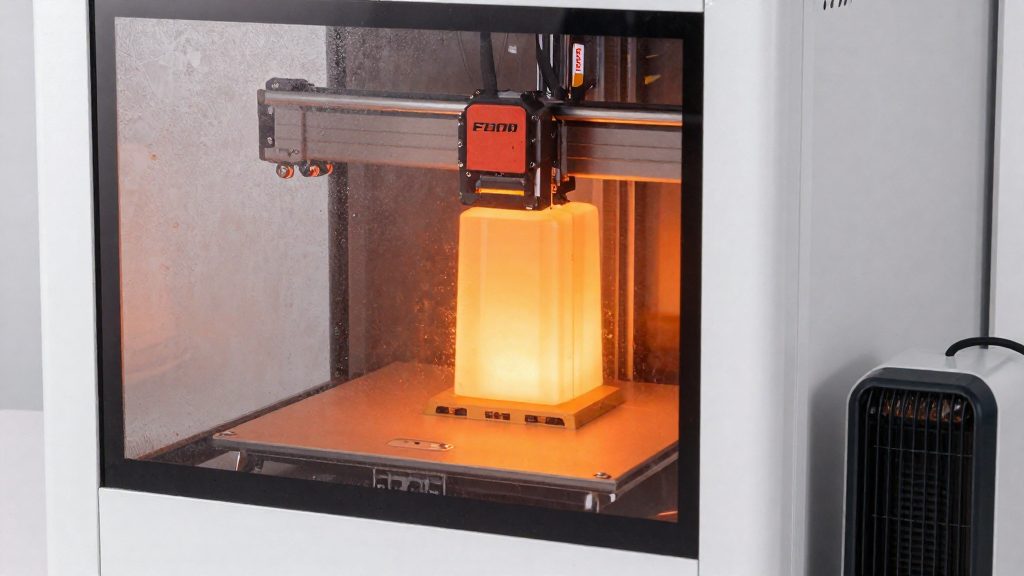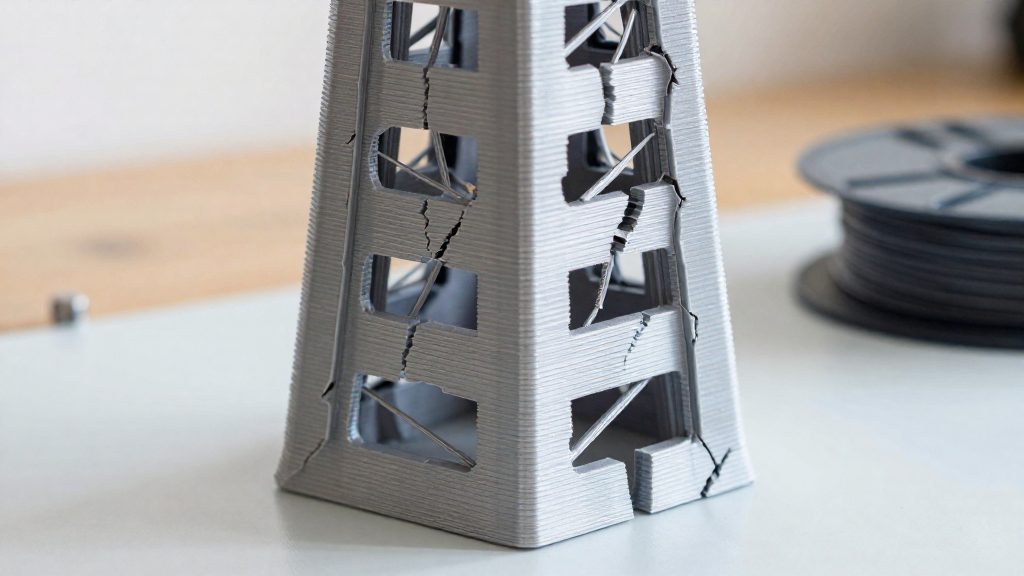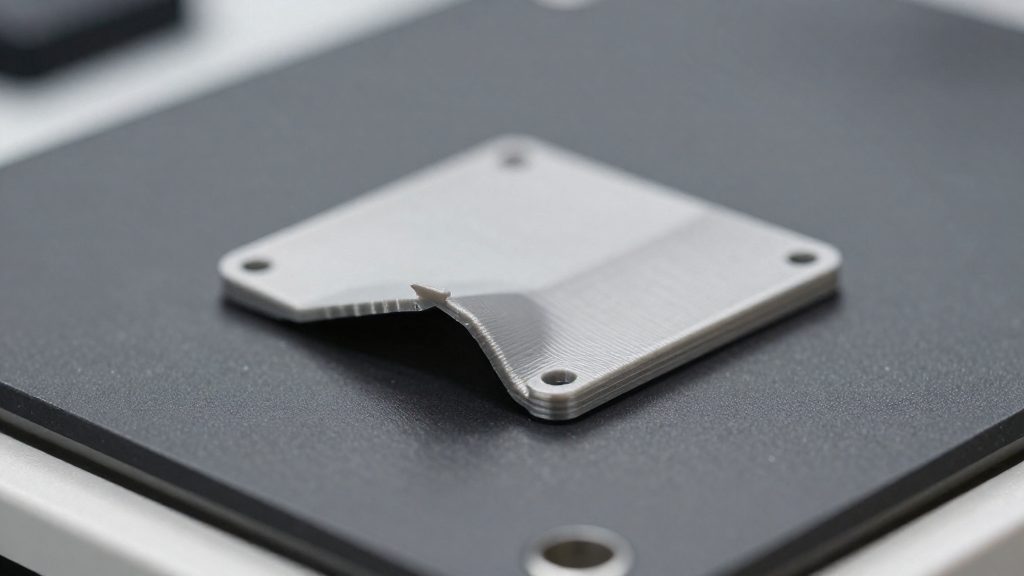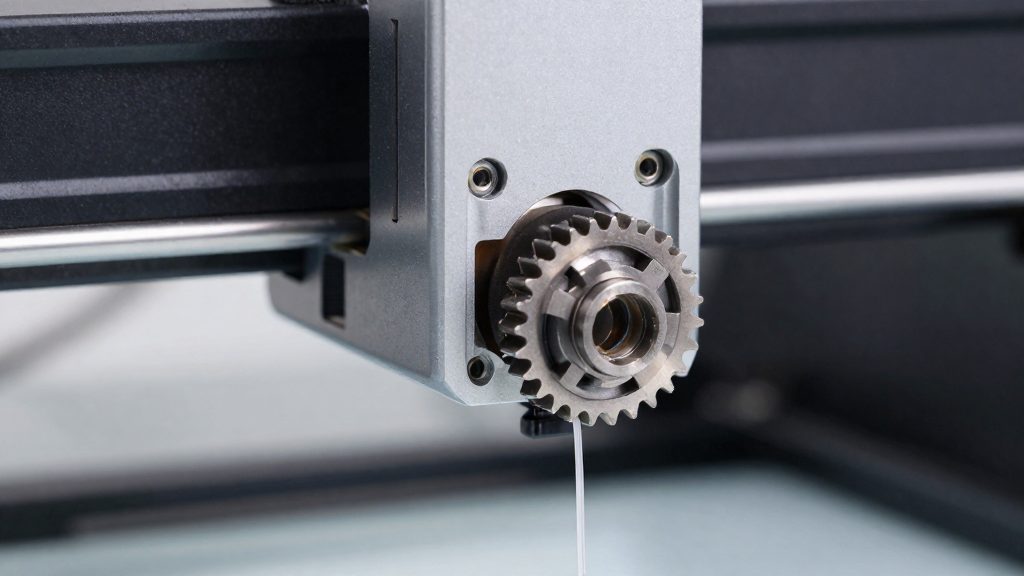
In a Bowden setup, the extruder motor stays on the printer frame and pushes filament through a PTFE tube to the hot end. In a direct drive setup, the extruder sits on the hot end itself, so the filament travels a much shorter distance before melting. According to MakeUseOf (2022-03-10), this shorter path is the main mechanical difference, and it changes how the printer handles flexible filament. The extruder’s placement also affects how much weight the print head carries.
Bowden vs direct drive: what actually changes?
The two designs differ in where the drive gear sits and how far the filament must travel before it reaches the melt zone.
Filament path length
A Bowden extruder pushes filament through the whole length of the tube, so each change in feed rate takes time to reach the hot end. A direct drive extruder mounted on the hot end removes most of that distance. The shorter path also helps reduce the retraction needed and cuts stringing.
PTFE tube friction and filament compression
The PTFE tube adds friction along its full length. The filament has to slide against the tube wall while the gear pushes from behind, and a soft filament can compress or buckle inside the tube instead of transferring that push to the nozzle. This is why MakeUseOf (2022-03-10) describes flexible filaments as very hard to print through a Bowden tube.
Extruder mass on the print head
A direct drive extruder moves with the print head, so the carriage carries the motor and gear on every move, which adds moving mass.
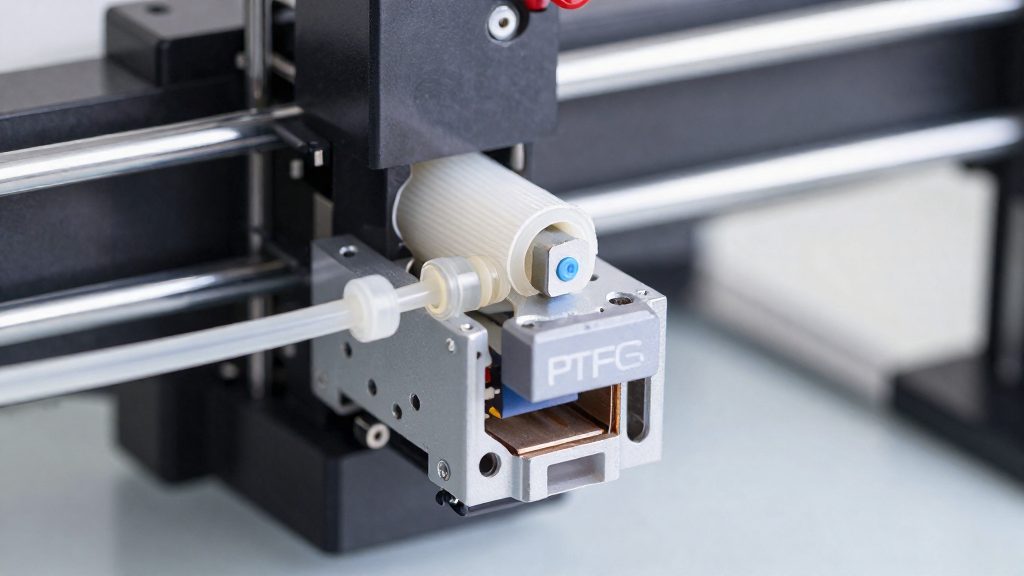
Is a direct drive upgrade worth it for PLA?
For PLA, the answer is a narrow one. According to 3DSourced (2024-02-20), standard filaments such as PLA and ABS work fine on a stock Bowden setup, and the upgrade matters most for flexible filaments, retraction accuracy and stringing. A PLA user who prints reliably on a Bowden machine gains little in basic print success. The realistic gain is cleaner retraction behaviour.
The sources do not quantify the size of the improvement.
Switching also brings its own tuning work (see the firmware and retraction sections); the sources give no print-time figures.
Kit or DIY bracket?
A ready-made direct drive kit and a DIY bracket solve the same mounting problem in different ways. A kit comes with the extruder parts and mounting hardware matched to a specific setup, while a DIY bracket means you source the motor and feeder yourself and design the fit to your own printer. According to 3DSourced (2024), kits suit beginners, and DIY brackets suit experienced modders.
Named kits and approximate prices
The kits below were priced in USD by 3DSourced (2024-02-20), not CAD; Canadian prices, taxes and shipping will differ:
| Kit | Approximate price (USD) |
|---|---|
| Creality direct drive kit | about $40 |
| Micro Swiss direct drive kit | about $99.75 |
| E3D Hemera | about $143.88 |
Across the category, Ender 3 direct drive kits cost roughly US$35 to US$144. The E3D Hemera sits at the top of that range, and the Creality kit is the lowest-cost option in the list.
Compatibility limits
Kits do not fit every Ender 3 variant, so check compatibility with your exact printer before ordering. Confirm which variants each kit supports against the seller’s listing and your printer’s model.
DIY bracket trade-offs
A printed bracket costs only the filament and the motor and feeder parts, and you can shape it around your own X carriage. The trade-off is precision. DIY brackets lack tight manufacturing tolerances, which can affect stability once the extruder is mounted and under load. Before committing to a bracket design, check that the bracket holds the motor and hot end rigidly on the carriage, since a loose fit undermines the benefits of a direct drive setup.
Step-by-step: swapping the extruder
Converting a Bowden printer to direct drive is a sequence of removals, then a bracket mount, a motor mount and a wiring check. Follow the order below so the carriage is clear before the new parts go on.
-
Print or prepare the mounting bracket. Test-fit it on the X carriage before you dismantle anything. Confirm the bracket sits flat and does not rock.
-
Remove the Bowden parts. Unplug the printer, then take off the existing extruder, the Bowden tube and its coupler, and the hot end. Keep the hot end’s heater and thermistor cables clear of the carriage so they are not pinched when you remount.
-
Mount the bracket on the X carriage. Fix the bracket to the carriage and refit the hot end.
-
Mount the motor and feeder. Attach the extruder motor and drive gear to the bracket. Turn the gear by hand to check it moves freely and engages the filament path before you power the printer.
-
Route the wiring and check motor connections. Run the motor cable along the carriage so it cannot catch on the frame or the belts during travel. Confirm each motor connector is fully seated on its socket on the board, and that the cable carries no tension when the carriage moves to its extremes.
-
Insert a short PTFE length and reassemble. Push a short piece of PTFE tube into the hot end so the filament has a guide up to the melt zone. Then refit the shroud, making sure nothing rubs the moving parts.
-
Run a first test extrusion. Heat the hot end to the temperature listed for your filament, load a spool and extrude a short length. Check that filament emerges evenly from the nozzle and that the extruder motor does not skip or stall.
Firmware and slicer settings to redo
Moving from a Bowden feeder to a direct drive extruder changes how far the motor turns to push a given length of filament. The values that describe the extruder in firmware and slicer therefore no longer match the hardware. Recalculate them in the order below. Retraction values are covered in their own section.
Rotation distance and e-steps
Firmware stores how much filament moves per motor step. In Klipper this is the rotation distance of the extruder section. In Marlin it is the E-steps per millimetre. Both need recalculating because the new gear and motor combination advances a different length of filament per revolution than the Bowden feeder did.
- Mark the filament a fixed distance above the extruder entry.
- Command a known extrusion length from the printer’s control panel or host.
- Measure the distance the filament actually travelled.
- Correct the value with: new value = old value × commanded length ÷ measured length.
- Repeat the test until the measured length matches the command.
Save the corrected value in the firmware configuration and restart the printer before continuing.
Extrusion multiplier
The extrusion multiplier in the slicer scales how much plastic is requested for each move. Apply it only after the firmware value is correct. The multiplier then corrects only the remaining difference, rather than hiding a step error.
Print a thin-walled test object, measure the wall thickness with calipers, and adjust the multiplier by the ratio of expected to measured thickness. Make small changes and reprint after each one.
Start G-code and printer profile
The start G-code is the sequence that runs before every print. Review it after the swap:
- Confirm the homing, heating and purge commands still suit the new extruder position.
- Check that any custom macros reference the correct extruder and temperature settings.
- Adjust the purge line if the extruder now sits differently relative to the nozzle.
In the slicer, update the printer profile’s extruder and nozzle settings and any custom machine G-code. Save the result as a new printer profile rather than overwriting the Bowden one. This keeps a working setup available if the direct drive configuration needs to be rolled back.
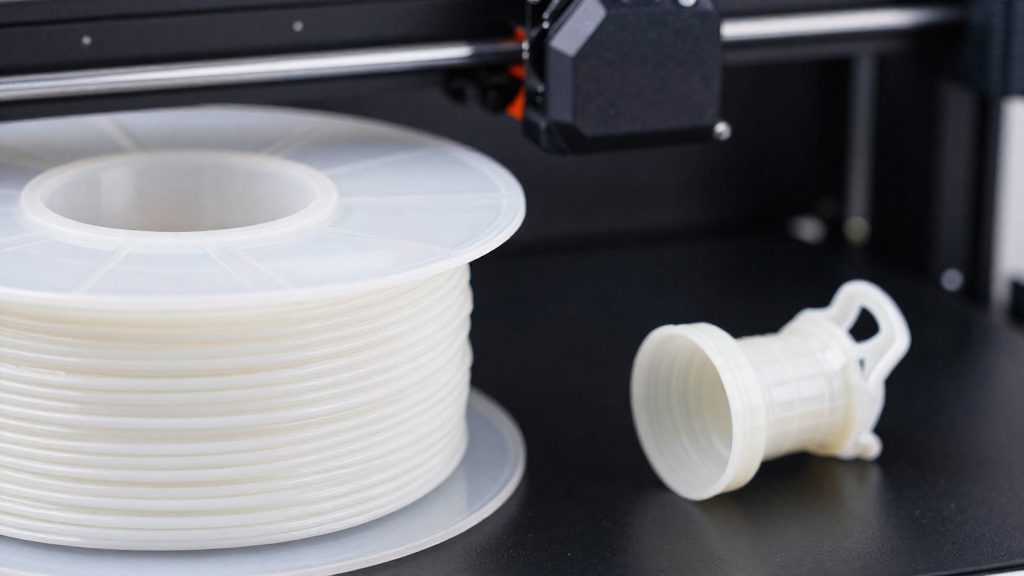
Why do I get Z-banding after upgrading?
Z-banding is the regular horizontal ridging that repeats up the height of a printed part. According to MakeUseOf (2022-03-10), many users report it together with inconsistent extrusion after switching from a Bowden setup to a direct drive extruder; the cause is not established by the source. The same source advises ruling out ordinary causes before replacing any part, because the new extruder is only one of several possible sources.
Diagnostic order
Check the suspects in this sequence so you do not replace parts that were never at fault:
| Step | Suspect | What to check |
|---|---|---|
| 1 | Bed heat regulation | Whether the bed holds a steady temperature through the print |
| 2 | Z-axis binding | Whether the lead screws and carriage move freely over their full travel |
| 3 | Flow rate | Whether extrusion stays consistent (recalibration is covered in its own section) |
| 4 | Assembly errors | Whether the new extruder and its mounting parts are fitted square and tight |
Steps 1 and 2 are checks on the printer’s existing hardware, so they cost nothing to test before you order parts. Step 4 is a check that relates directly to the upgrade, since the extruder and its bracket were not present on the original machine.
Straight-cut pinion gears as the suspected cause
The author of the MakeUseOf article names the straight-cut pinion gears of Bondtech ‘Dual Drive’ designs as the leading suspect. This is a diagnosis by the author, not a tested result reported in the article. If your extruder uses a similar straight-cut pinion, it is worth examining the gear once the first four checks come back clean.
Helical or herringbone gears as a fix
Helical or herringbone gears were suggested as a replacement for straight-cut pinions. The article presents this as a suggestion and does not report test results, so treat it as a last step rather than a first one.
Retraction and flexible filament tuning
On a direct drive extruder, the drive gear sits on the hot end, so filament travels only a short distance before it reaches the nozzle. The shorter direct drive path is the main reason the upgrade changes retraction behaviour, and it changes how you should tune your slicer.
Why retraction needs less tuning
Retraction pulls filament back from the nozzle during travel moves to stop it oozing. On a Bowden machine, that pull has to travel through the long tube, so the filament responds more slowly and more retraction is usually needed to get clean results. On direct drive, the filament moves almost immediately, so:
- Retraction distance can be reduced compared with a Bowden profile.
- Stringing is easier to control with a smaller pull.
- Settings copied from a Bowden profile are likely to over-retract.
Tuning flexible filament
To tune a flexible filament on direct drive:
- Start from your current profile and lower the retraction distance in small steps.
- Change one parameter at a time, so you can see which change affects stringing.
- Check the stringing on a small test print before you change the next value.
Retraction speed starting values
Adjust retraction speed only after the distance is set, and judge each change by the stringing result on the printed part.
Direct drive upgrade or new printer?
The right choice depends mainly on the materials you print and how much you want to spend on your time.
Retrofit or new printer
A retrofit is worth considering when the printer already does what you need except for the specific problems a short filament path solves. A new printer makes more sense when your goals go beyond that, or when the existing frame is not in good condition.
| Your main goal | Better fit | Reason from the sources |
|---|---|---|
| Printing standard filaments such as PLA and ABS only | Keep the Bowden printer | Standard filaments such as PLA and ABS work fine on a stock Bowden setup |
| Less stringing and retraction | Direct drive retrofit | A shorter path needs less retraction |
| Beginner who wants a tested package | Pre-made kit | Kits suit beginners |
| Experienced modder comfortable with custom parts | DIY bracket | DIY brackets suit experienced modders |
Printer age and upgrade potential
The sources do not say how printer age affects upgrade potential, so judge the machine by its condition. A retrofit mounts a new extruder and bracket onto the X carriage, so the carriage and frame must hold it steadily. A machine with Z-axis binding or assembly faults will not benefit from a retrofit until they are fixed.
For a printer you rely on daily, a kit with a known fit is the lower-risk choice, while a DIY bracket suits a machine you are willing to adjust and test in detail.
Frequently asked questions
Should I buy a ready-made kit or build a DIY bracket?
A ready-made kit is the simpler route for beginners, while DIY brackets suit experienced modders. According to 3DSourced (2024-02-20), a self-made bracket lacks tight manufacturing tolerances, which can affect the stability of the extruder mount.
Why do my prints show vertical banding after switching to direct drive?
Many users report vertical Z-banding and inconsistent extrusion after this change, according to MakeUseOf (2022-03-10). Check bed heat regulation, Z-axis binding, flow rate and assembly errors first, since helical or herringbone gears are only suggested as a later fix.
What do Ender 3 direct drive kits cost?
Prices run roughly from US$35 to US$144, with the E3D Hemera at about $143.88, the Micro Swiss at about $99.75 and the Creality kit at about $40. These figures are in USD, not CAD, according to 3DSourced (2024-02-20).